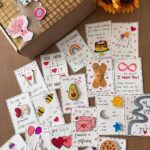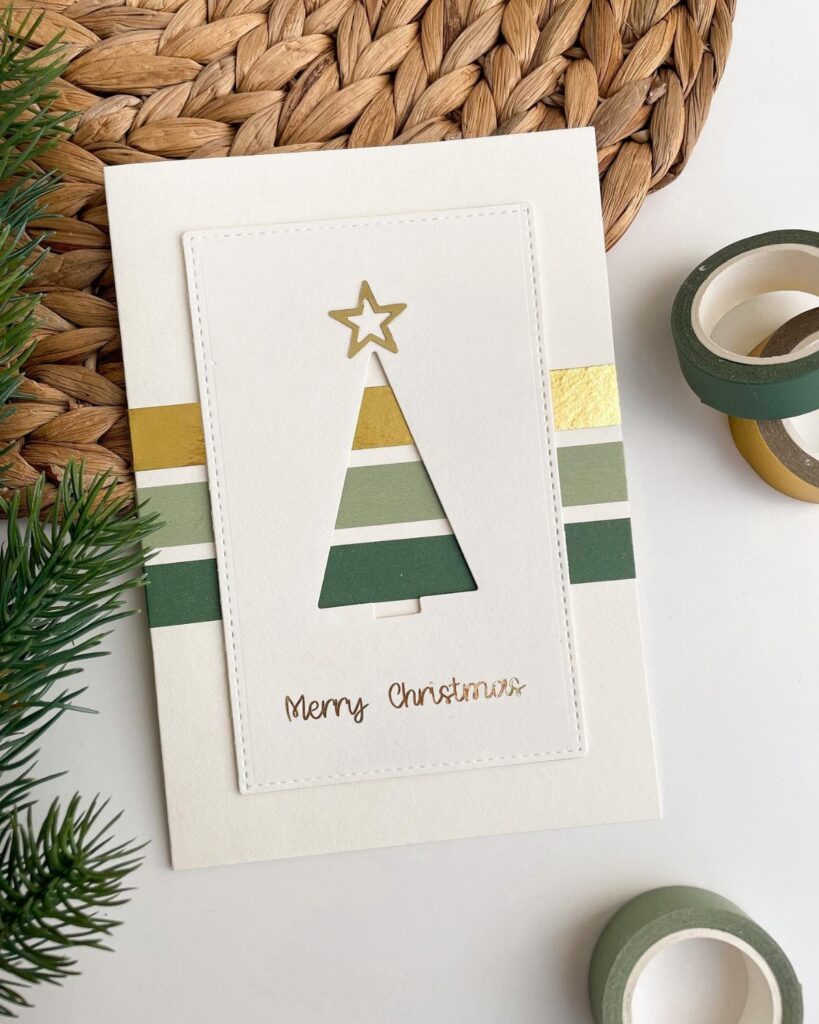
How much time each card takes, and how many you need to make, decides which of these 15 designs to pick.
Washi tape, stamping and photo cards go quickly enough to make 20 in an evening, while embroidered, quilled and pop-up designs can take an hour each and belong on a shorter list.
Washi tape, embroidery floss and watercolor paper all work straight from your craft drawer, though fresh cardstock makes a difference in how the finished card feels.
1. Natural Wreath Card
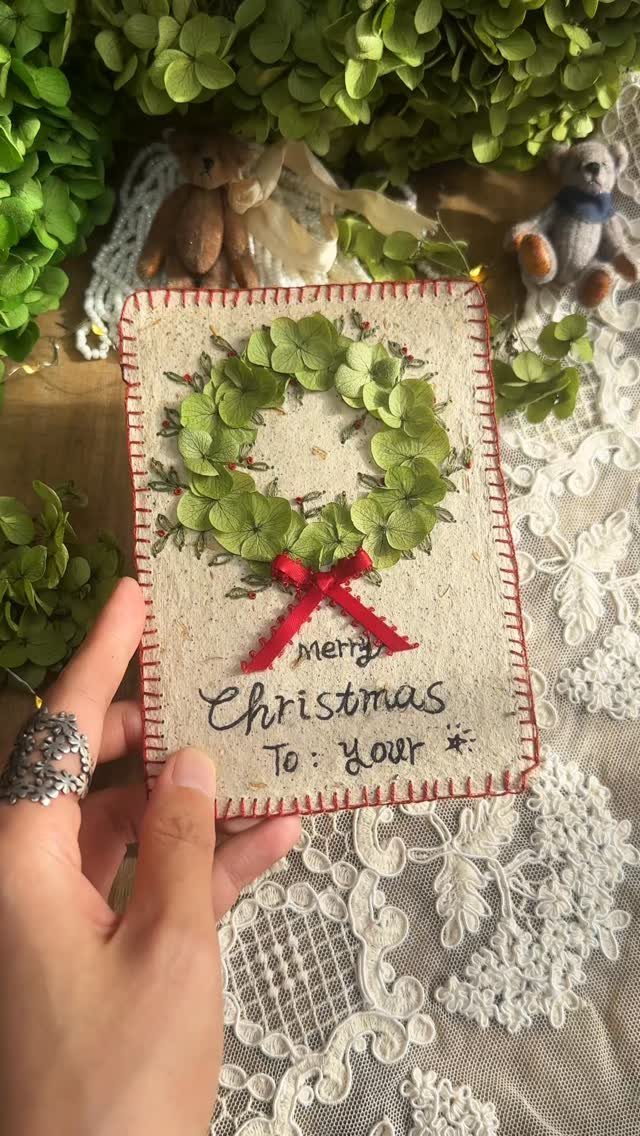
Dried leaves make a wreath that no craft store sells: every leaf has its own curve and color, so no 2 cards match. Press them flat under a heavy book first, so they glue down without lifting at the edges.
A small red bow at the base gives the wreath a finished look. Ribbon scraps work fine for it.
Lace and tiny extras like a sprig of berries or a small bead are optional, and the wreath reads just as well without them. The leaves are what make the card.
2. Washi Tape Christmas Tree Cards
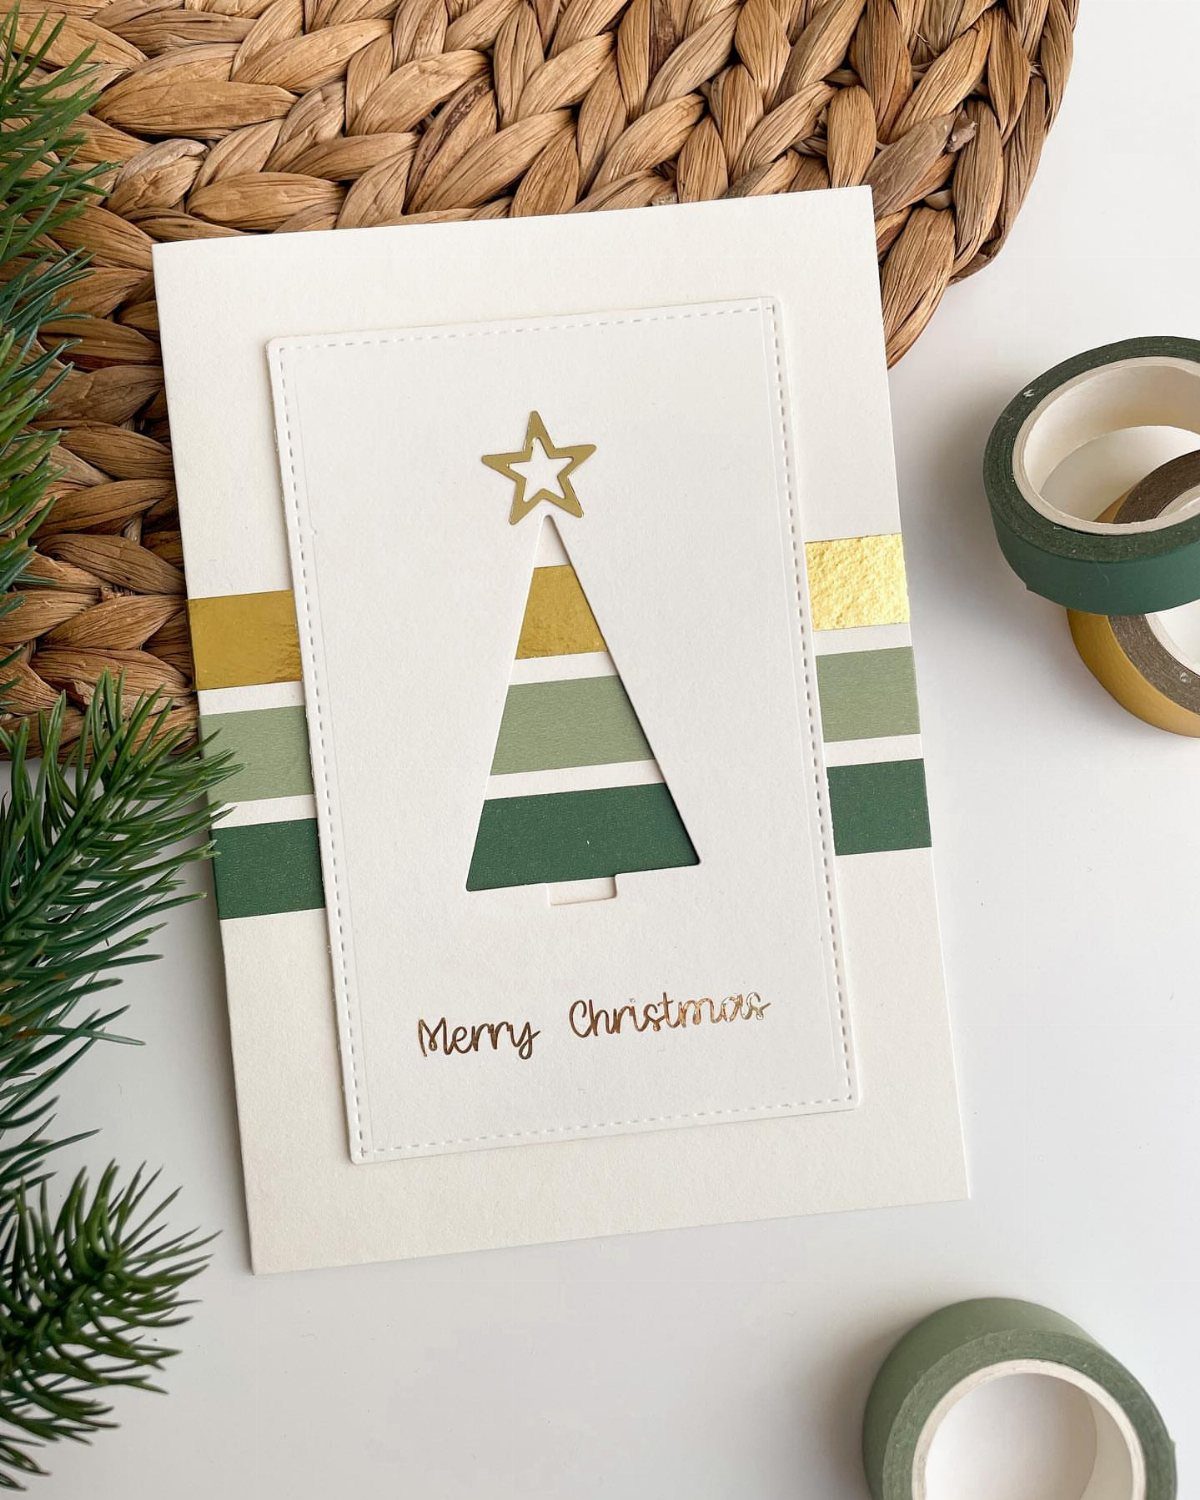
Washi tape is the friendliest material here for anyone short on crafting confidence, because it peels up and repositions when a strip lands crooked.
Lay strips of gold and green tape in rows that get shorter toward the top, then trim the edges into a tree shape.
Finish with a gold star and a hand-lettered "Merry Christmas."
I like that one roll of washi tape covers a whole batch of cards, which keeps the cost low. Choose a heavy white cardstock so the tape sits flat.
3. Pop-Up Tree Cards
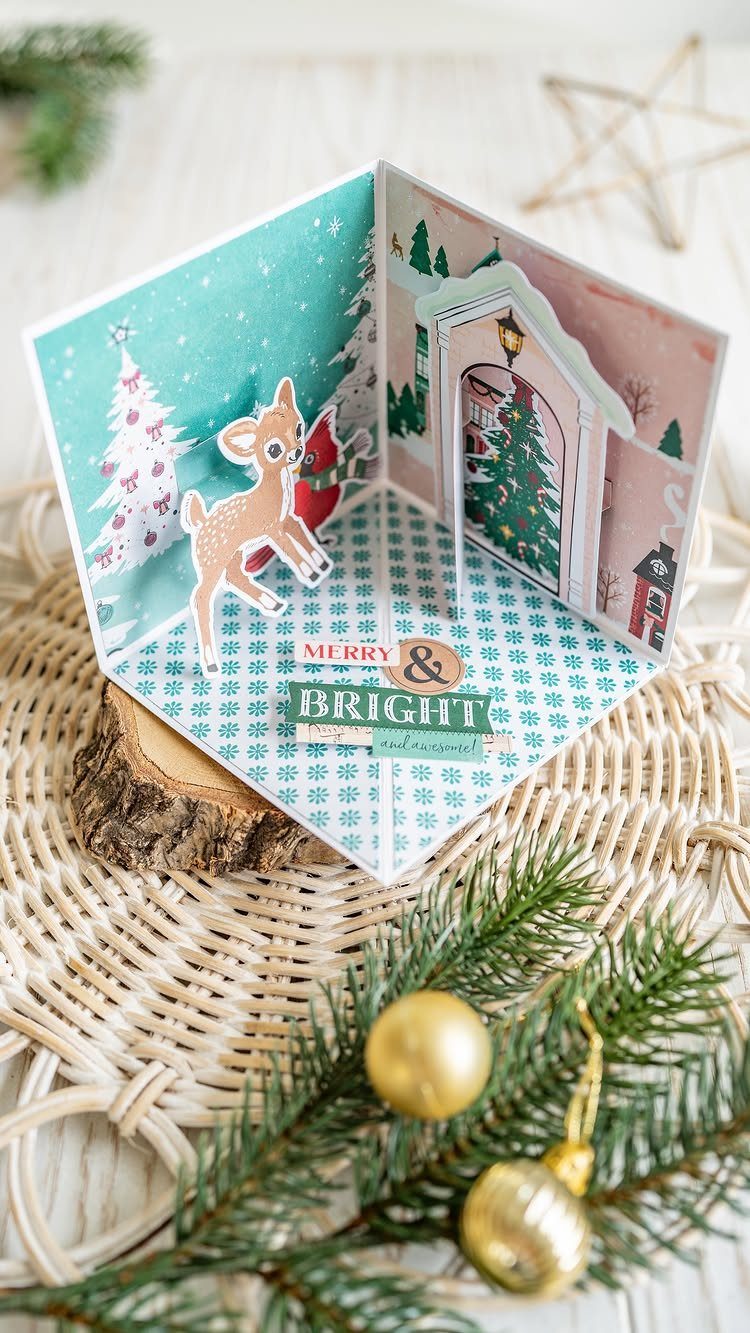
A pop-up card earns its place when the recipient opens it and something stands up. Here a reindeer and a tree rise from the fold, with "MERRY & BRIGHT" printed on the front.
Cut the figures from sturdy paper and glue them to folded tabs so they stand when the card opens. Test one first and close it gently to see whether it flattens.
Expect to spend more time on this than on a stamped card, so save it for the people who will keep it.
4. Watercolor Card
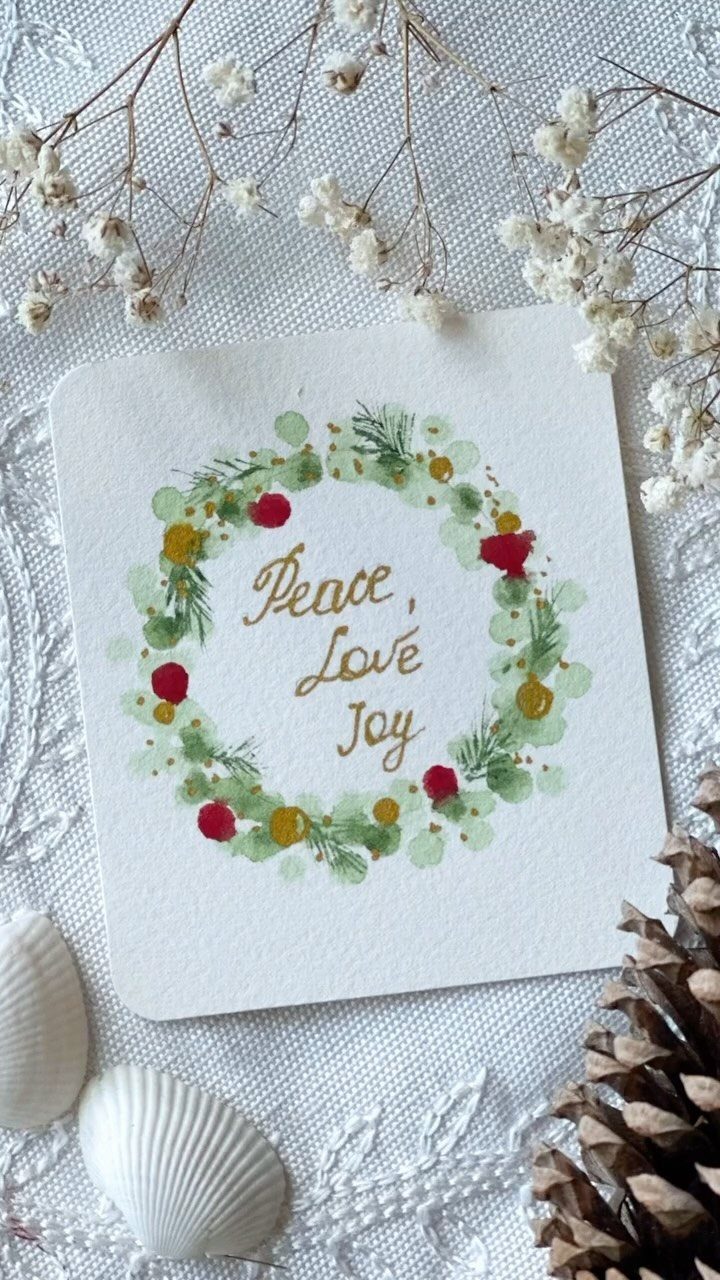
Watercolor suits beginners better than it seems, since a wreath is just loose green strokes in a circle with red dots for berries. Let the wet paint blur a little; the softness looks intentional.
Use thick watercolor paper, because thin cardstock buckles when it gets wet. Let the paint dry fully before you add lettering such as "Peace, Love, Joy."
I would paint a whole batch of wreaths at once, then write the words on each one later.
5. String Art Card
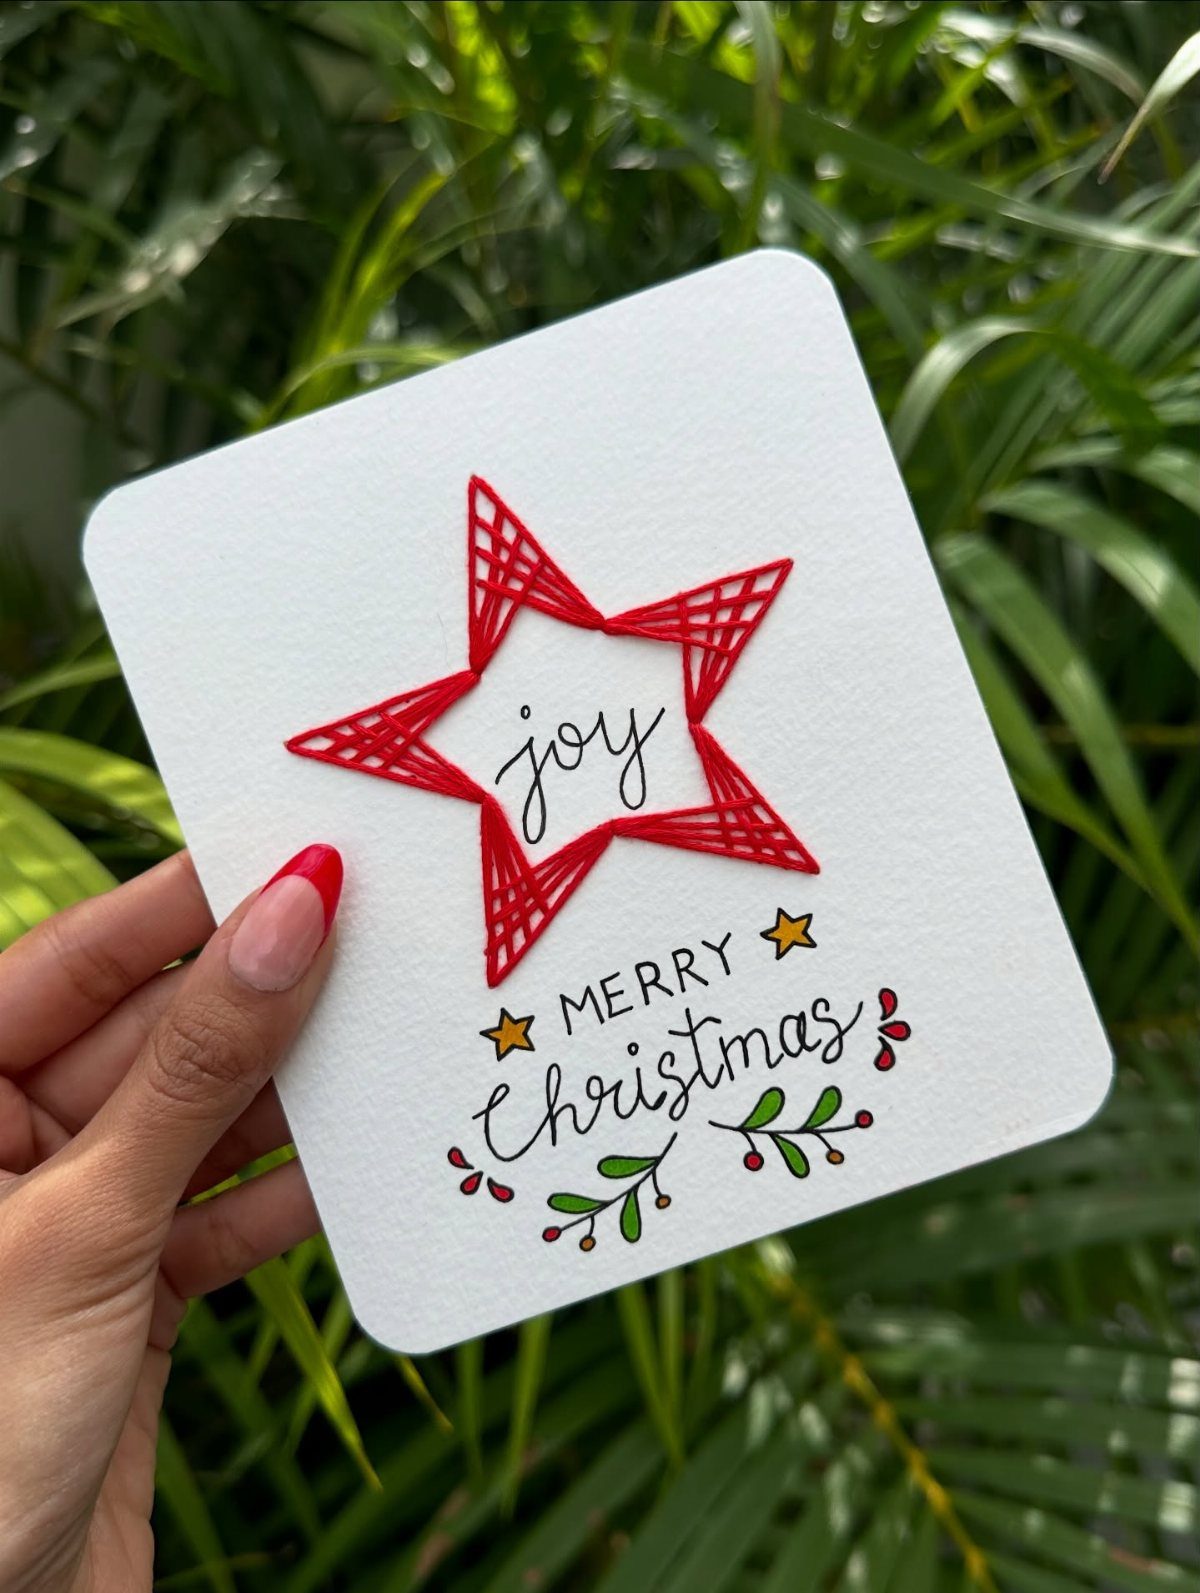
Kids can do this one nearly alone, which is why it works for a family card night.
Poke holes in a star outline on the card front, then thread red string through them, crossing back and forth so lines fill the star.
Tape the string ends on the back. A blunt plastic needle keeps little hands safe.
Add "joy" and "MERRY Christmas" afterward in marker, and let the child decide where the leaves go.
6. Glittery Joy Christmas Card
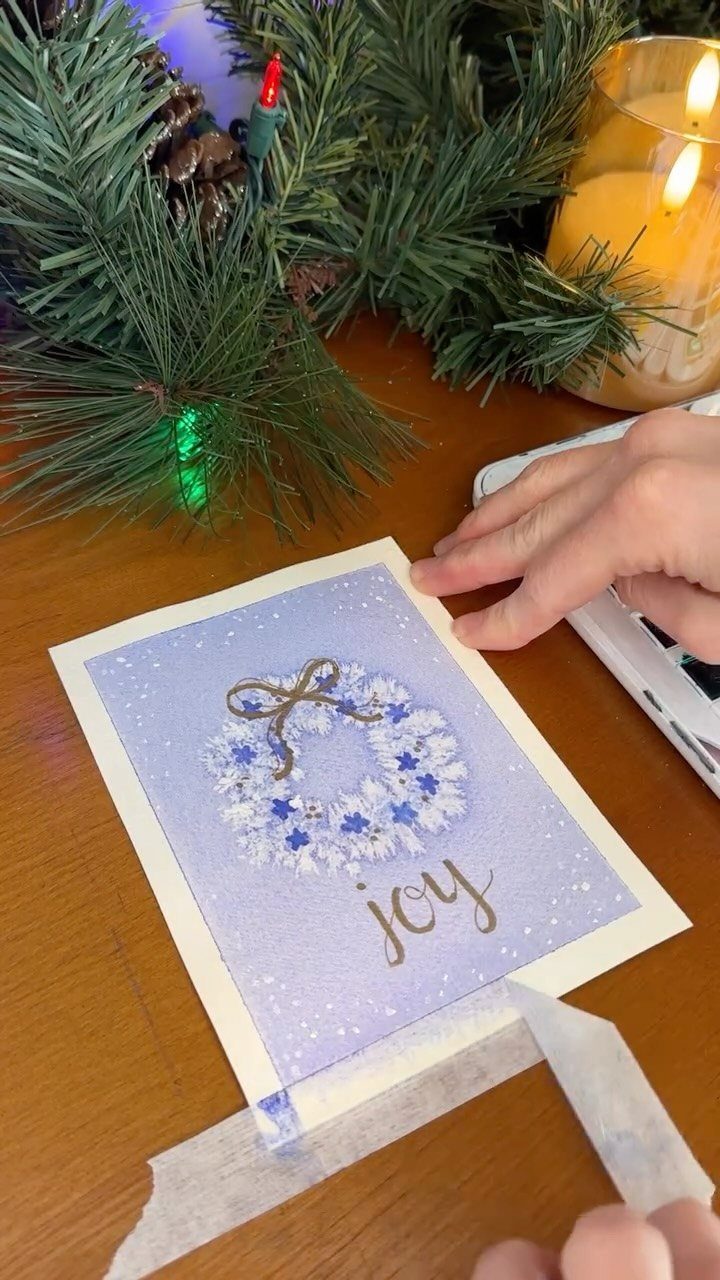
Peeling tape is the secret to a crisp glitter wreath. Press tape down in the shape of the word "joy," paint a purple watercolor wash over the card, and pull the tape off once dry to leave clean white letters.
Glitter belongs on the wreath: brush on glue, sprinkle, and tap off the extra over a tray so you can pour it back into the jar.
Clean white letters against the glitter background give the card its contrast. Glitter sheds, so seal the card in an envelope before mailing.
7. Fingerprint Lights Card
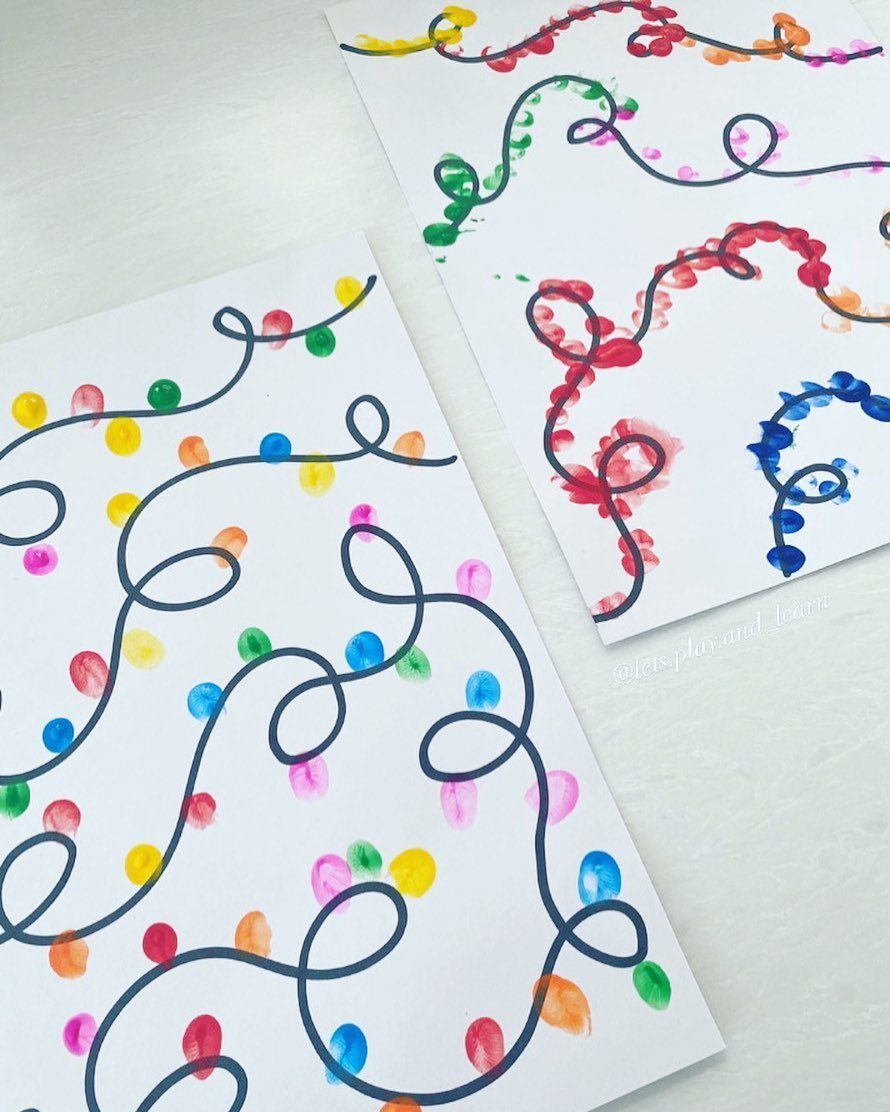
Fingerprints turn into bulbs once a curly black line runs across the card like a string of lights. Draw the string first, then press a fingertip in each color along it.
Stamp pads or washable paint both work. Let each print dry before you add anything else, since smudges show on white paper.
Small children can make the bulbs while an adult draws the wire, which makes this a good one for a mixed-age card night.
8. Gnome Pop-Up Card
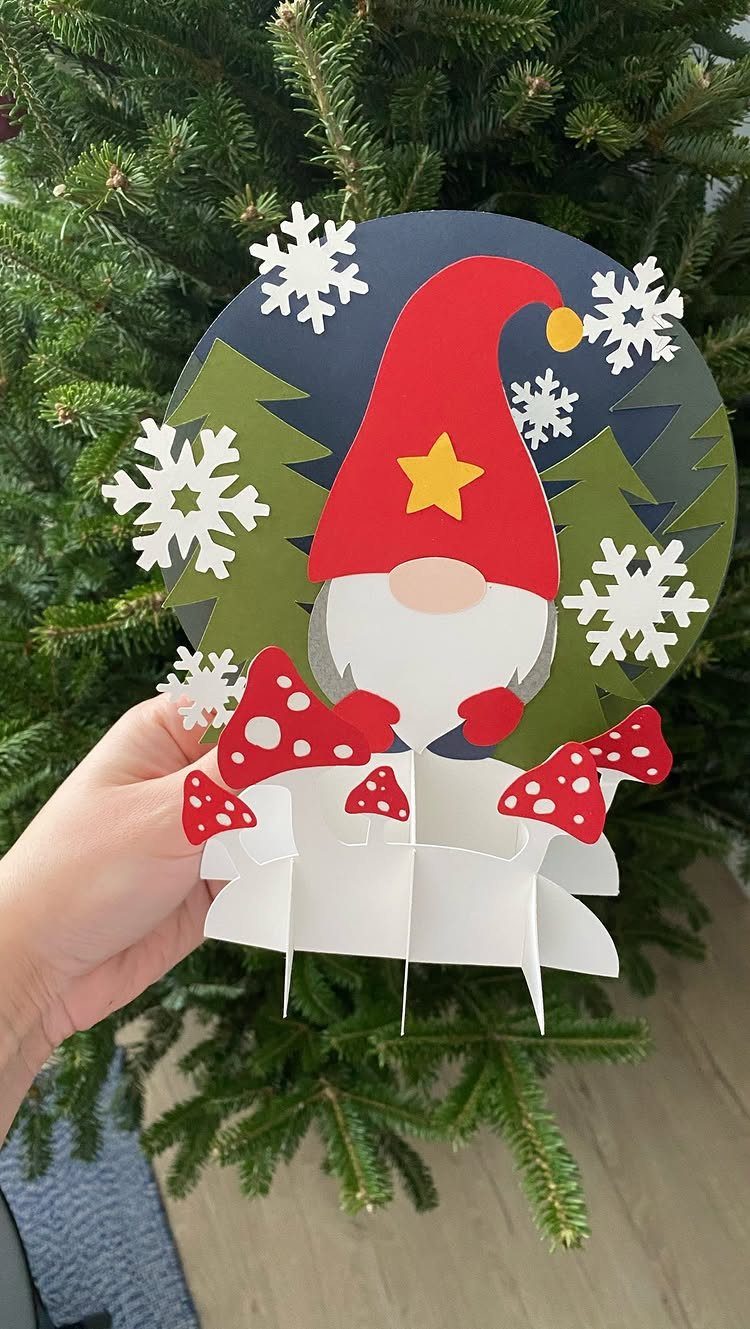
A gnome in a red hat suits a pop-up card because the hat gives you one bold shape to cut and fold.
Build the scene in layers, with the gnome in front, trees behind and white snowflakes scattered across the back.
Use sturdy paper for the gnome so it holds its shape. A circular card takes more careful cutting than a rectangle, so I would trace a template before you cut.
Make one test card first, then repeat the pattern for the rest of the batch.
9. Stamped Christmas Card
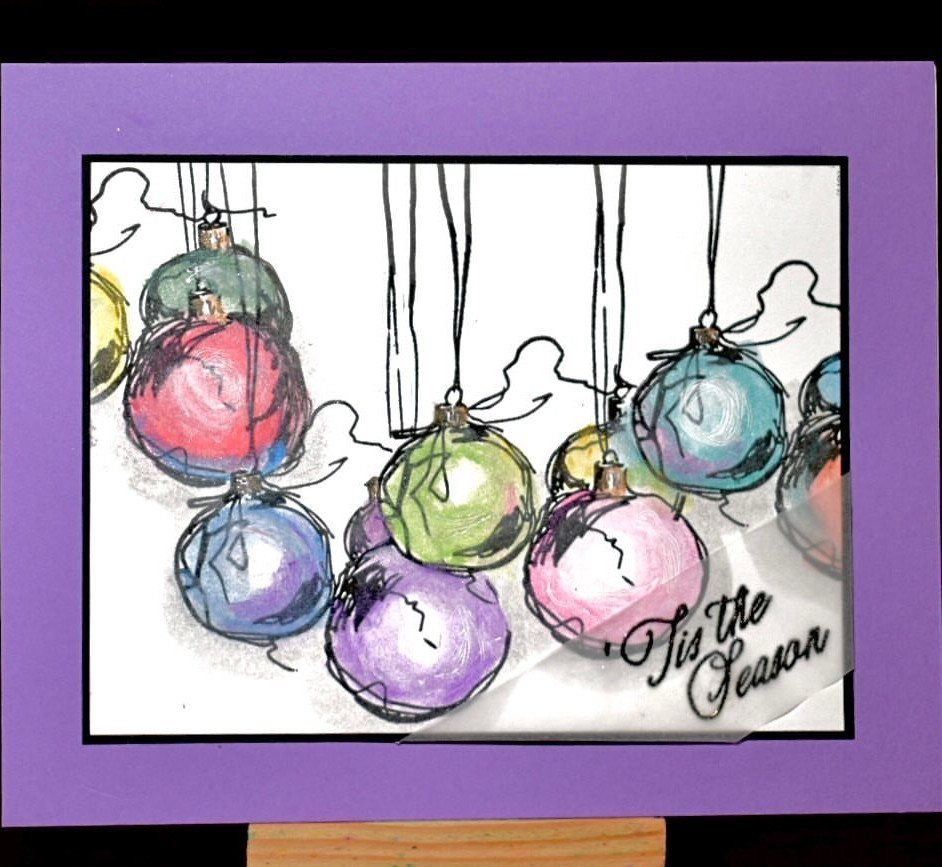
Stamped ornaments give a card the look of hand-drawn art without any drawing skill. Press a few ornament stamps in different colors, then add "Tis the Season" below.
I prefer mounting the finished card on a contrasting color, like the purple here, because the layer makes it feel framed and deliberate.
Stamping also repeats well, so a whole batch comes out matching. Let each color dry before you overlap another, or the ink will smear.
10. Embroidered Tree Holiday Cards
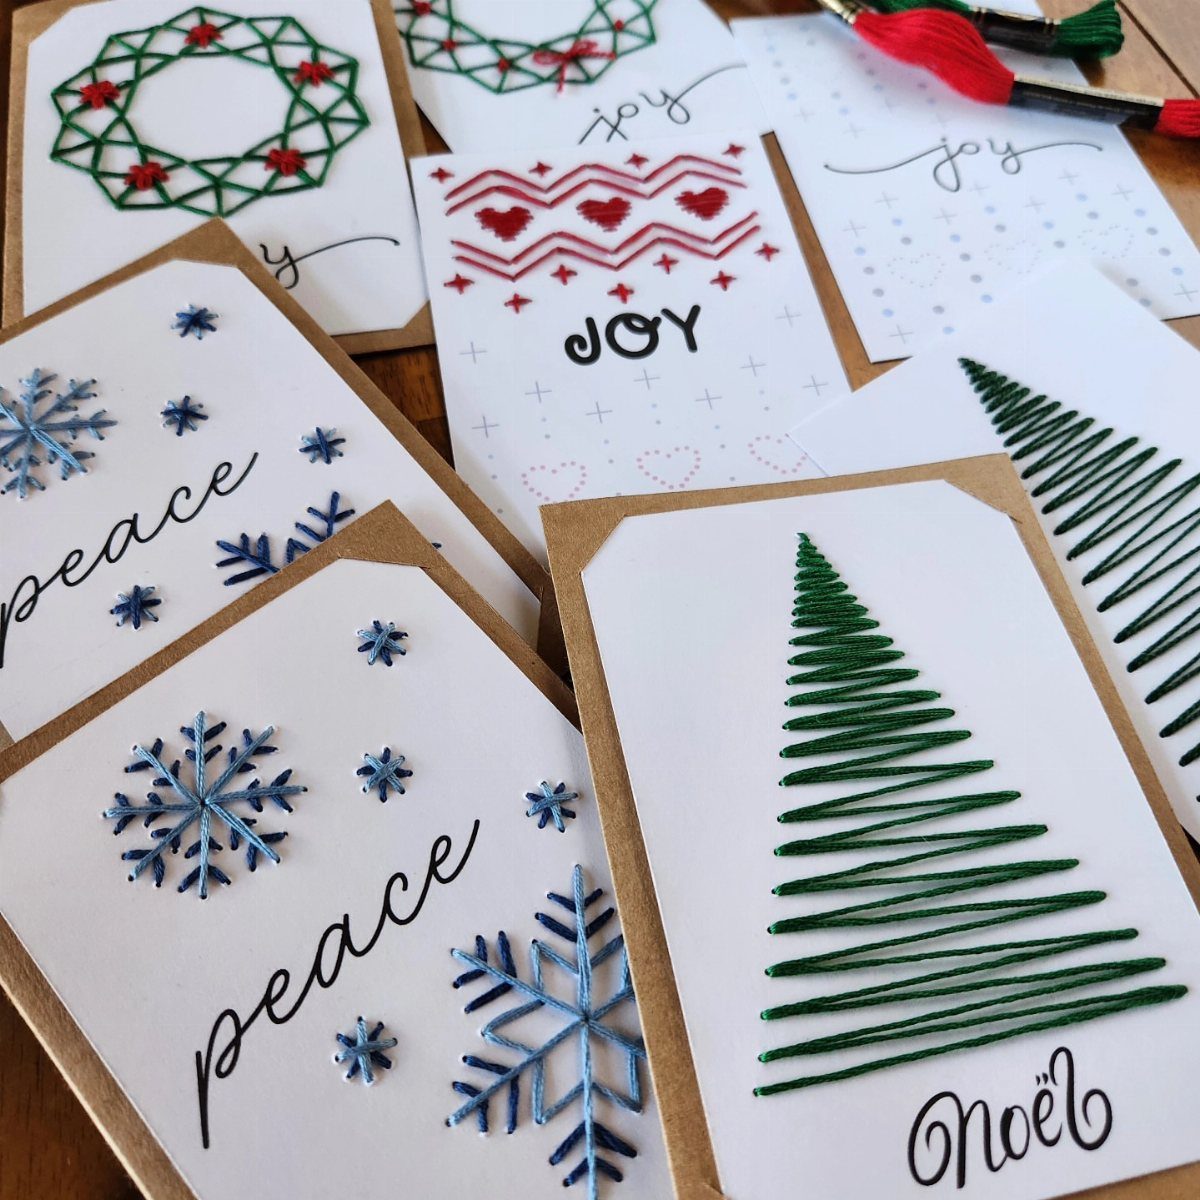
Embroidery floss on cardstock gives a card a texture that paint and markers can’t match: you can feel every stitch.
Pick simple shapes like a tree, snowflake or wreath, and stitch each one in its own floss color, such as green, blue or red, so the designs read clearly from across the table.
Poke the holes with a needle before you stitch, and use heavy cardstock so the paper doesn’t tear. Tape the thread ends on the inside.
Expect it to take patience. I would save it for a short list of people.
11. Photo Cards
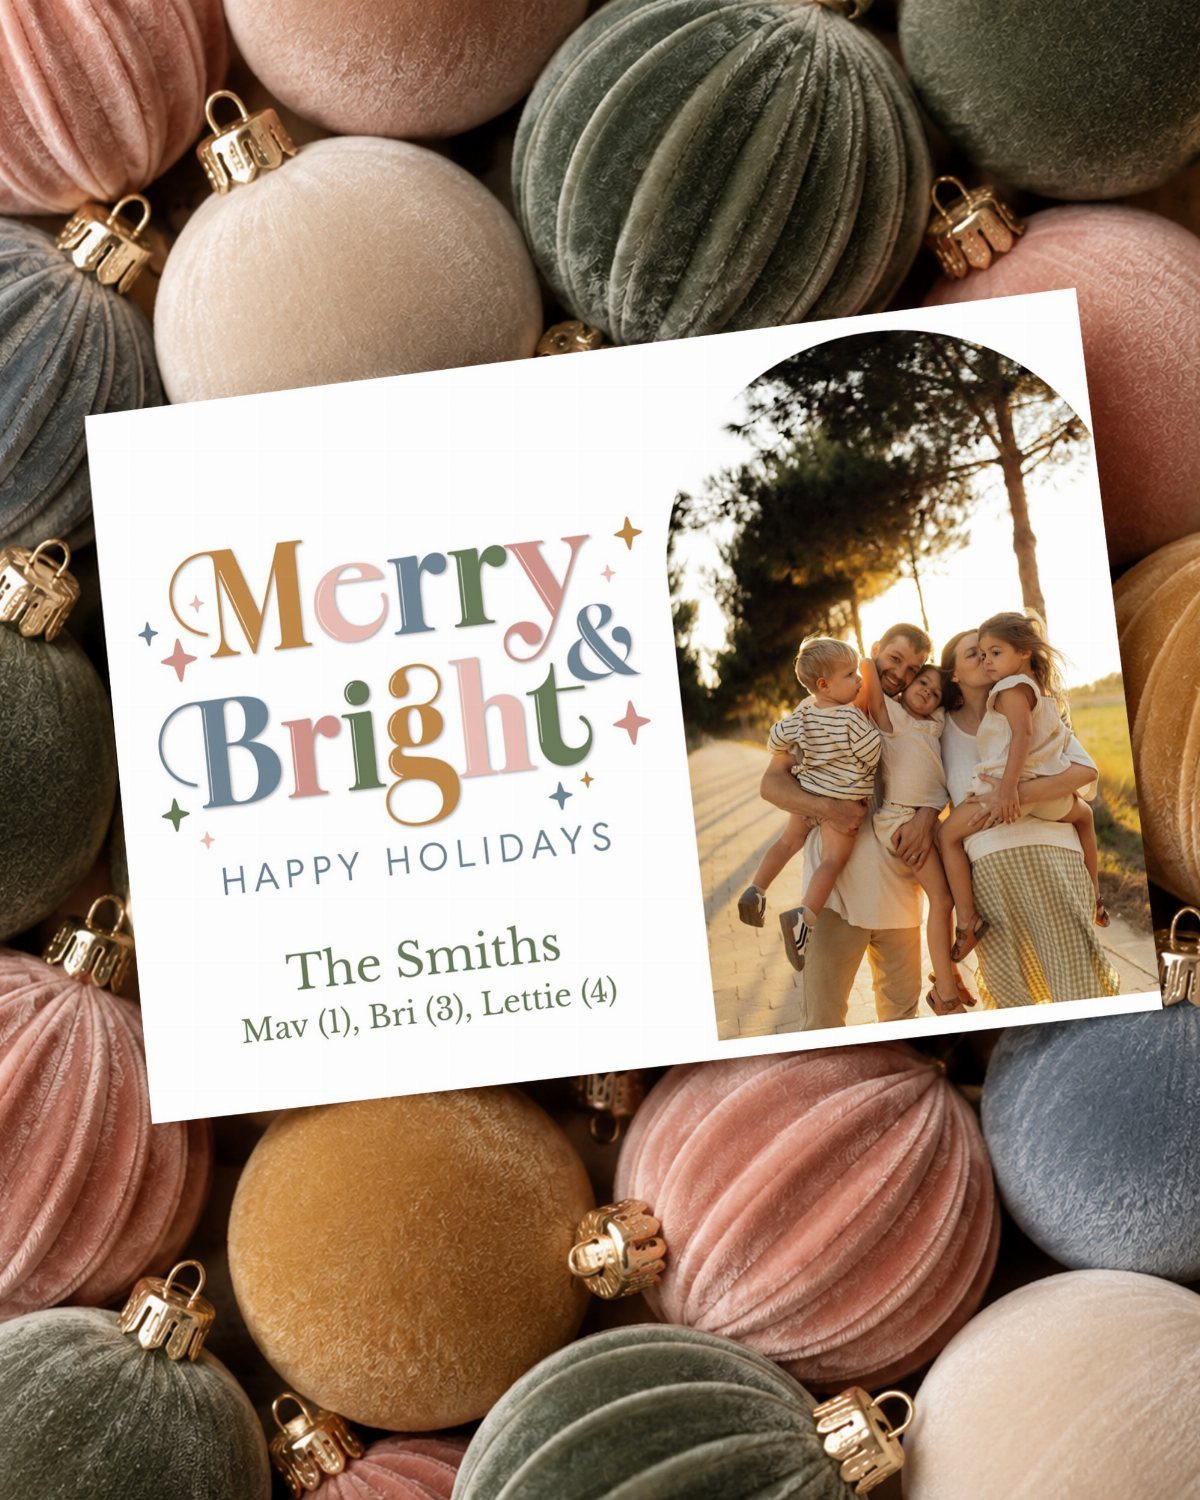
A family photo carries a card without any other decoration. Choose a shot with room around the faces, then add a greeting like "Merry & Bright" and the family name.
Listing each child’s name and age, as this card does, makes it a keepsake. Print the photo at home or at a drugstore and mount it on cardstock to save money.
Outdoor light usually flatters faces more than a flash indoors, so shoot near a window or outside.
12. Paper Wreath Card
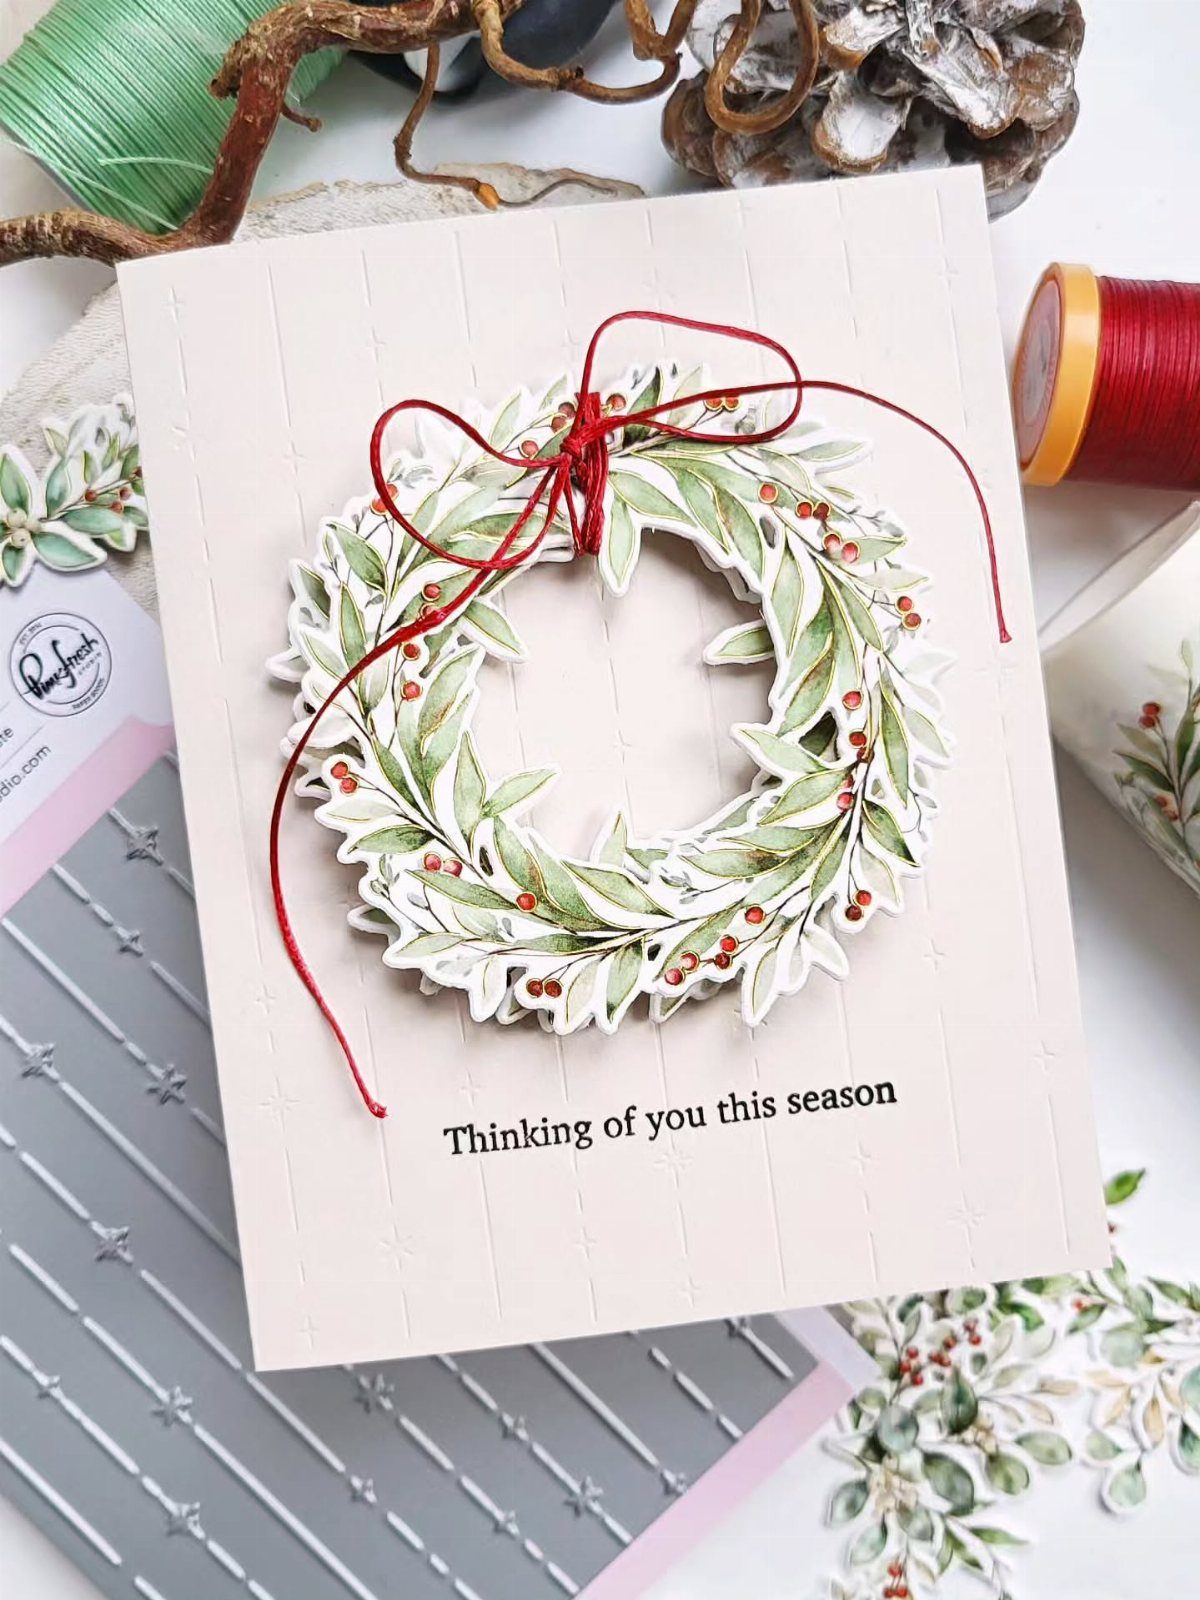
Layering is what gives this wreath its depth: cut leaf shapes from green paper and glue each ring slightly over the last, so the edges lift off the card.
Small red berries and a bow made from string finish it. Sentiments like "Thinking of you this season" fit well beneath, because the wreath looks warm without being loud.
Foam dots under a few leaves add more lift. Paper leaves cost almost nothing, so this works well for a big batch.
13. Fused Bead Car Card
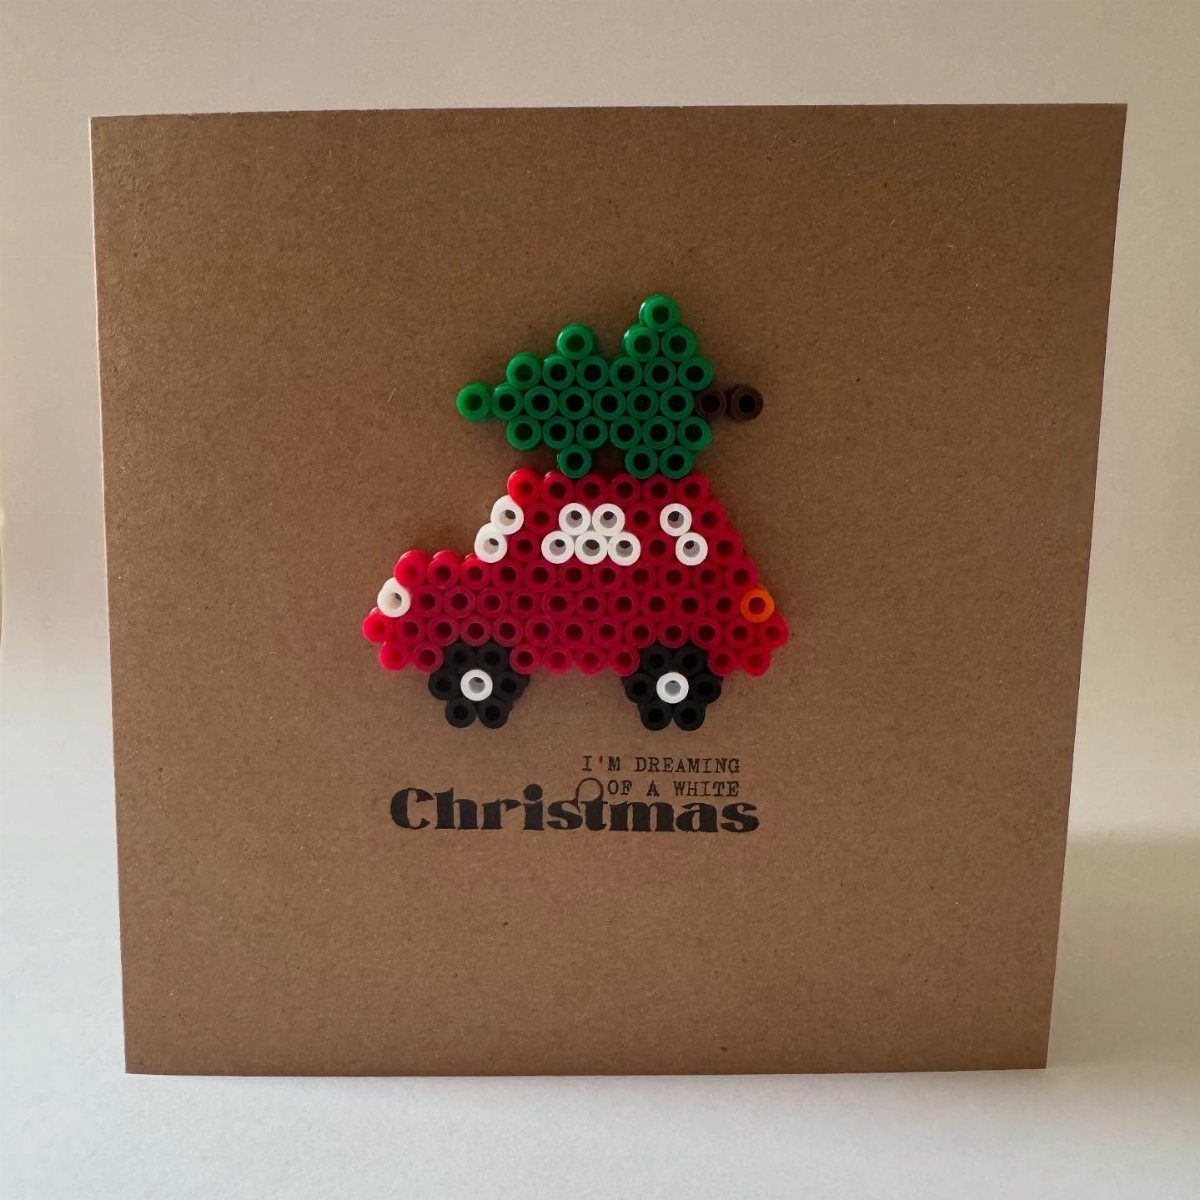
Fused beads suit a card better than most people expect, because a small car and tree become tiny pixel-style pieces you can set on kraft paper.
Build the red car and the green tree as separate shapes, then glue each one to the card front.
Beads add weight, so choose a sturdy kraft card and use a strong craft glue rather than tape. Let it dry flat before you close the card.
I would make the shapes in one sitting and assemble the cards afterward. Save the lettering for last, with the "I’m Dreaming of a White Christmas" line going on once the beads are done.
14. Pop-Up Gingerbread Village Card
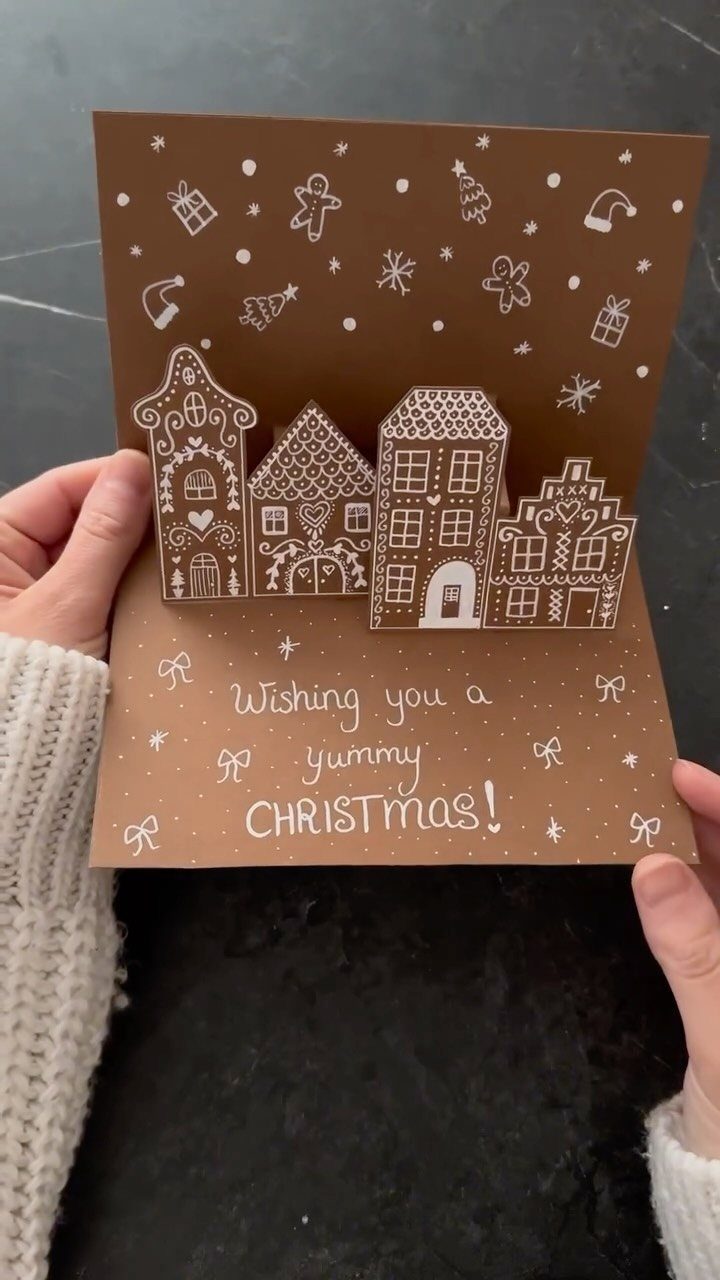
Gingerbread houses drawn in white pen look like icing, which is why they work so well on brown paper. Cut the houses so they rise from the fold, then add the doodles on each roof and wall by hand.
Sturdy paper holds the pop-up shape better than thin stock.
Expect this to take real time, so I would keep it for a short list. Once the houses are done, add a short greeting like "Wishing you a yummy Christmas!" to the front.
15. Quilled Paper Christmas Card
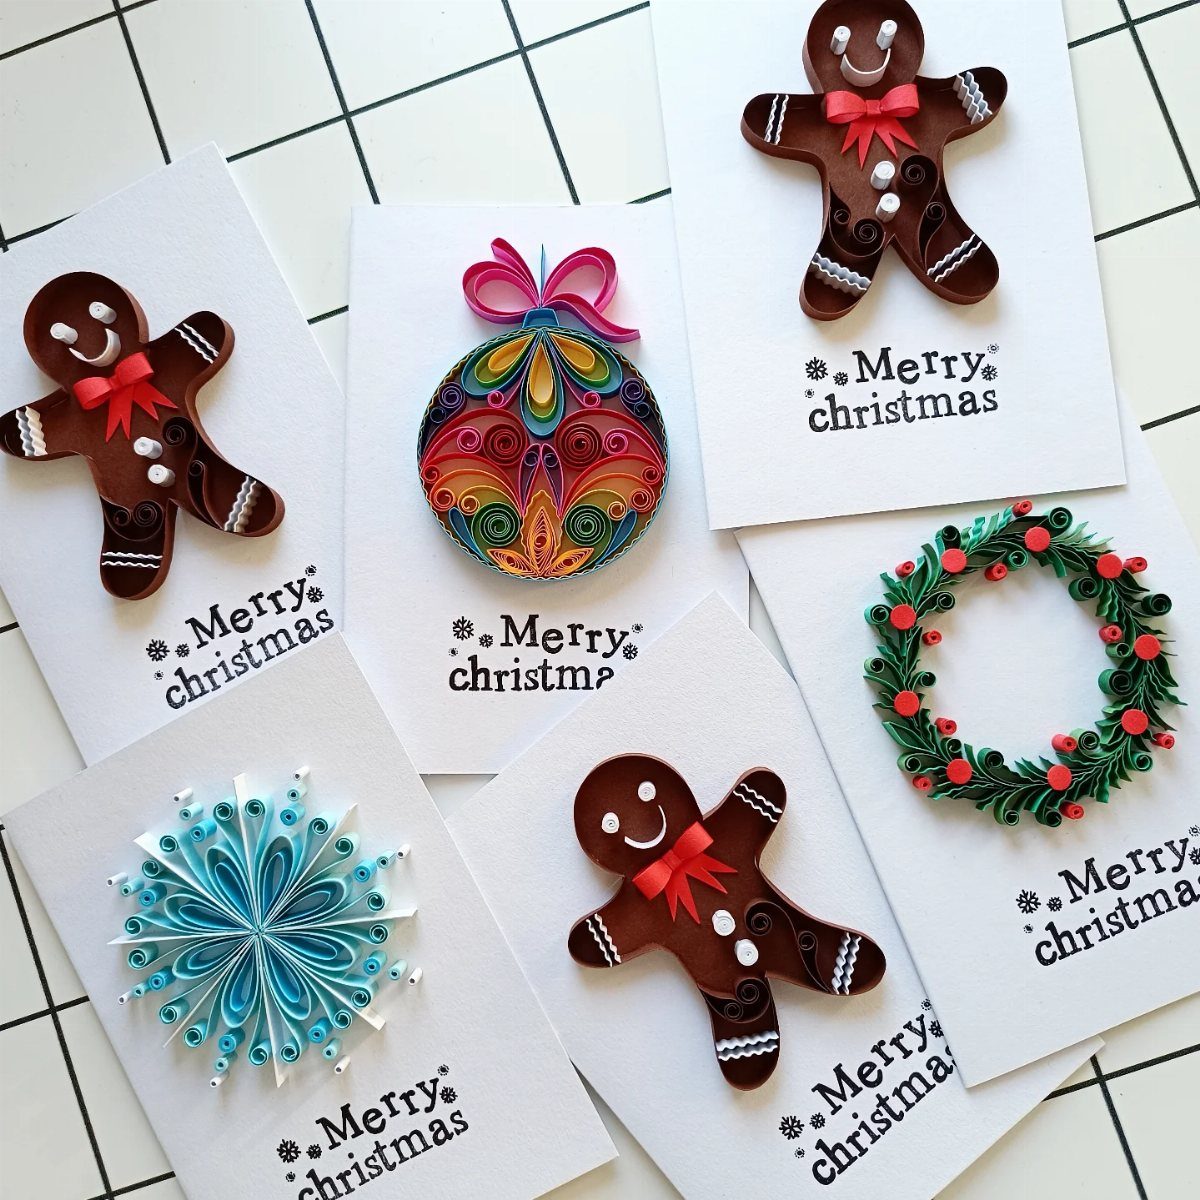
Quilling means rolling thin paper strips into coils, then pinching and gluing them into shapes. A gingerbread man, ornament, snowflake or wreath each comes from a handful of coils, so the card looks dimensional without any drawing.
Glue each coil to the card and let it set before you add the next. White cards keep the colored paper bright.
This takes patience, and one card can eat an evening. I would make a few for the people who will keep them, and write "Merry christmas" on each one when the shapes are dry.
Materials Needed
Before buying anything, check what is already in your craft drawer. Leftover cardstock, ribbon scraps and half-used glue sticks will cover most cards, and a stash you already own costs nothing.
Heavy cardstock is the one item worth buying fresh, since every card starts with it. Scissors and glue come next, and a star stamp with a small ink pad adds a quick finishing touch to the card front.
For a tape-based design, gather six or seven different washi tapes so the rows contrast. With fewer rolls, alternate the patterns and the result still looks good.
Cut tape strips from longest to shortest before you stick anything down. That keeps the shape even and saves you from peeling.
Personalization Tips
A photo makes the most personal card of all.
Black-and-white hides mismatched clothing and uneven lighting, so it rescues a photo that would look off in color.
Frame the circle with something from the craft drawer: Spanish moss attached with hot glue makes a natural wreath, and a mini bow at the bottom finishes it.
A strip of ribbon and rickrack along the base of the card adds a little more charm.
A handwritten line inside, even one sentence, matters more than extra decoration. Let each card carry something a store-bought one can’t.
Crafting with Kids
Choose materials labeled non-toxic for anything small hands will touch: washable paint, washable ink pads and school glue. Check the label before you hand it over.
Everyday objects make good tools. A fork dipped in paint and pressed onto a card leaves a pattern of lines, and children enjoy the surprise of it.
Cover the table with newspaper before you start, and set out one color of paint at a time so the colors stay clean.
Give each child a few blank cards rather than one, so a smudge or a changed mind doesn’t end the project. Let the cards dry flat before anyone stacks them.
Frequently Asked Questions
How to make a very simple Christmas card?
Fold a sheet of heavy cardstock in half and add one easy design.
For the simplest card, stack rows of gold and green washi tape, shortening each row as you climb, then cut the sides at a slant to form a tree and top it with a small star and a handwritten greeting.
Tape peels up and repositions, so a crooked strip is easy to fix.
What do I need to make my own Christmas cards?
Start with heavy cardstock, scissors and glue, since nearly every card is built on those. Before buying anything, dig through your craft drawer: spare cardstock, ribbon ends and a half-used glue stick will cover most of these designs.
Then add materials for the style you pick, such as washi tape, watercolor paint, stamps with an ink pad, or embroidery floss. A small star stamp and a mini ink pad add a fast finishing touch.
What are some creative DIY Christmas card ideas?
Good options include a pressed-leaf wreath, a watercolor wreath, a stamped ornament card, and a pop-up card where a tree or gnome rises from the fold.
Quilled paper coils, embroidered trees and fused-bead cars give more texture, but they take patience, so I would save them for a short list.
Fingerprint bulbs strung along a curly black line and string-art stars are easy for kids. Pick by time: stamping repeats well for a big batch, while pop-ups and quilling suit the few people who will keep the card.