Which wrap suits you depends on what you already have and how many gifts are on the table: upcycled newsprint costs close to nothing if the paper is in your recycling bin, while glass jars, homemade bows and air-dry clay tags ask for a purchase and an afternoon.
Gift size narrows the choice further, since candy-wrapped parcels only hold small, sturdy items and furoshiki cloth works for almost any shape. One idea needs no tape at all: Japanese furoshiki, a square of fabric knotted over the top.
1. Simple Styling Tips
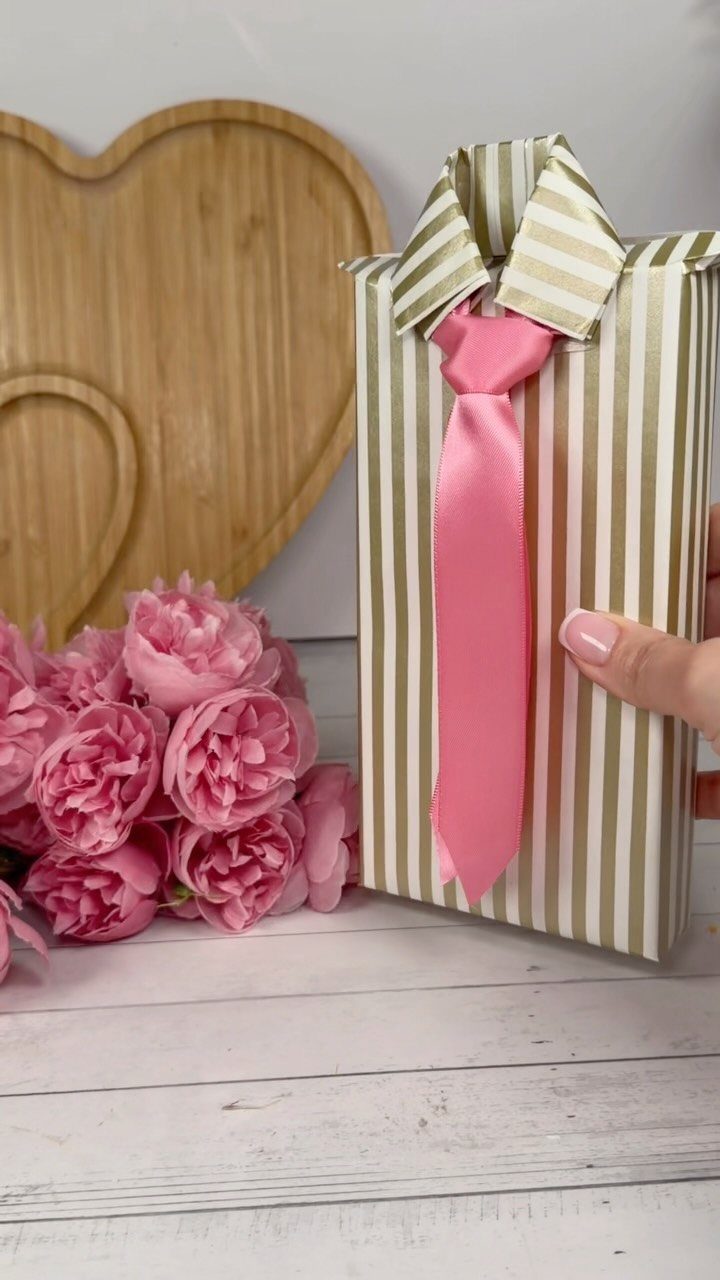
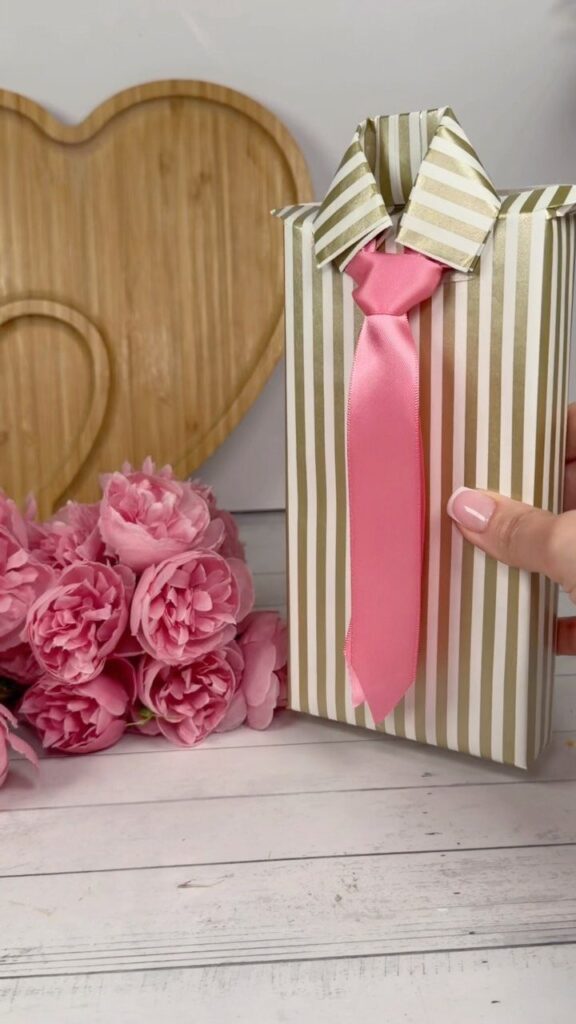
A plain striped sheet of paper can pass for a dress shirt. Fold the top edges down into a collar, then tie a ribbon at the neck like a loose tie or bow.
Pink ribbon against stripes keeps the look soft, and a few fresh flowers tucked alongside finish it.
Folding takes a minute and adds no cost beyond the ribbon, which makes this one easy to repeat across a whole pile of gifts.
2. Glass Jars for Edibles
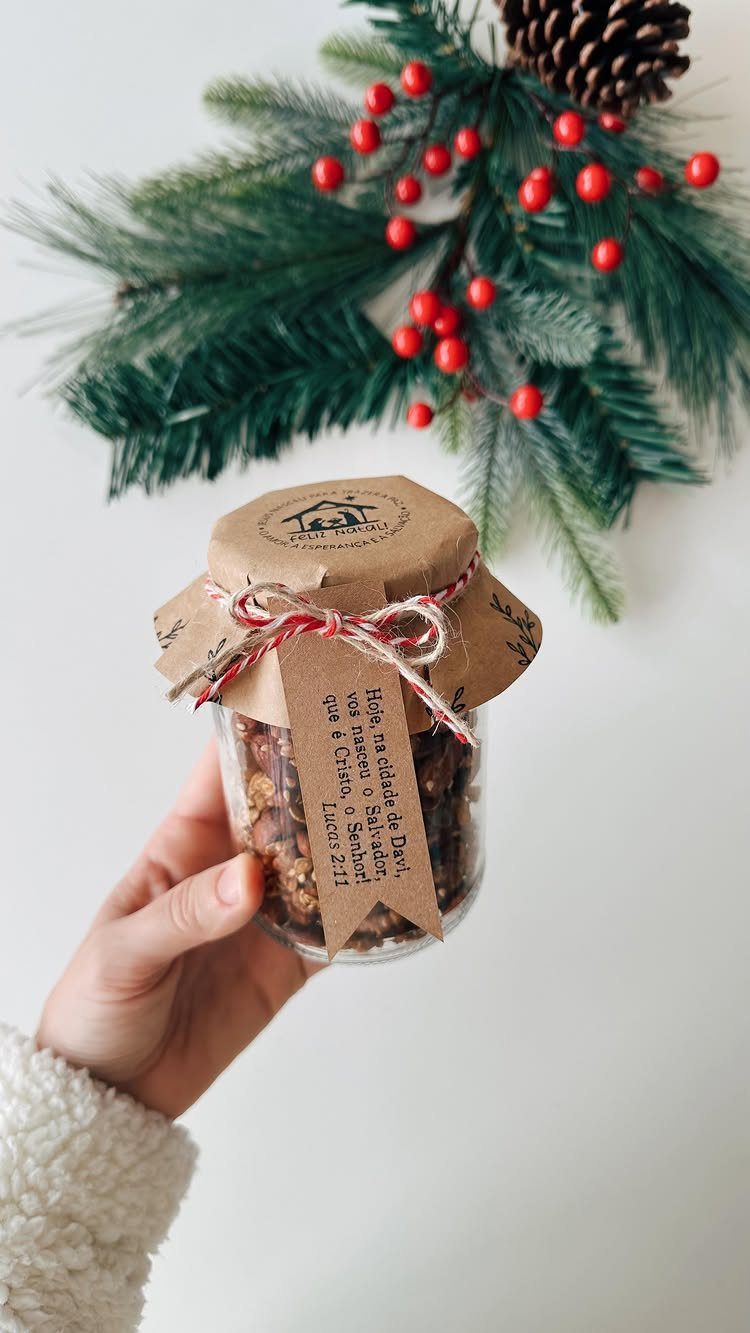
Homemade snacks look best when you can see them, and a glass jar does that without any extra effort. Fill it with nuts, then cover the lid with a square of brown paper and hold it down with red twine.
Without a tag, a filled jar looks like pantry storage, so write the contents and a short message on one and it reads as a gift.
For a seasonal touch, slip a sprig of pine or a few berries under the twine.
Jars cost more than a paper bag, but the recipient gets a container to keep.
3. Air-Dry Clay Tags
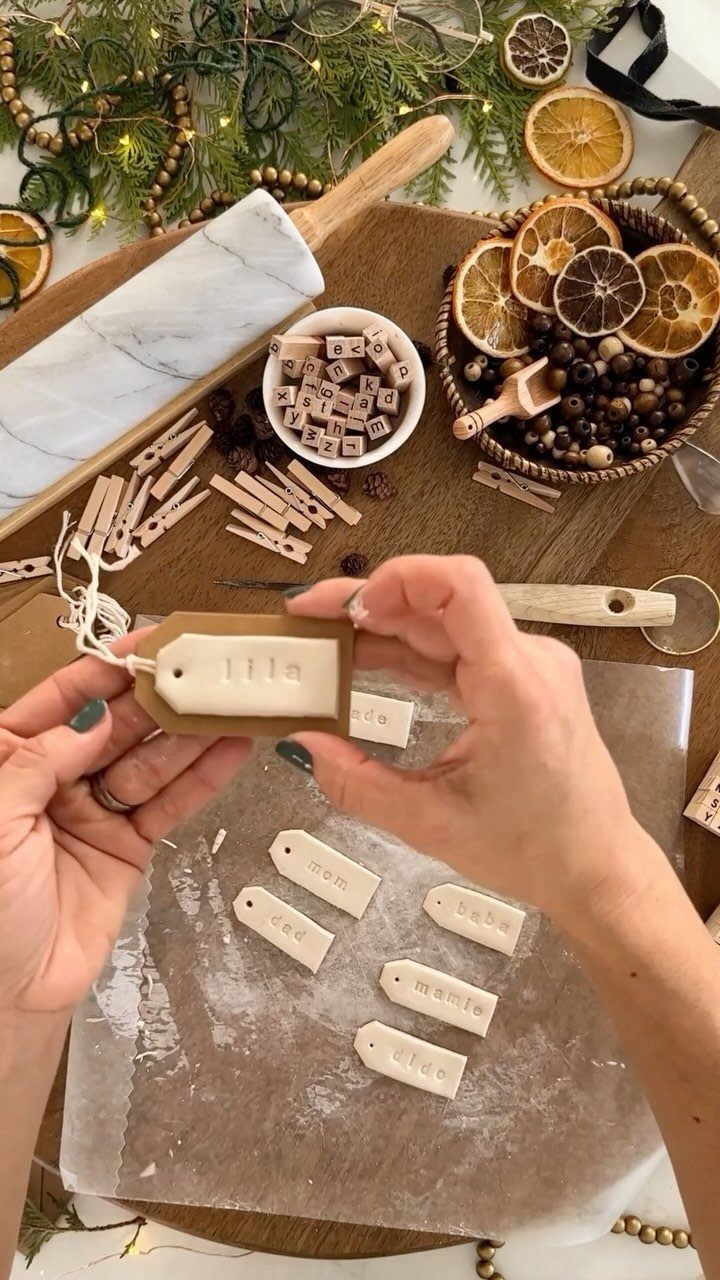
Stamped letters pressed into white clay make a tag that works as a keepsake and a place card in one.
Roll the clay flat, cut your shapes, press each name in with letter stamps, and let the tags dry on parchment paper.
Air-dry clay needs no oven, which suits a kitchen table project. A few spare tags are worth rolling in case a letter lands crooked.
Punch the hole for the string before the clay dries, since it is hard to add later.
4. Japanese Furoshiki Cloth Wrapping
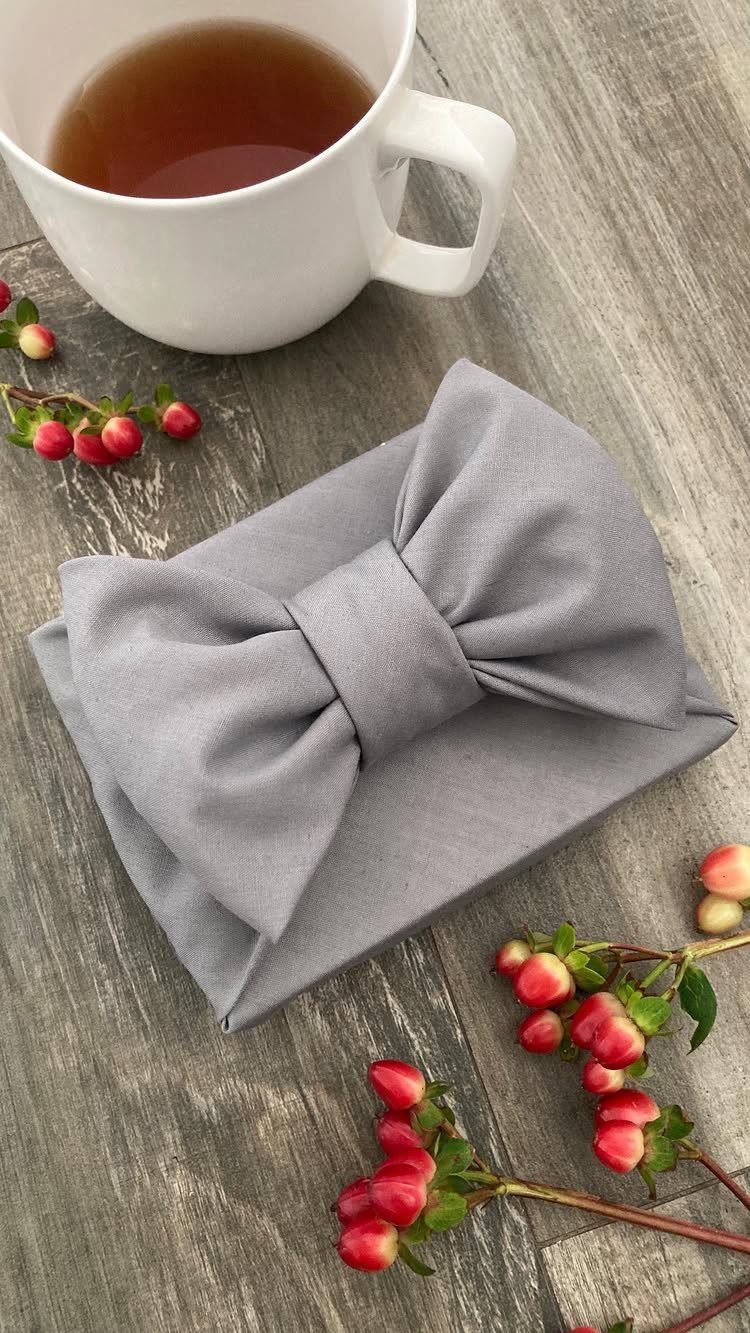
Fabric does the job of paper, and the recipient can reuse it. Furoshiki is the Japanese method of knotting cloth around a gift, and a solid grey piece tied in a bow looks calm and finished.
Choose fabric you can fold crisply, lay the gift on the diagonal, and bring the opposite corners together over the top.
Tie them off. No tape, no scissors, and no waste.
A scarf or tea towel can be the wrap and part of the present at once.
5. Upcycled Newsprint
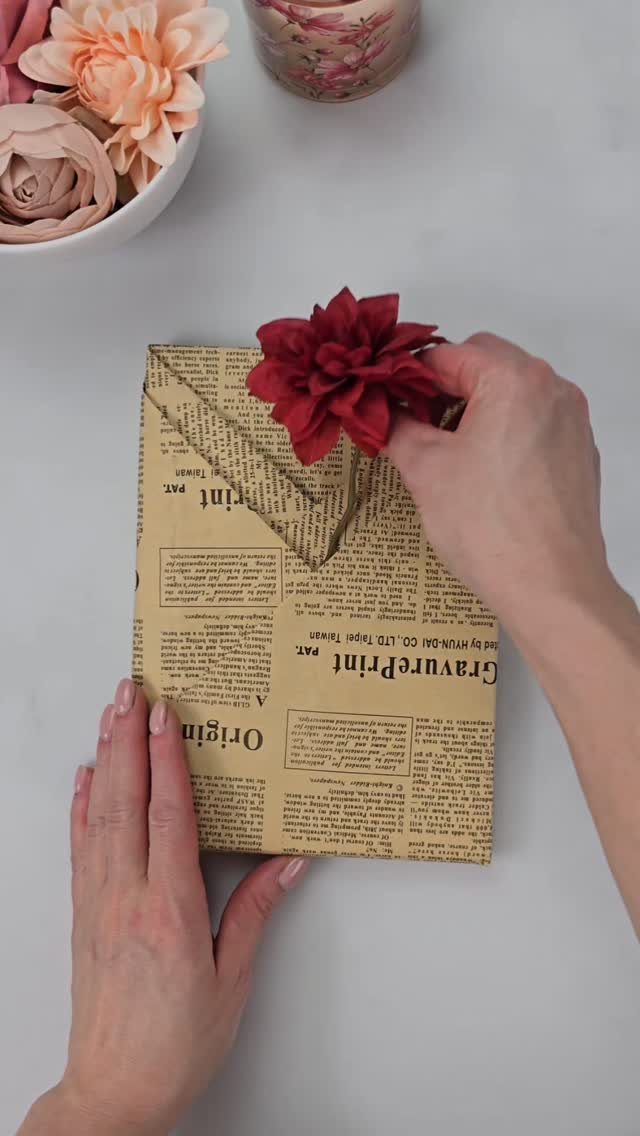
Old newsprint gives a gift an aged, typeset look that store-bought paper rarely matches. Pick pages with interesting lettering or a foreign-language masthead, since the text is the decoration.
Wrap the box as you would with any paper, tie it with twine, and add a single fabric flower in a strong color. Red stands out against gray print.
Newsprint is thin, so wrap small, light gifts and fold the edges carefully to avoid tears. If you already have the paper, the price is close to zero.
6. Hand-Stamped Wrapping
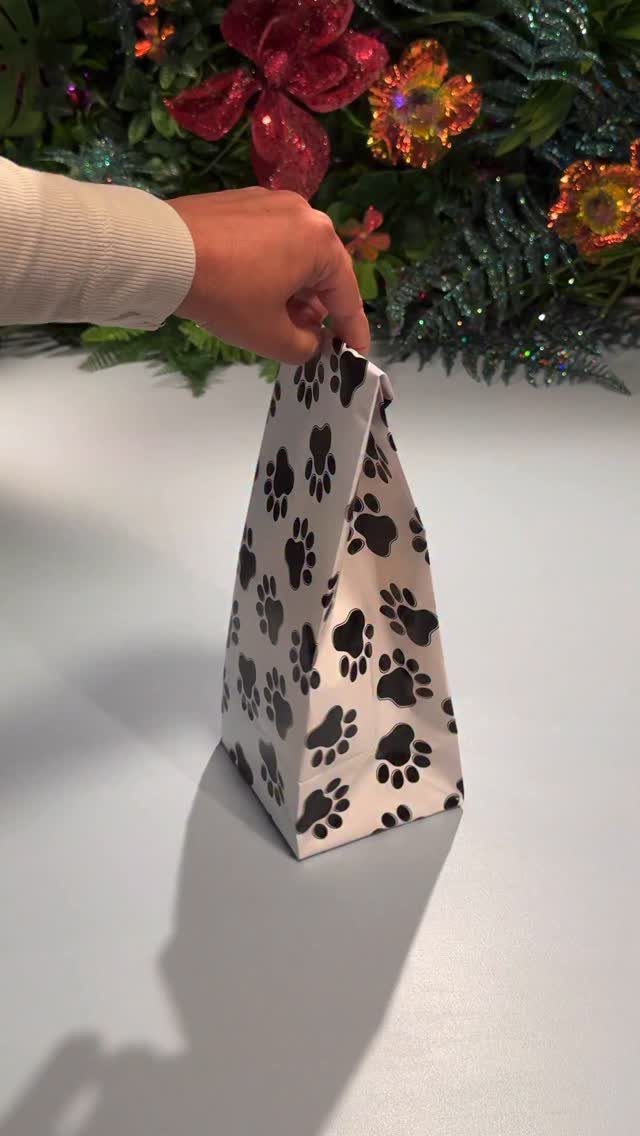
Black paw prints on a white bag say who the gift is for before anyone reads the tag. A plain paper bag and a stamp are all you need, and a pet lover will notice the effort.
Press the stamp onto an ink pad, then onto the bag, and lift straight up so the print stays clean. Test on scrap paper first, because too much ink blurs the shape.
Space the prints as if walking across the bag. Give the ink plenty of time to set completely, then fill it.
7. Homemade Bows
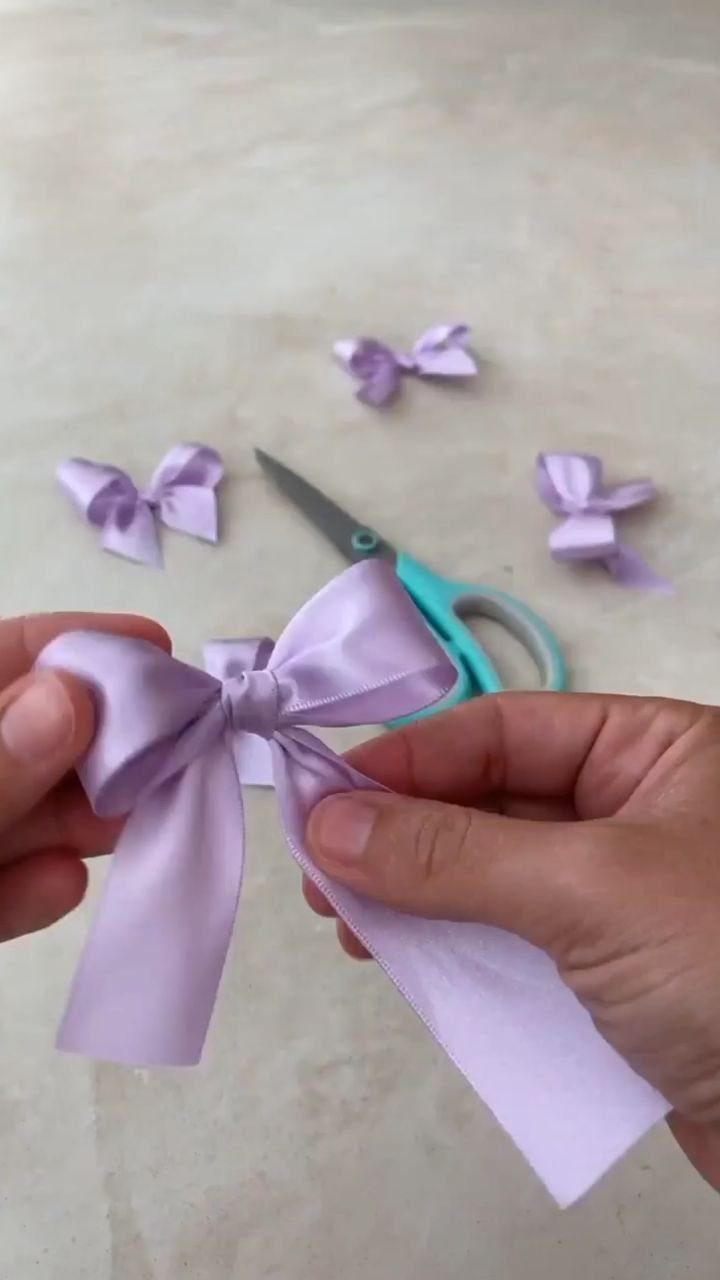
A bow made from satin ribbon costs a fraction of a store-bought one, and you pick the exact shade. Purple satin in a few sizes looks good stacked on a table before it ever reaches a gift.
Make several at once so you can match them to boxes of different sizes. Keep scissors close for trimming the tails on a slant, which keeps the ends from fraying as quickly.
Satin slips, so attach each finished bow with a loop of double-sided tape instead of trusting the knot alone.
8. Candy-Wrapped Gift Parcels
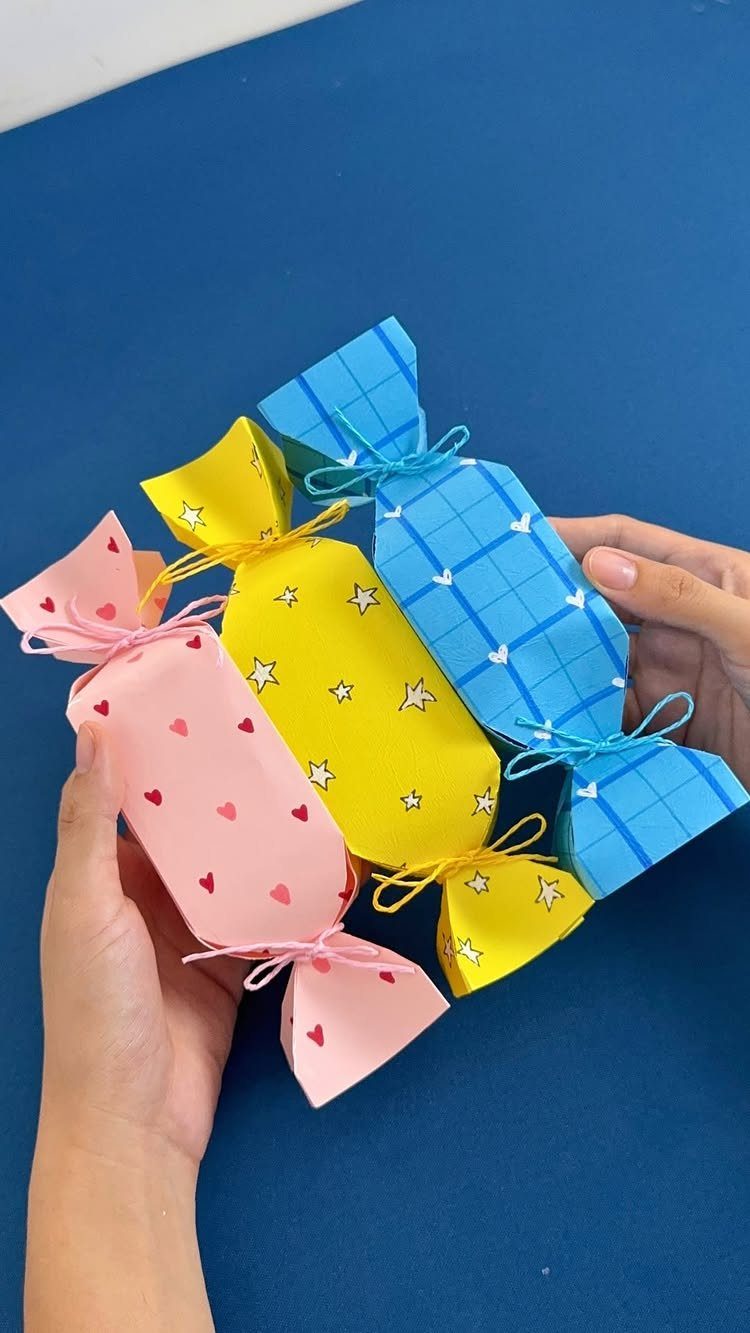
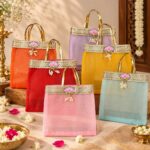
Small presents twisted into paper tubes look like wrapped candies, and patterned paper does most of the work. Pick 3 coordinating prints, such as pink, yellow and blue, so a group reads as a set.
Roll the gift in the paper with a few inches of overhang at each end, then tie both ends with string or ribbon. Gather the paper gently so the folds stay tidy.
This suits items that are small and soft or sturdy: jewelry boxes, soaps, a few chocolates. Anything heavy will pull the ends open, so use a regular box for it.
9. Envelope Fold with Dried Florals
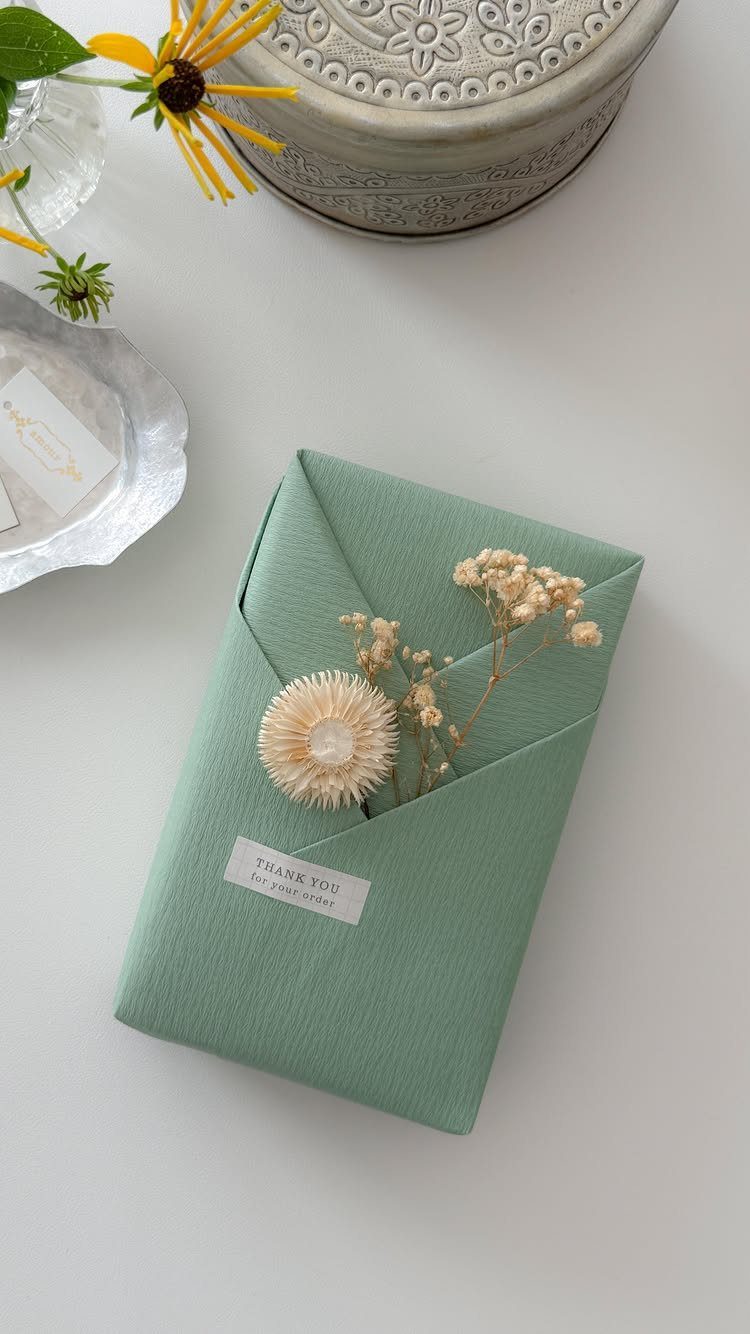
Fold the front of the paper into an envelope flap and you get a built-in pocket for a tag and a sprig of dried flowers. Green paper with white blooms keeps the look quiet.
Slide the tag under the flap so it stays put, and cut the flower stem short enough to lie flat. A thank-you tag suits customers or hosts, but a handwritten name works just as well.
Dried flowers are brittle, so tuck them in last and carry the gift flat.
10. Plaid Wrapping with Green Ribbons
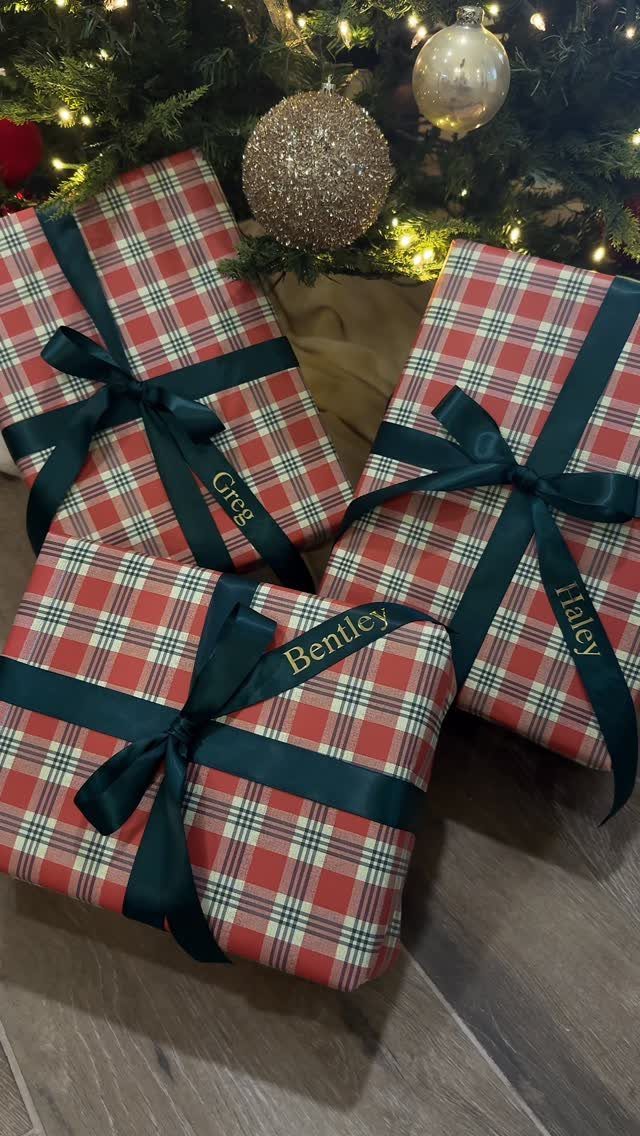
Red and white plaid paper with dark green satin ribbon is a classic pairing, and it looks sharp because only 2 colors do the talking. Satin ribbon in a deep green gives the paper something calm to sit against.
Write each recipient’s name on the ribbon or a small tag so the gifts double as place markers under the tree. The maker of this set said the whole process took under 20 minutes.
Cut the paper with sharp scissors along the plaid lines, since crooked cuts show clearly on a check pattern.
Importance of Gift Wrapping
Wrapping is the first thing a recipient touches, so it sets expectations before the gift is seen. A neat package signals that someone spent time on the person, and that reads as care even when the present inside is small.
Anticipation does a lot of the work. A package with a handwritten tag and a finished bow gives the recipient a moment to look, guess and enjoy it before anything comes open.
I’d rather spend a little time wrapping a modest gift carefully than hand over an expensive one in a crumpled sheet.
Tools for Gift Wrapping
Buy the basic tools first; the specialty ones can wait until you know you’ll use them.
A thick paper that holds a crisp fold matters most, and I’d buy rolls over pre-cut sheets, which tend to carry crease marks from the package.
Sharp scissors prevent ragged edges. Measure the paper before you cut so it fits the box cleanly.
For finishing, keep 2 widths of coordinating ribbon, clear tape, and double-sided tape, which hides completely. A strip of washi tape gives a plain package a decorative edge with almost no effort.
One upgrade is worth it once you wrap often: a bone folder, which gives you sharp creases on every fold.
Tags are where a plain package gets its personality.
A handwritten one beats a printed label every time. Store everything in one spot so wrapping doesn’t start with a hunt for tape.
Sustainable Wrapping Options
Reusable wrapping works best when the wrapping is a second gift.
Decorative tins and boxes come close behind. Pick a tin attractive enough to keep, and it will be holding buttons, tea or leftover cookies long after the gift inside is gone.
Pick the container for the person: someone who bakes will use a tin, someone who sews will use the fabric. Matching the material to the habit means it gets reused instead of tucked in a drawer.
Frequently Asked Questions
How can I wrap my gift?
Heavy paper, around 80 lb or more, creases cleanly and keeps sharp edges, so hold it against the box first, mark the cut line, and use sharp scissors for a straight edge.
Finish with ribbon and a handwritten tag, and use double-sided tape so no tape shows.
Fabric works when paper feels flat: knot a 28-inch square of cotton around the present in the furoshiki style, and you skip the tape and scissors entirely.
What are some creative gift wrapping ideas?
Old newsprint tied with twine and a single bold fabric flower gives an aged, typeset look for almost nothing.
A glass jar of homemade snacks with a lid covered in brown paper and red twine shows off the contents and gives the recipient something to keep.
Stamped paper bags, small gifts twisted into paper tubes like wrapped candies, and air-dry clay name tags that double as place cards also stand out.