Most of these wraps cost one sheet of paper and a length of ribbon or twine, while the glowing bouquet needs frosted sheets and a small light, so the gap between them is effort more than money.
The shape of the gift picks the idea: flat items like tea or gift cards fit the envelope fold, a small box suits pleats or photo paper, and a floor lamp that can’t hide gets wrapped in sections as a joke.
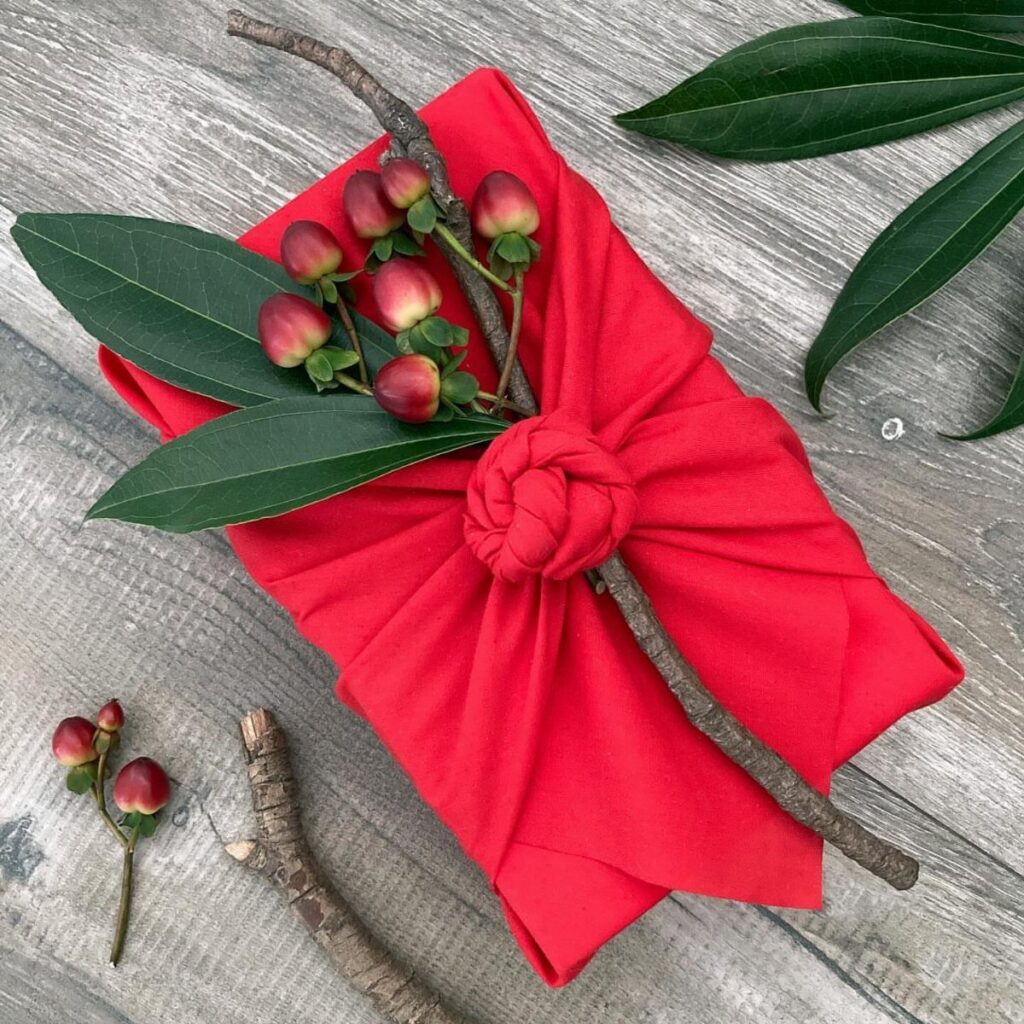
Fabric scraps you already own, knotted with a twig of berries, are the cheapest finish here.
1. Photo Wrapping Paper
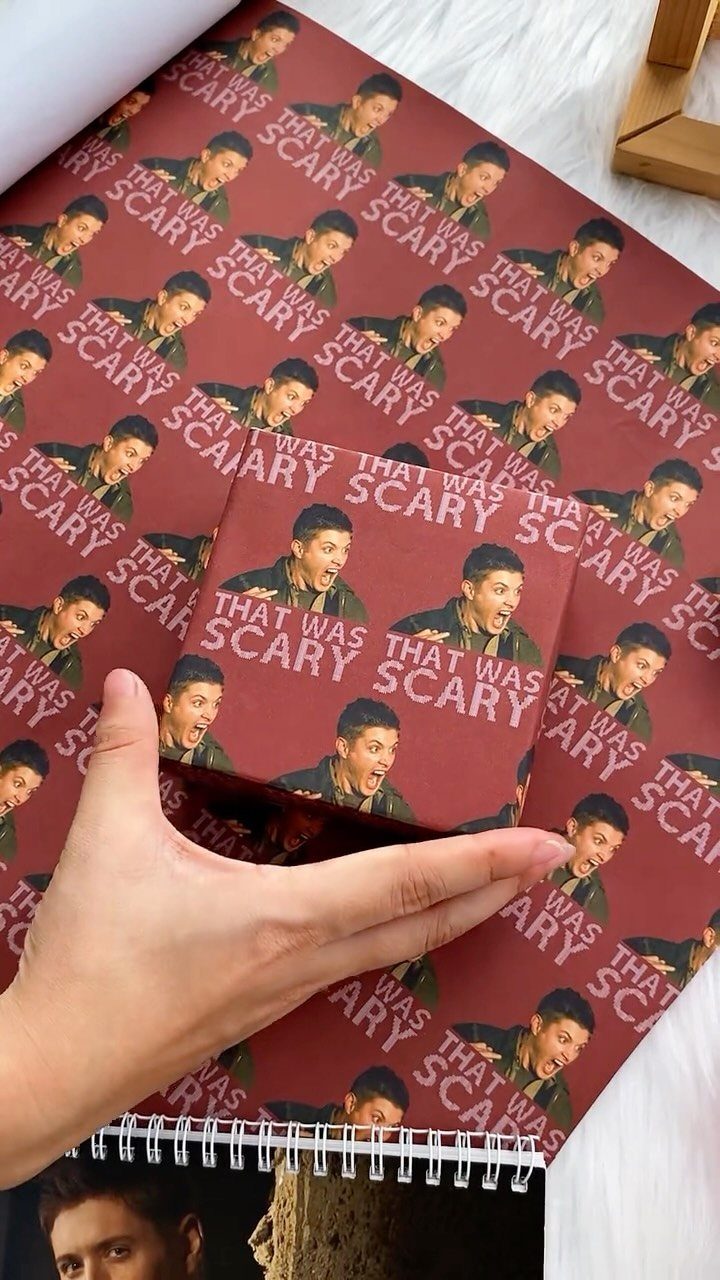
A face repeated across the paper turns wrapping into the joke itself, and that is why custom photo paper works best when the picture and the caption belong together.
A goofy expression plus a short phrase, like the "THAT WAS SCARY" print on this small box, lands harder than a polished portrait.
Pick a photo with a clear face and plain background so the repeat stays readable at small scale. Small boxes show the pattern best; a big one can swallow it.
I would save this for people who share the inside joke.
2. Gift Bag Fold
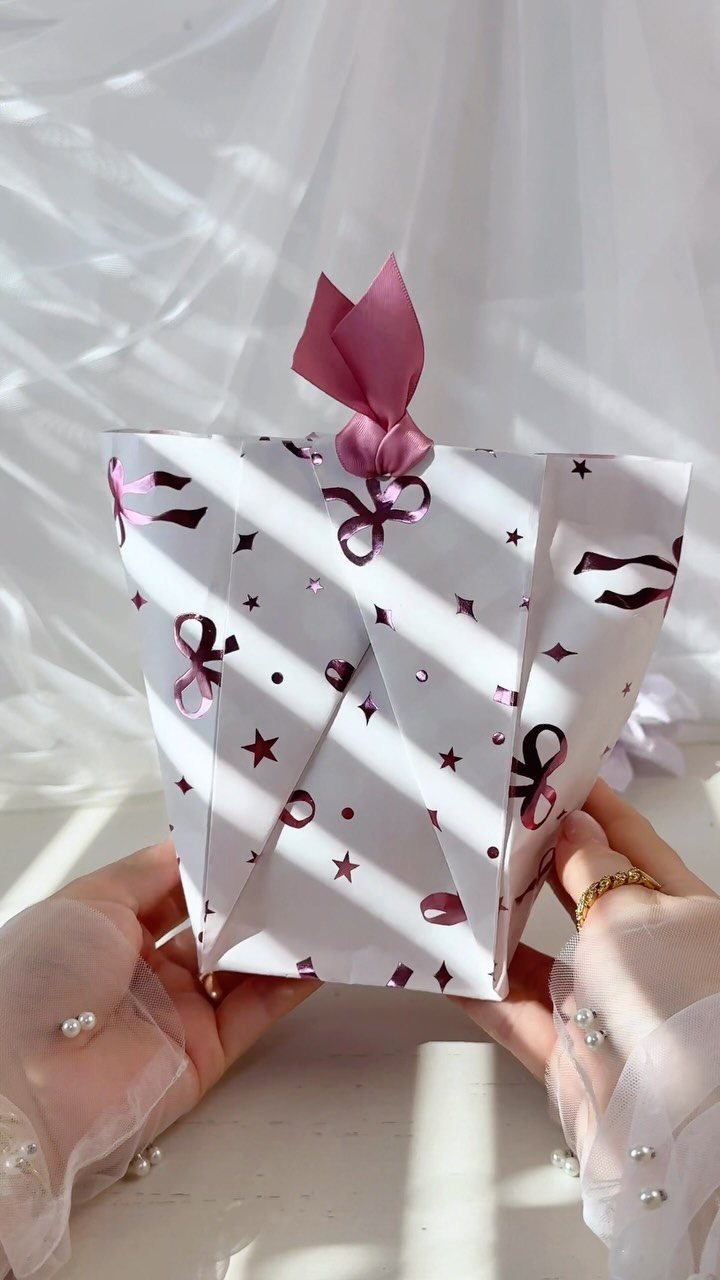
Wrapping paper can become the bag, which is handy when the gift is small and no store-bought bag fits.
Cut a sheet, fold it around the box into a tube, seal the seam, then fold the bottom flat and secure it.
Choose a sturdy paper, since thin sheets tear at the folds. A ribbon bow on top, in a bold color like purple, hides the folded opening and finishes the look.
The cost is one sheet of paper, ribbon and tape, so it suits tight budgets.
3. Envelope Fold
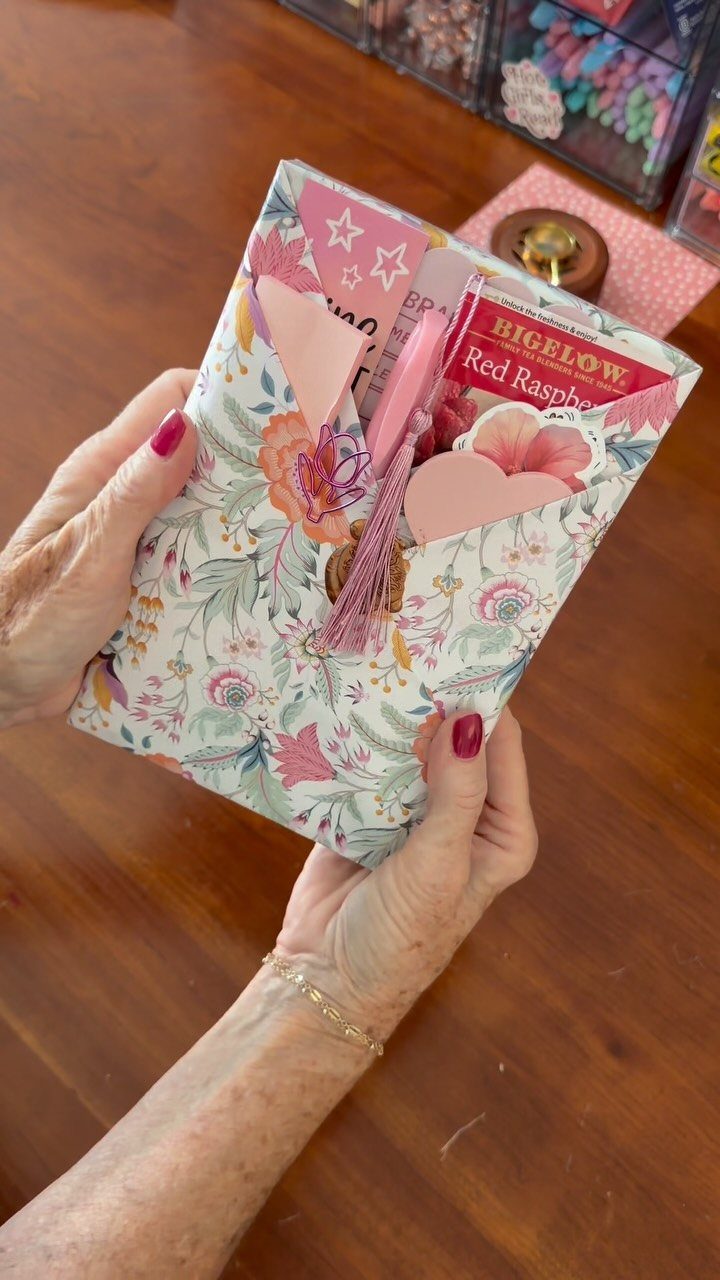
Flat gifts such as tea, cards or paper hearts fit an envelope far better than a box. Fold patterned paper around the items so the flaps overlap, then seal the center with tape or a sticker.
Floral paper, as on this one, gives the envelope a soft, handwritten-letter feel. Keep the contents thin and light, because stuffing it makes the flaps gape.
I like this for gift cards, tea and small notes. A bulky present needs a different fold.
4. Fabric Scraps Gift Wrap
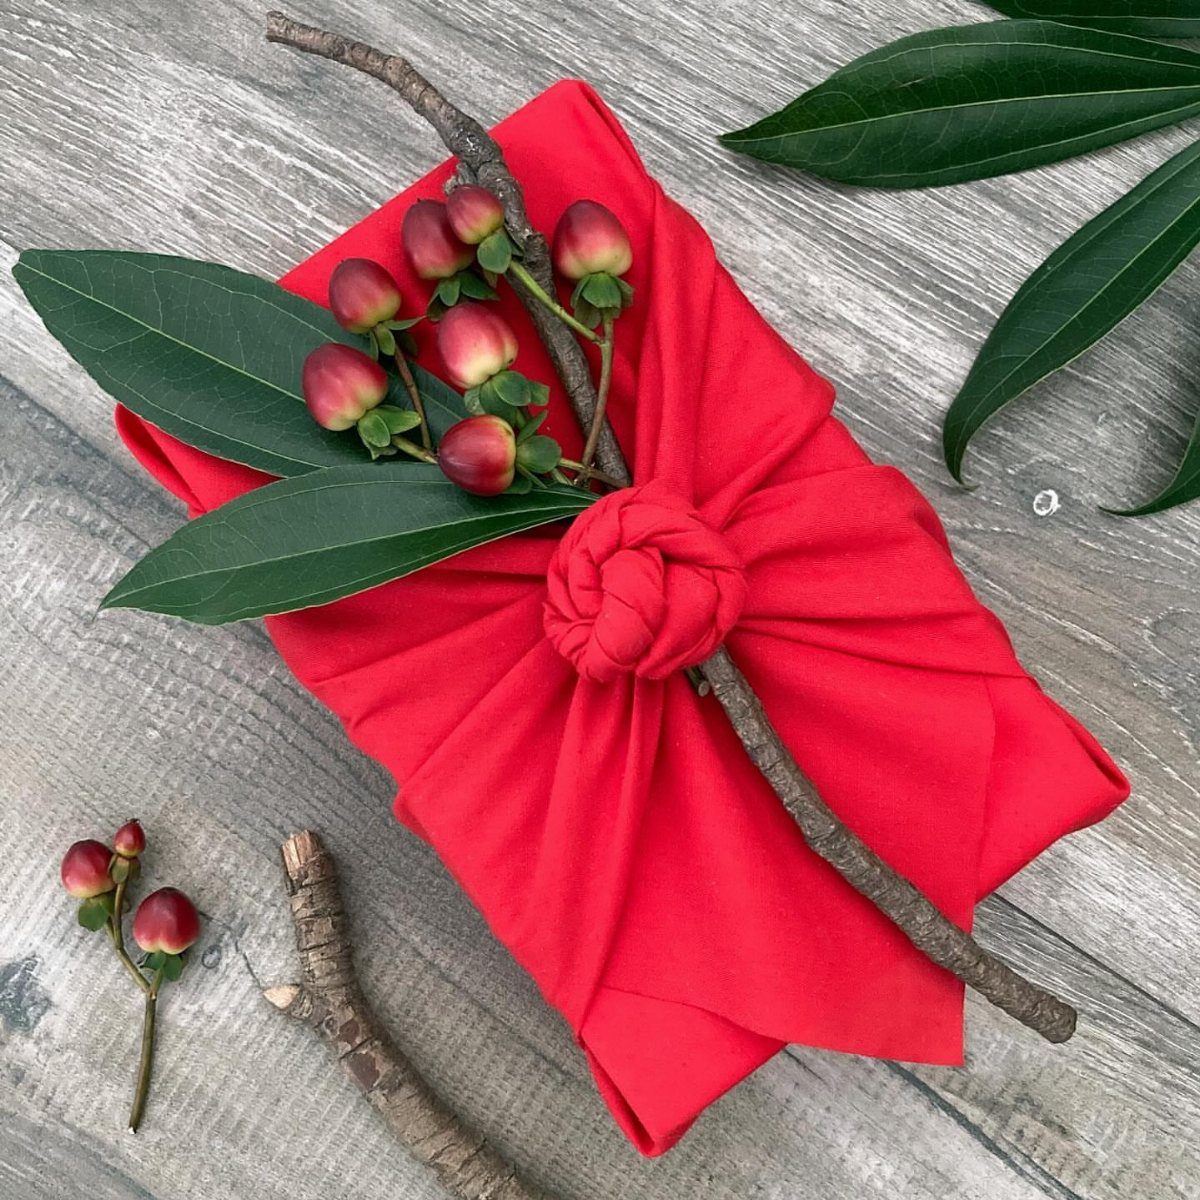
Fabric wrapped and knotted needs no tape, and scraps you already own cost nothing. Lay the gift in the center of a square of cloth, bring opposite corners up, and tie them in a knot on top.
Cut the square large enough to cover the gift with spare cloth for the knot. A twig with berries tucked under the knot, as here, replaces a bow and a tag at once.
Fabrics that fray slightly look fine; I would not bother hemming.
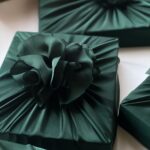
5. Pleated Gift Wrapping
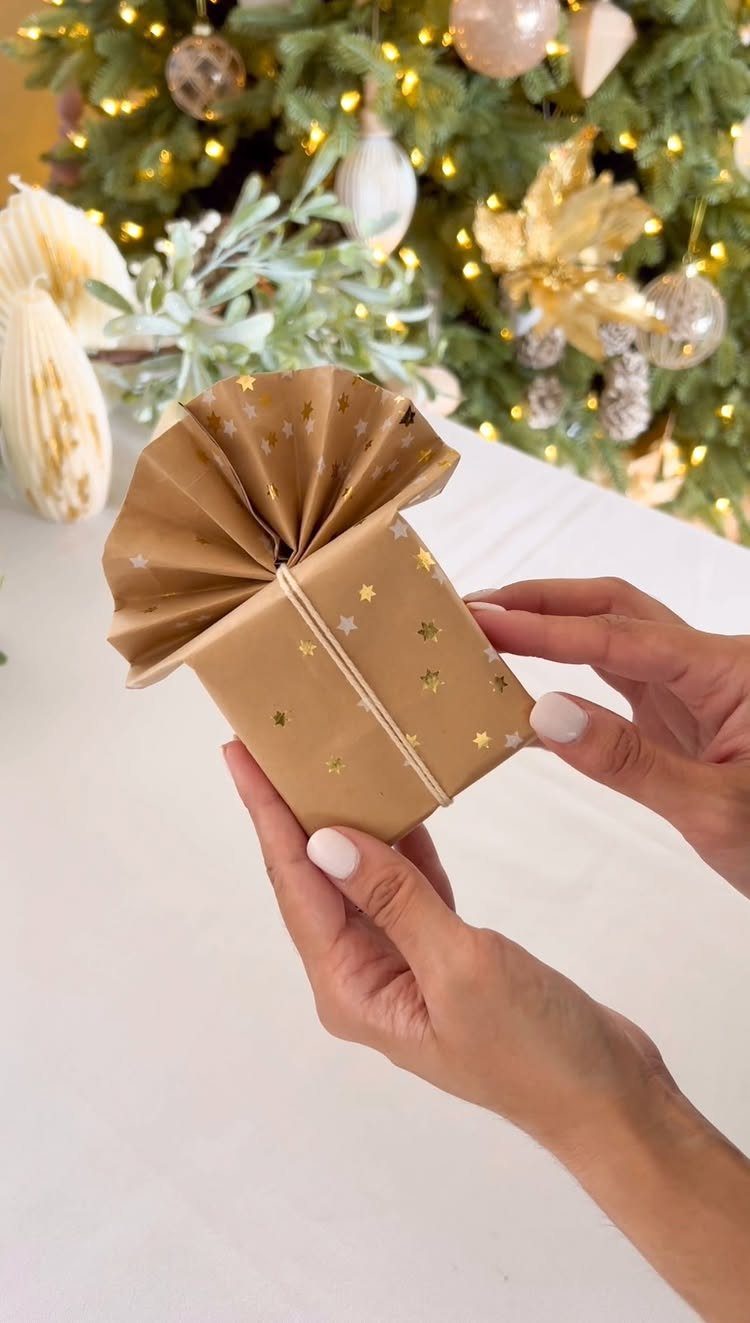
Pleats give plain paper a tailored top, and they work best on a small gift. Gather the paper at the top of the package in even folds, like a fan closing, then bind the gathered section with string.
Thin, flexible paper pleats cleanly; heavy stock fights you. A repeating print such as stars makes the folds look intentional.
String is enough finishing, so the whole thing costs little. Practice on scrap paper first, since the pleats need to be even to look classy.
6. Newspaper-wrapped Gifts
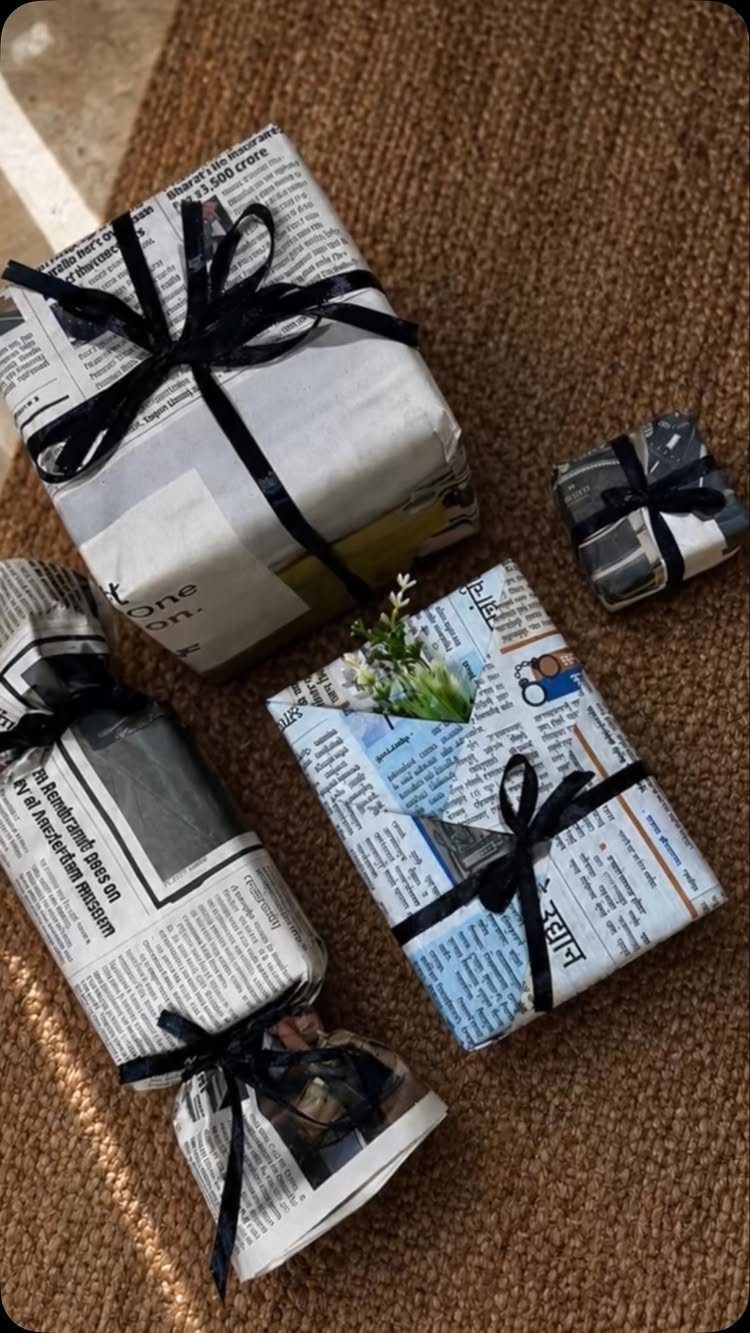
Newspaper is free, and its gray print reads as deliberate when you pair it with black ribbon. Wrap the gift as you would with regular paper, using tape on the seams, then tie it with a ribbon.
Newsprint is thin, so double the layer on heavier boxes and avoid sharp corners that poke through.
A sprig of greenery tucked under the ribbon adds a bit of color, and rosemary or a small cedar tip holds up well for a few days.
7. Pom Pom Finishing Touch
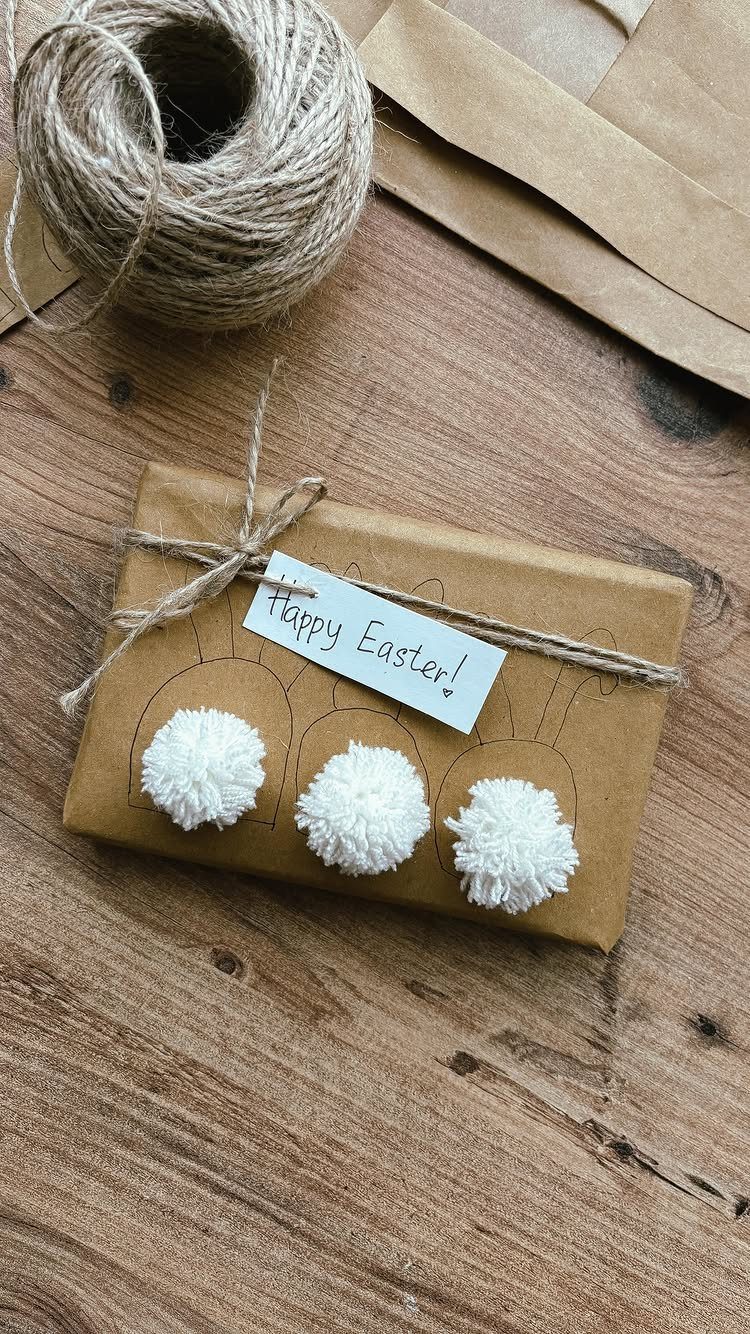
Three white pom poms in place of a bow make brown paper look playful, and they cost little. Tie the twine around the box, knot it on top, and tuck or glue the pom poms where the knot sits.
A tag with a short greeting finishes it. Cotton-ball white against kraft reads clean, though any color would stand out against brown.
Glue them on if you want them to stay put.
8. Yarn Gift Wrapping
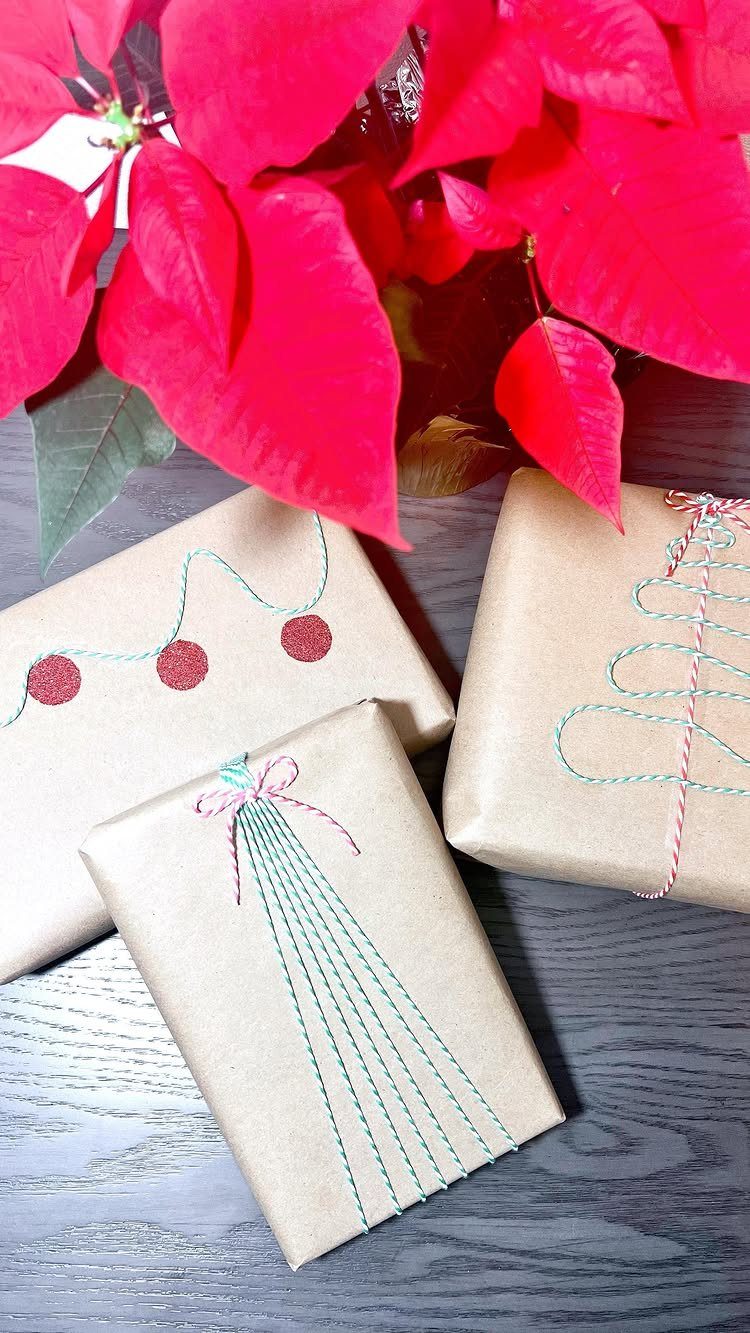
Yarn can do the work of ribbon, and it also draws on the paper. Stitching in a bright color across kraft paper, as on these, looks hand-done in the best way, and a contrasting color keeps it from vanishing.
Pick a thick yarn so the lines show against the brown. Wrap it around the box, or tape the ends down underneath.
I prefer a single color per gift; three at once start to look busy.
9. Candy Cane Topped Gift Wrapping
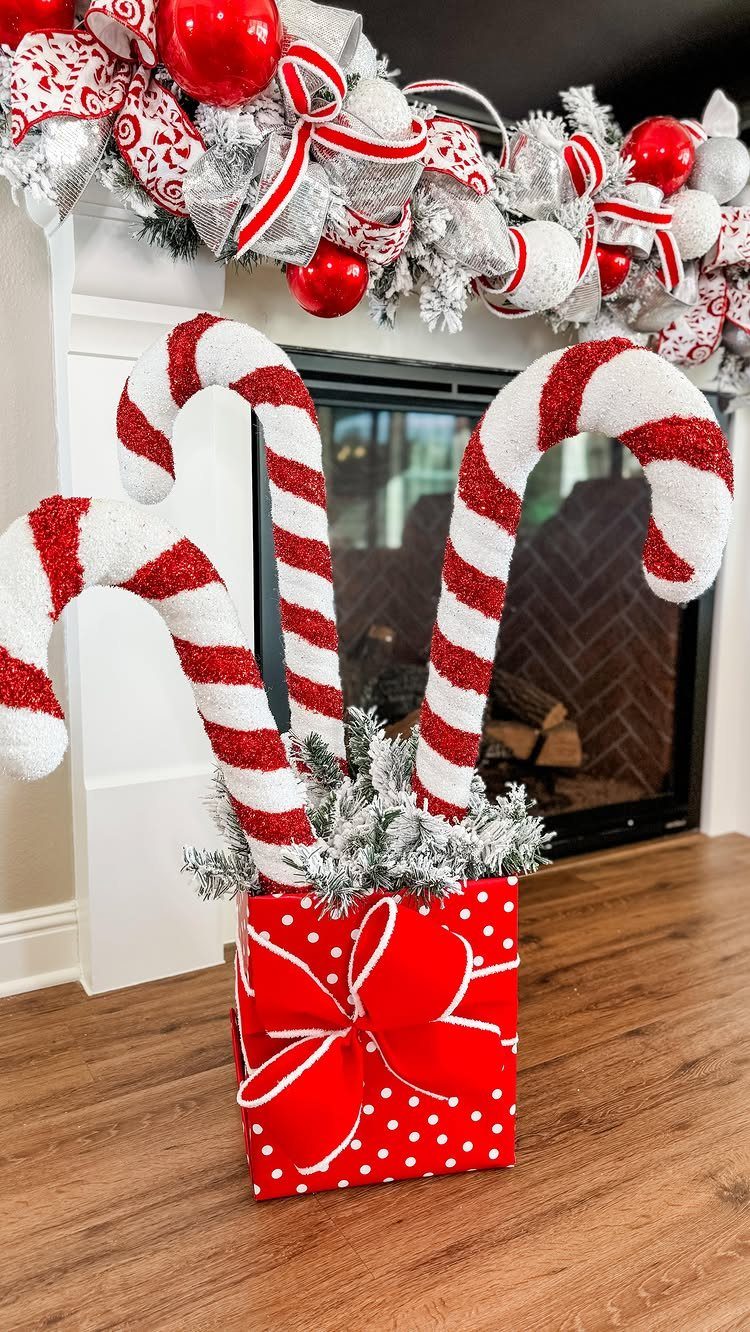
Candy canes make the decoration and the treat in one. Large ones, set upright in an open box with greenery, give the gift a height that a flat bow never will.
Use a box with no lid, or cut the lid away, and fill the base with greenery so the canes have something to lean on.
Big canes cost more than the small boxed kind, so buy a few and skip the extras.
A bow on the box keeps it looking like a present rather than a centerpiece.
10. Real Flowers Gift Wrapping
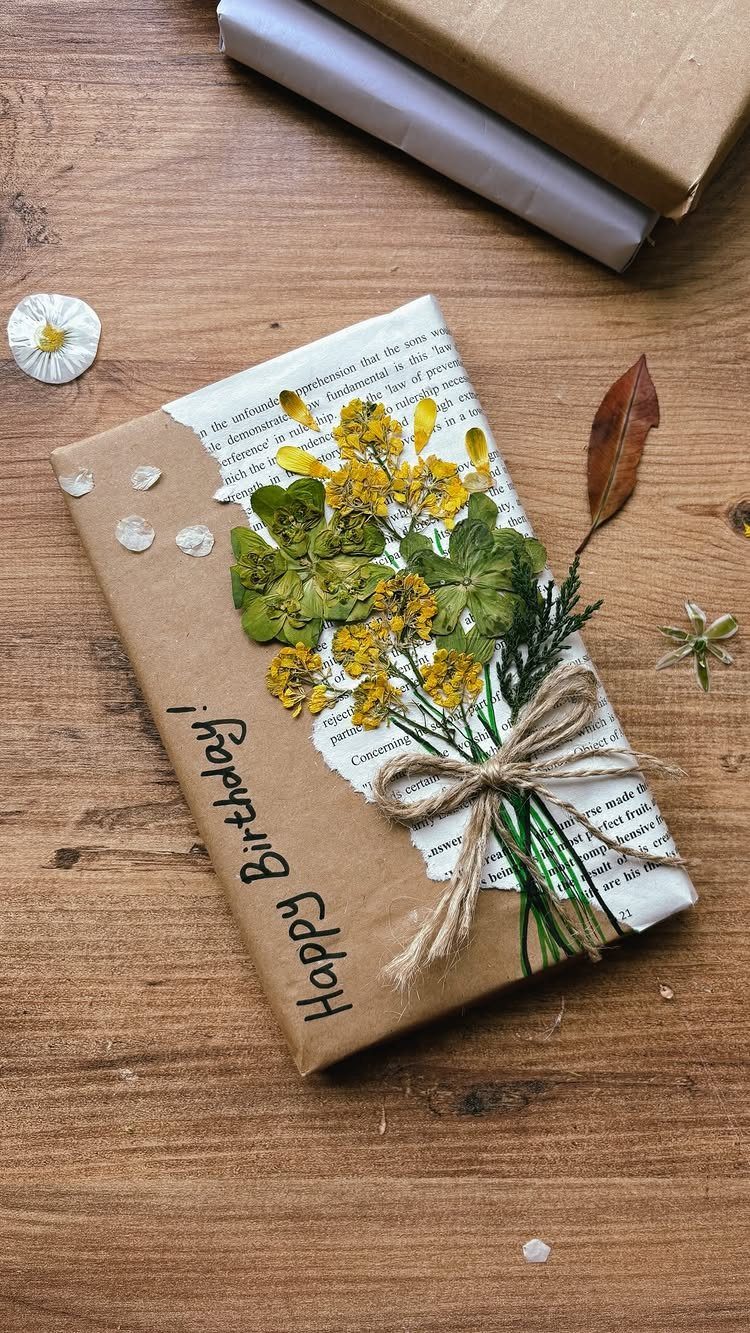
Flowers tucked under twine turn plain paper into something that looks chosen. Dried ones, as here, are my pick for a gift that has to sit a while before it is opened, since they will not wilt.
Slide the stems under the twine so they lie flat against the box. Fresh blooms look fuller but droop, so add them last, right before handing the gift over.
Write the greeting straight on the paper; it needs no tag.
11. Candy Wrapper Gift Fold
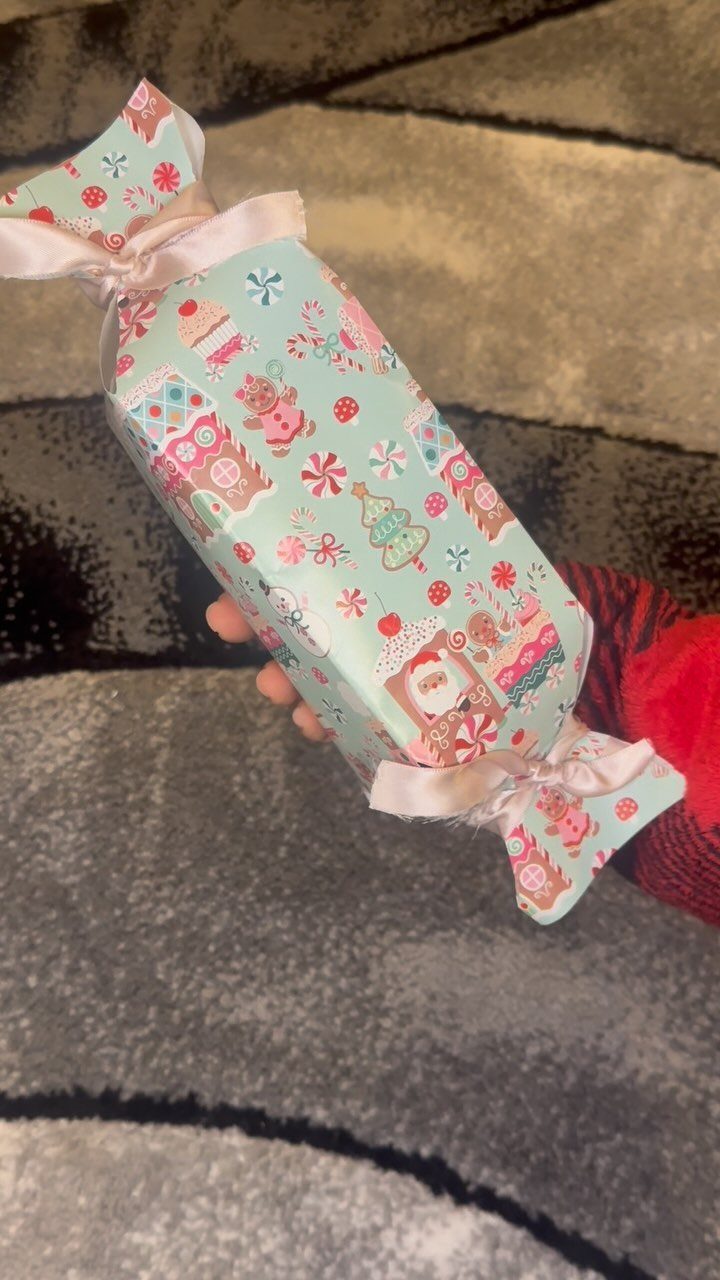
Wrapped like a giant piece of candy, a gift gets its charm from the ends.
Roll the box in paper that is a few inches longer than the box on each side, then cinch both ends with ribbon and let the paper flare out.
This shape suits long, narrow boxes best. A thin, crisp paper holds the gathers; heavy paper bunches and refuses to flare.
Curl the ribbon ends with scissors if you want extra flourish.
12. Wrapped Tall Floor Lamp Gag
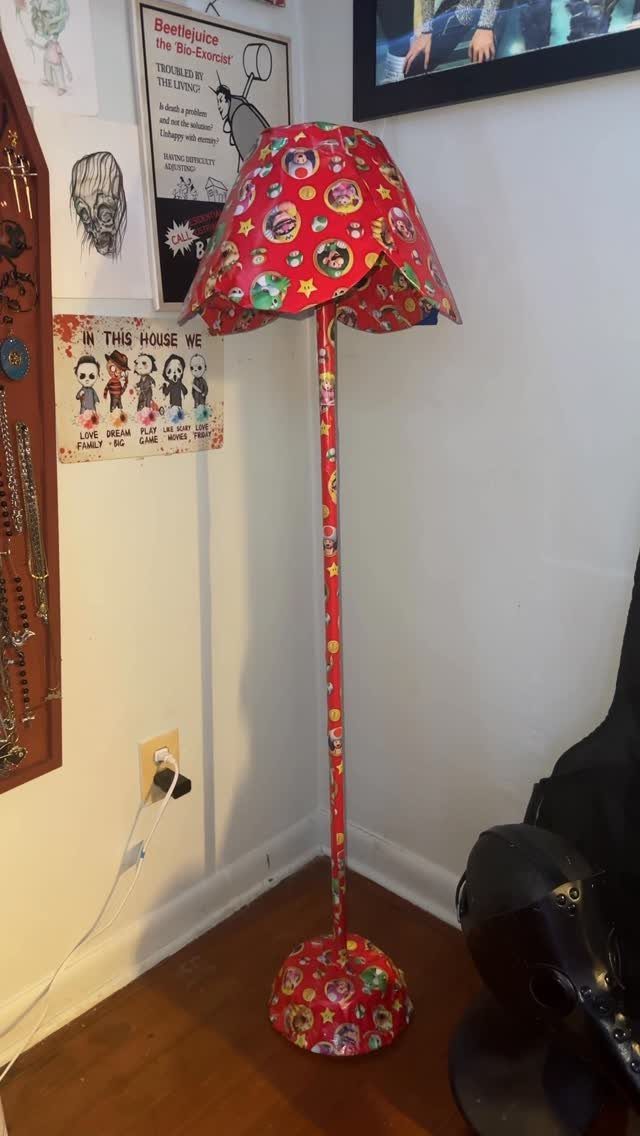
Wrapping an object that is obviously not box-shaped is the whole joke. A floor lamp covered top to bottom in patterned paper announces itself from across the room, and the recipient knows what it is before touching it.
Wrap it in sections, base first, and tape the seams as you go. Several sheets are needed for something that tall, so cost climbs with height.
I would use this for a gift that is too big to hide, and make that the fun.
13. Rolled Paper Tube Flower Wrap
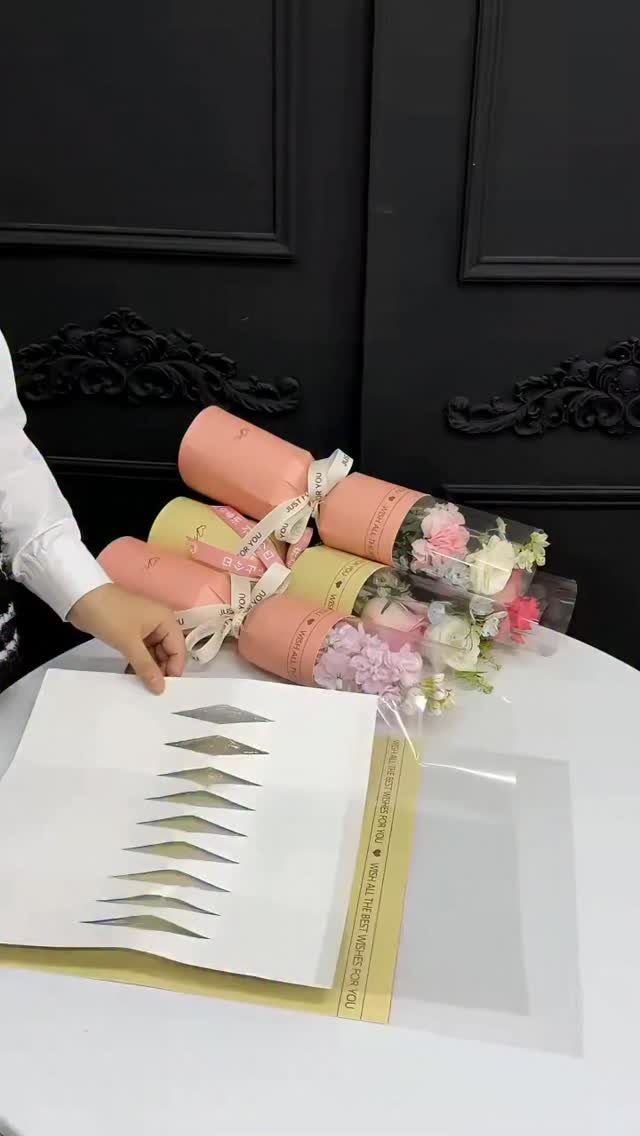
Each flower gets its own paper cone-tube, and the bouquet is just those tubes bound together. Roll a sheet around a stem, tie it with ribbon, then gather the tubes and tie them as one.
2 paper colors, pink and yellow here, keep the cluster looking planned. Cut every sheet to the same size so the tops line up.
I like it for a gift that is the flowers themselves. It costs a few sheets of paper and some ribbon.
14. Confetti Polka Dot Gift Wrap
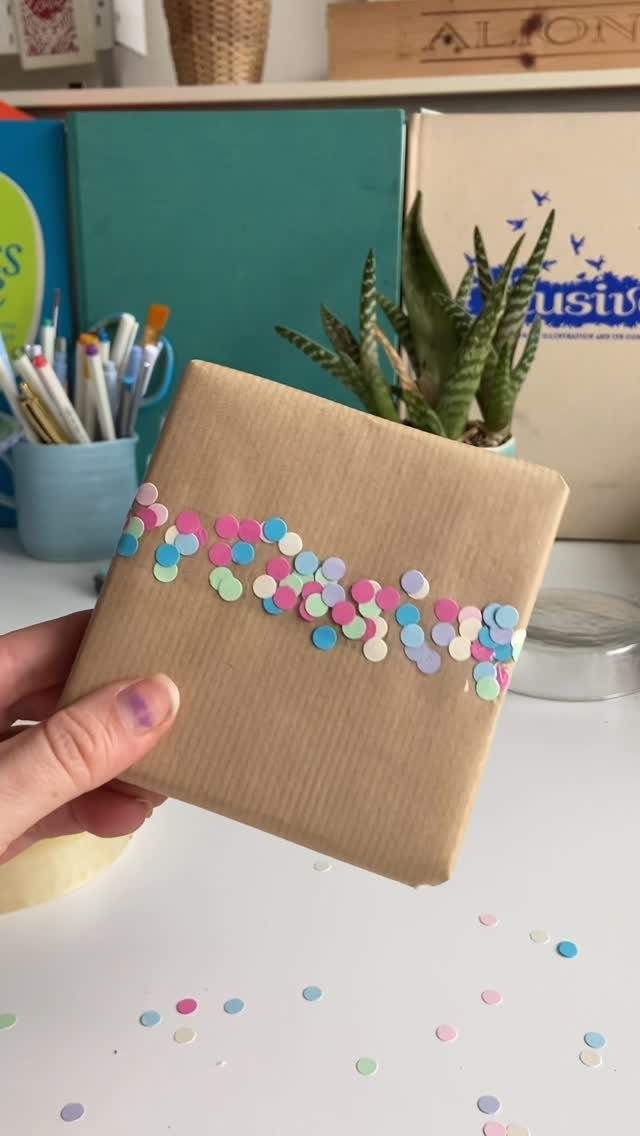
A single row of confetti dots is enough to dress brown kraft paper. Pastel circles in mixed colors, stuck in a straight line across the front, read as party without covering the paper.
Keep the dots evenly spaced and run the line along one edge or across the middle. Sticker dots or punched paper circles both work, and either costs very little.
I would stop at one row. More dots start to bury the kraft, which is the best part.
15. Candy Pouch Cake Topper
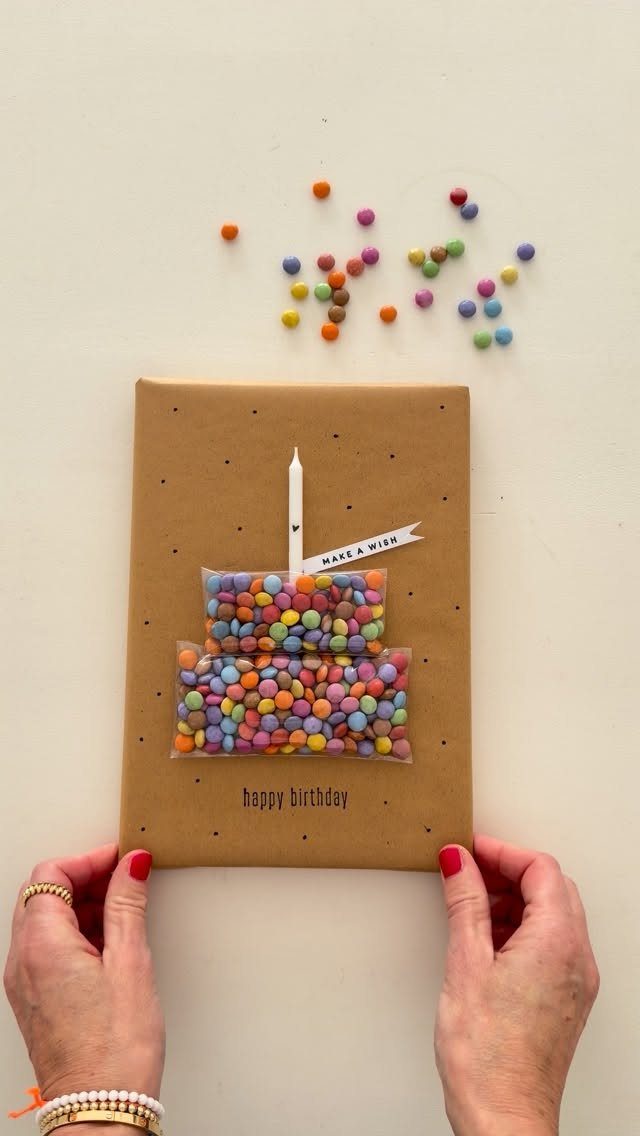
A clear pouch filled with candy and shaped like a cake turns a wrapped gift into a birthday present with a snack attached.
Add a white candle on top and "happy birthday" lettering, and the paper underneath can stay plain brown.
Fill the pouch with candy that holds its shape, and seal it well so nothing spills. Fix it to the gift with strong tape.
I would choose this for birthdays only; the cake says exactly one thing.
16. Glowing Bouquet Gift Wrap
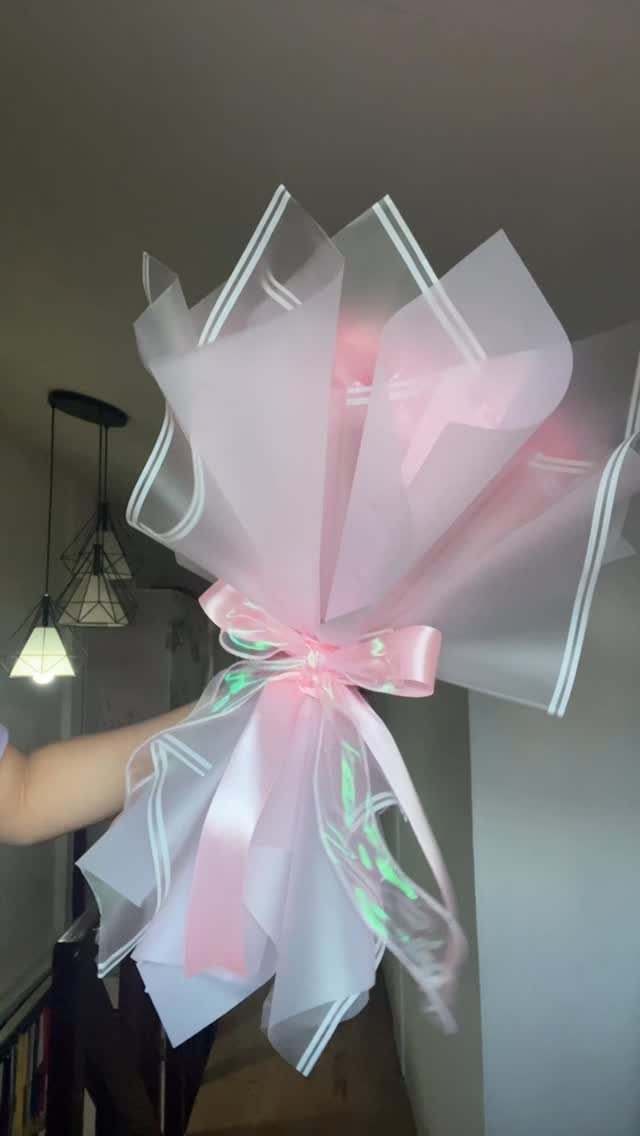
Frosted, see-through sheets gathered into a bouquet make the gift glow, which is what sets this apart from every paper wrap on the list.
A small light tucked inside lights the pink from within, and a matching pink bow holds the gathers.
Layer pink and white sheets so the glow shows softly rather than as one hot spot. Test the light before wrapping, since it is hard to reach afterward.
This takes more materials than most ideas here, so I would save it for a gift that deserves the effort.
Tips for Wrapping Gifts
Measure the paper against the box before you cut anything. Cutting first and taping second saves paper and keeps the edges straight.
Crease the folds with your thumbnail so the corners look sharp. A crisp edge makes even cheap paper look considered.
Finish with one small ornamental piece, such as a wax seal or a few dried flowers. A single detail like that makes a present feel personal and memorable, and it costs very little.
I would pick one finishing touch and stop. Two or three compete with each other, and the paper stops being the point.
Do the decorating last, after the tape is on and the seams are flat, so nothing gets crushed while you work.