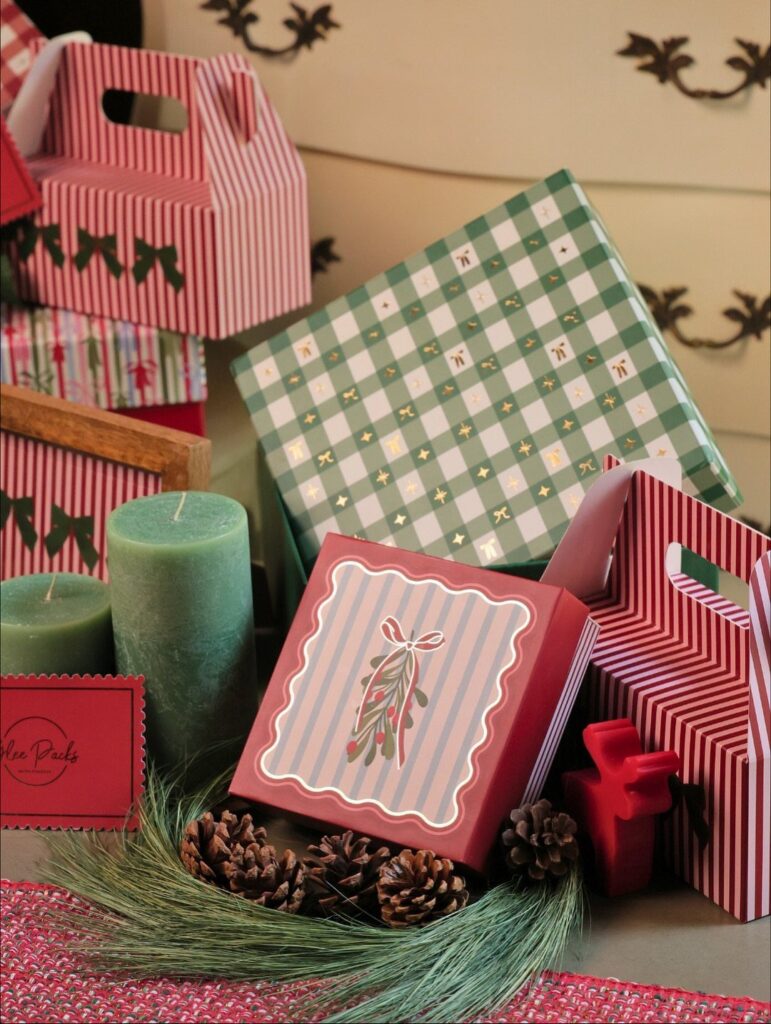
The wrapping here runs from tissue in an open white box, which takes a minute, to geometric pleated folds that need a ruler and scrap paper for practice, and a busy paper wants a quiet finish.
Most of the ideas also depend on a short kit of paper, scissors, tape and a pen, plus 2–3 inches of overlap when you measure.
1. Wrapping the Gift Box
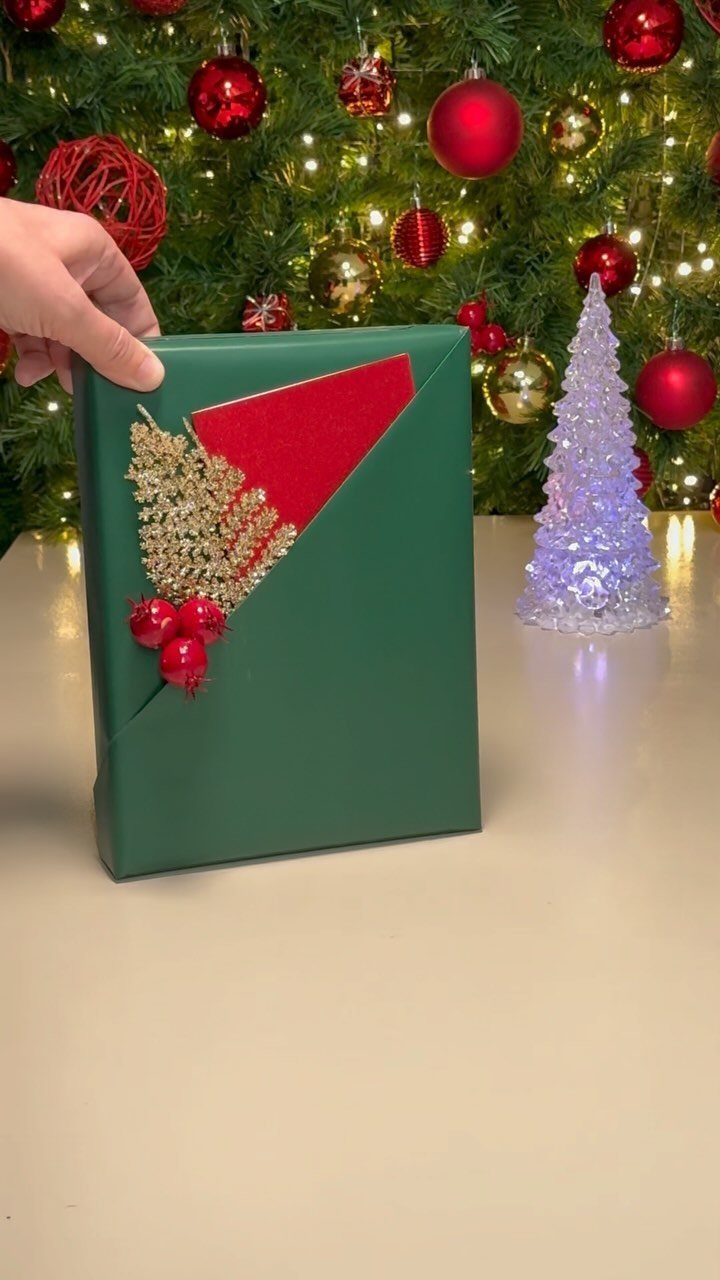
A green box with a red fabric accent, gold glitter and red berries reads as polished because every piece sits in one small cluster instead of being scattered across the lid.
Pick a wrapping paper in a single solid color and let the topper carry the decoration.
Glue the berries and fabric down firmly, since loose pieces are the first thing to look sloppy once the box is handled.
The elf look works best with simple, crisp paper edges underneath.
2. Decorating with Ribbon
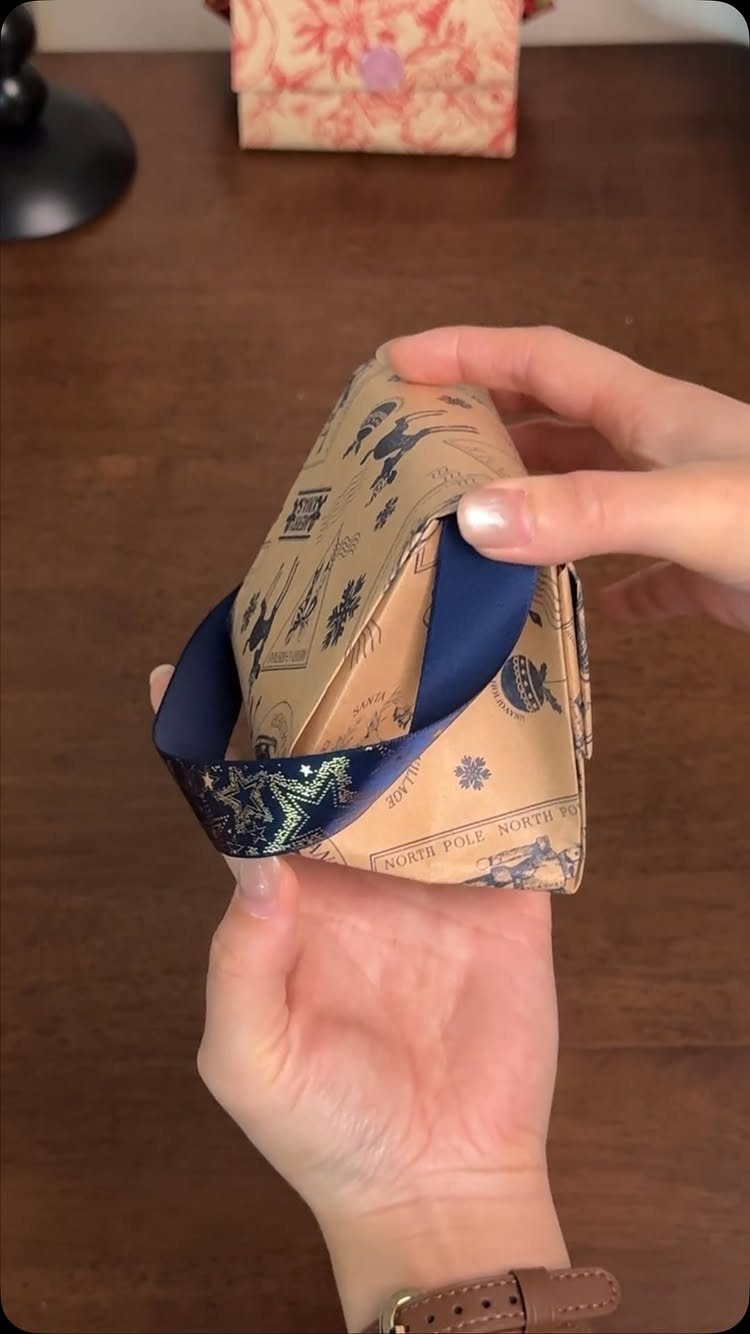
Dark blue ribbon against a printed blue wrap keeps a small box looking deliberate, because the colors stay in one family. Choose a ribbon narrower than the box’s shortest side so it doesn’t swallow the design.
Tie it snugly before you shape the knot or bow, then trim the tails at an angle for a cleaner finish.
A printed paper like this one already has plenty going on, so a plain ribbon is the better pairing over a patterned one.
3. Using Gift Tags
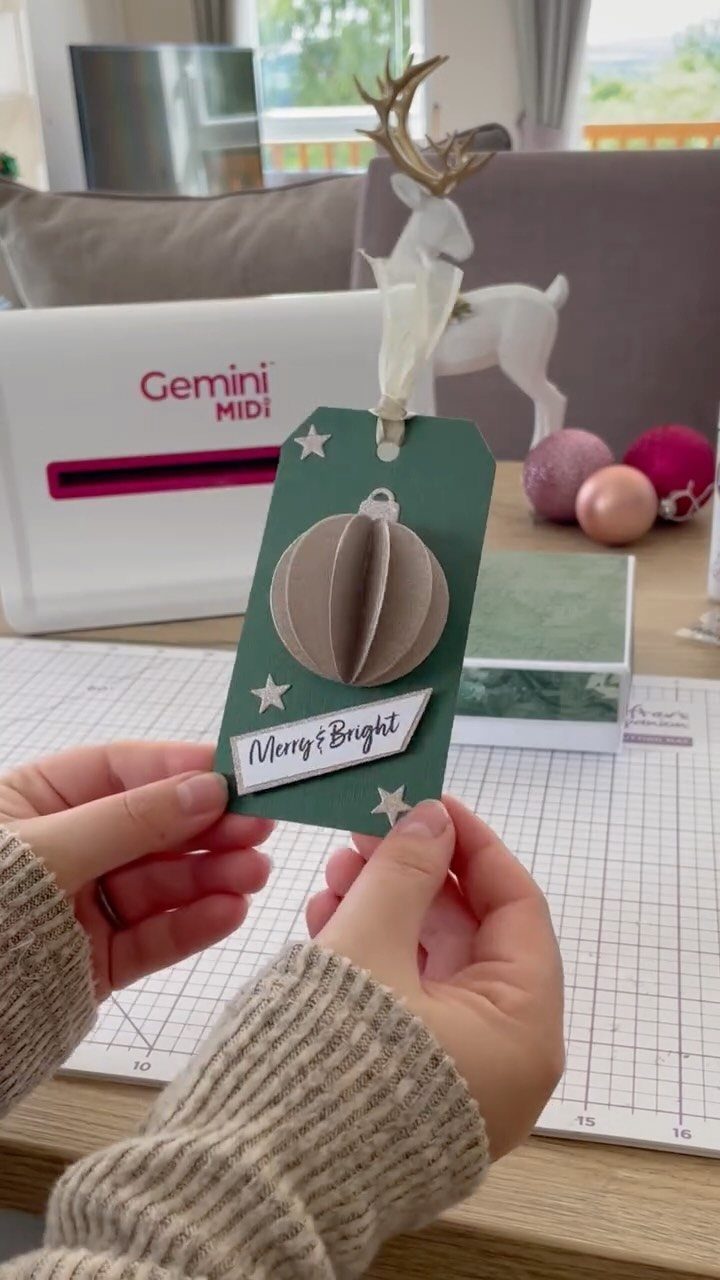
A 3D ornament on a gift tag does the work of a bow, so the tag can be the only decoration the package needs. Cut the tag from sturdy cardstock, since layered pieces sag on thin paper.
Leave a blank spot for the recipient’s name and your own, and write it in pen before attaching.
I like a tag in the same green as the wrap, so the ornament is the single point of contrast. A craft cutting machine speeds up batches, but scissors and a glue dot work fine for a few.
4. Tissue Paper on the Gift Box
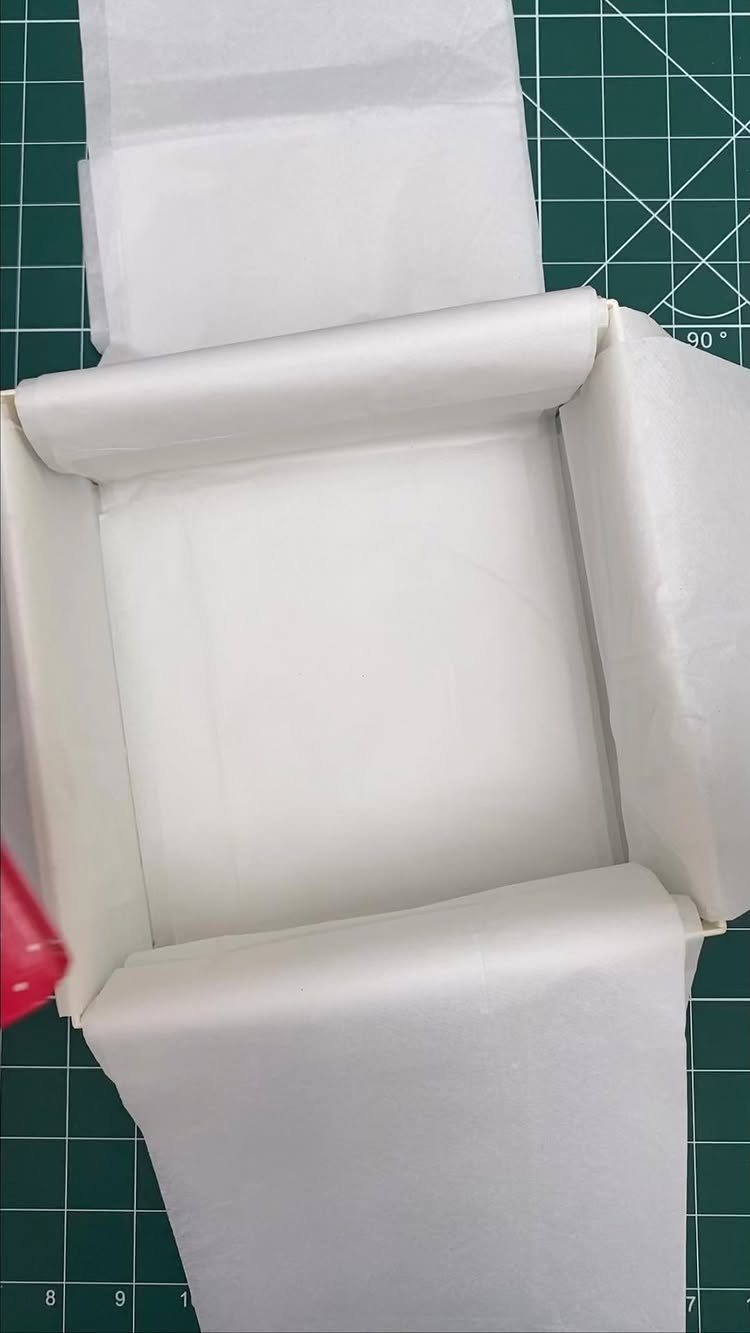
Tissue paper lining an open white box is the quickest way to make a store-bought present look considered.
Use white tissue in a white box for a quiet, clean look, and crumple it loosely so the layers puff instead of lying flat.
Line the bottom and let the edges drape over the sides, then fold them across the gift to close.
Tissue wrinkles easily, so do this step last.
5. Geometric Pleated Fold Wrapping
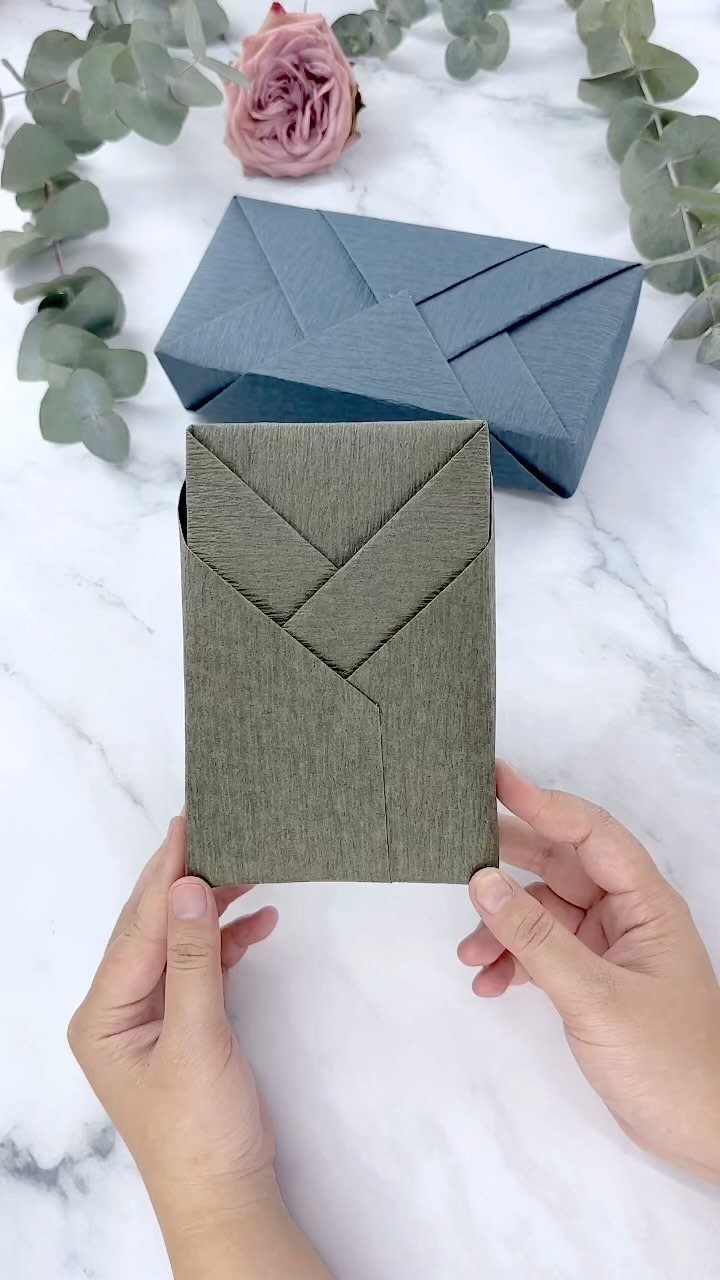
Pleated folds across the top of a box turn plain paper into the main decoration, so no bow or ribbon is needed.
Choose textured paper with some weight, like the olive green here, because it holds a crease where thin paper goes limp.
Score each fold line with a ruler before you fold, and keep the pleats evenly spaced. Tape the folds from the inside so no tape shows.
This takes more patience than a standard wrap, so practice on scrap paper first.
6. Paper Tree Box Topper
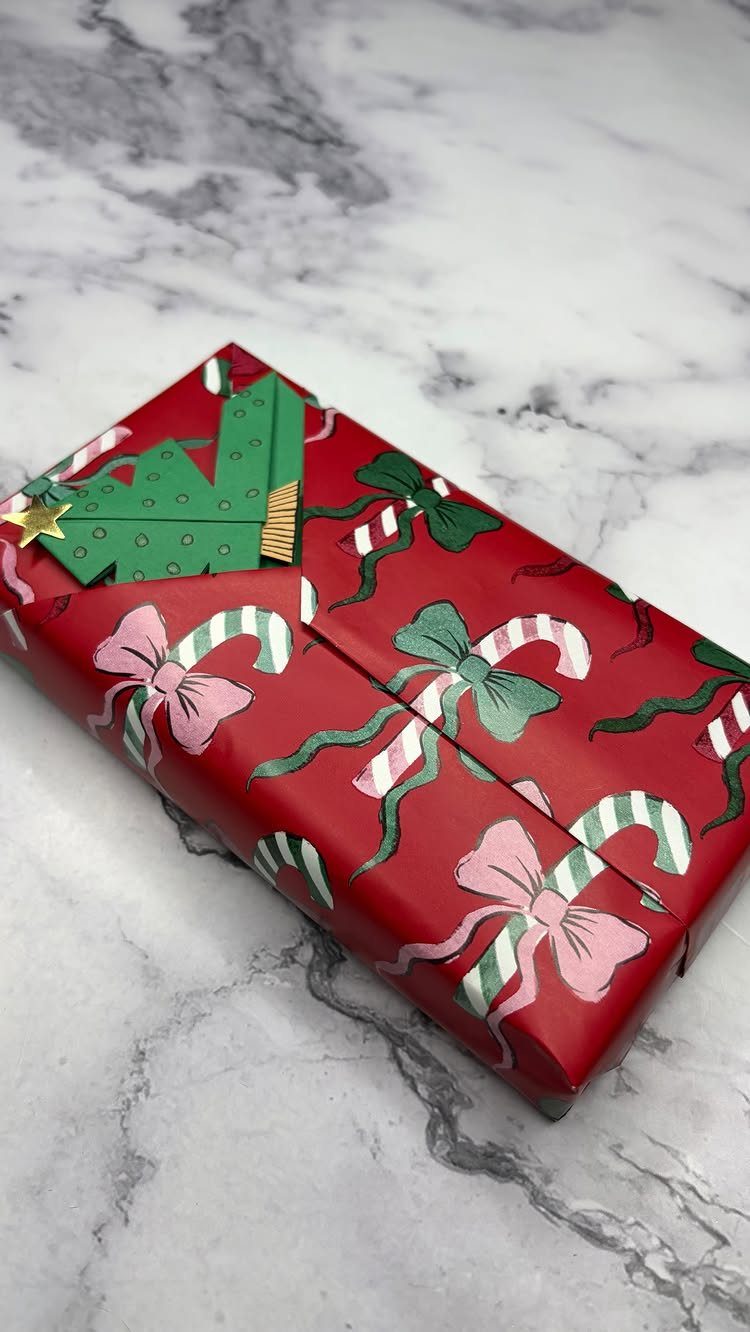
A small 3D paper tree is a topper you can make from scrap green paper, which makes it cheaper than a store-bought bow.
Fold or cut the tree in layers, add a gold star at the peak, and glue it to the lid’s center.
Candy cane stripes on the wrap are already busy, so keep the tree a solid green to stop the two from competing.
Attach the tree last, with a strong glue dot, so it doesn’t get crushed while you wrap.
Essential Tools for Wrapping
A short kit saves more time than a fancy one. Gather wrapping paper, scissors, tape and a pen or marker before you cut anything, so you never stop mid-fold to hunt for the roll.
Paperweights only work if they have some heft, so a roll of tape or a small stone will hold curling paper flat.
Paper that keeps rolling back up behaves once you park a pair of scissors on one corner and the tape roll near the other.
Ribbon and tags are optional, but have them on hand before you start.
Wrap the tape measure once around the box’s girth, then add 2–3 inches so the paper overlaps with room to spare. If your paper has lines printed on the back, follow the one that sits 2–3 inches from your mark.
A price sticker has to go; if it won’t peel cleanly, a black Sharpie hides it. Fragile items get a layer of tissue or bubble wrap underneath, and I wrap multiple pieces separately instead of bundling them.
Tips for Neat Wrapping
Start with the paper held flat. Weights on the corners keep it from rolling, and a box that overhangs the paper can be turned 45 degrees so the short end sits square to the cut edge.
Fold the side edges under before they touch the box. A folded edge looks crisp where a raw cut edge looks ragged.
Crease a thin, stiff sheet along a drawn line and it will often catch and rip. I get a cleaner edge by cutting along the line in short, steady strokes.
I prefer double-sided tape for the seams, since the paper stays taut and no tape shows.
Pull off all your tape strips before you start and press them along the table’s edge, so one is always within reach when both hands are holding paper.
Frequently Asked Questions
What’s the easiest type of gift wrap for beginners?
A gift bag is the easiest, since nothing needs folding. If you want paper, pick a thicker, heavier sheet that still bends smoothly.
It creases cleanly and resists tearing, and it holds a fold where thin paper goes limp. Tape hidden on the inside of each seam, the double-sided kind, pulls the paper snug and leaves nothing shiny on the surface.
How do I wrap a present without tape?
Tie the package with ribbon or string so it holds the paper in place.
Furoshiki folding skips tape altogether: you knot or tuck the corners of a square of fabric or sturdy paper around the box so it holds itself shut.
Ribbon gives the most secure finish, and a snug knot keeps everything from shifting.
What’s the best way to wrap awkward-shaped items?
Odd shapes do best in a gift bag or a plain box, or you can gather the paper up over the top like a pouch and tie it with ribbon.
A box also adds support for odd shapes. Fragile items need a cushion of tissue or bubble wrap under the paper, and I wrap each piece on its own so they never knock together.