The shape of the gift decides the wrapping technique more than the paper does.
A bottle wants furoshiki fabric or a pleated fan wrap, a soft or oddly shaped present belongs in a gift bag made from wrapping paper, and a firm little box is the only thing that can carry sharp origami folds.
The ideas run from a gift card wrapped with botanical accents to an ornament topper tied under a double satin ribbon bow, and from a quick bag to an origami fold that takes real patience.
Look at what you’re holding first, then pick the wrap that suits it.
1. Make a Gift Bag from Wrapping Paper
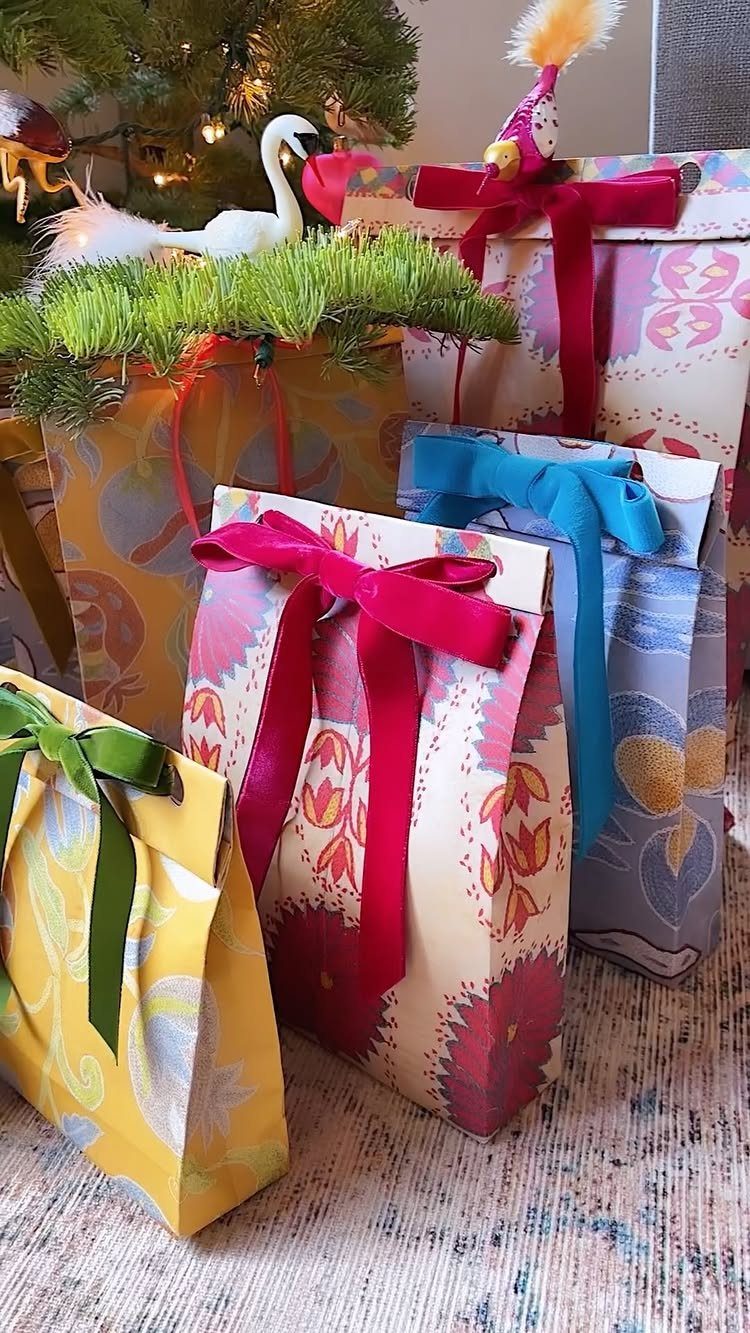
Wrapping paper makes a gift bag, and the bag is the better choice when the present is soft, oddly shaped or something you’d rather not square off.
Pick a paper whose pattern you like enough to see up close, since the bag shows more of it than a flat box does.
I’d match the ribbon to one color in the print so the bag looks planned rather than improvised.
2. Wrapping Gift Cards
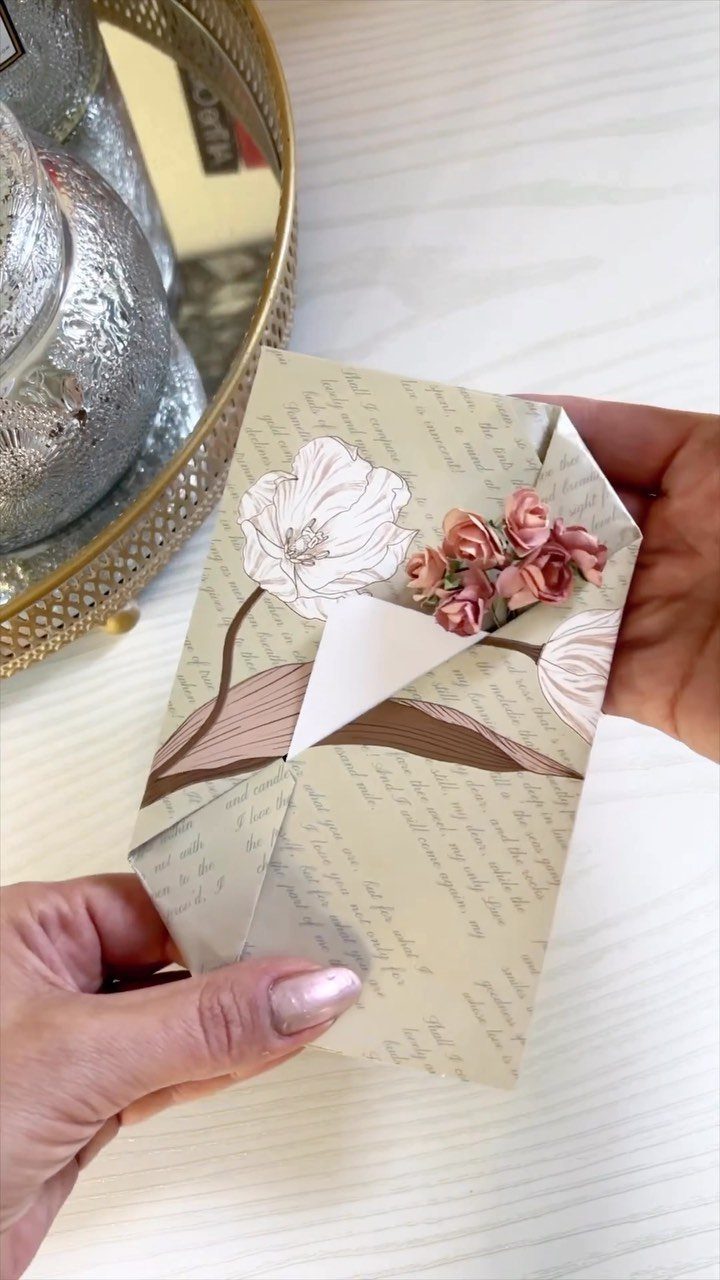
A gift card is easy to hand over and easy to forget, so the wrapping has to carry some of the thought.
A small paper envelope with a floral pattern and a few artificial roses glued on gives it a keepsake look, and the card slides in flat.
Keep the decoration light, because the envelope still has to slip into a hand or a larger card without snagging. A gold tray or small dish makes a good way to present it on a table.
3. Wrap a Standard Gift Box
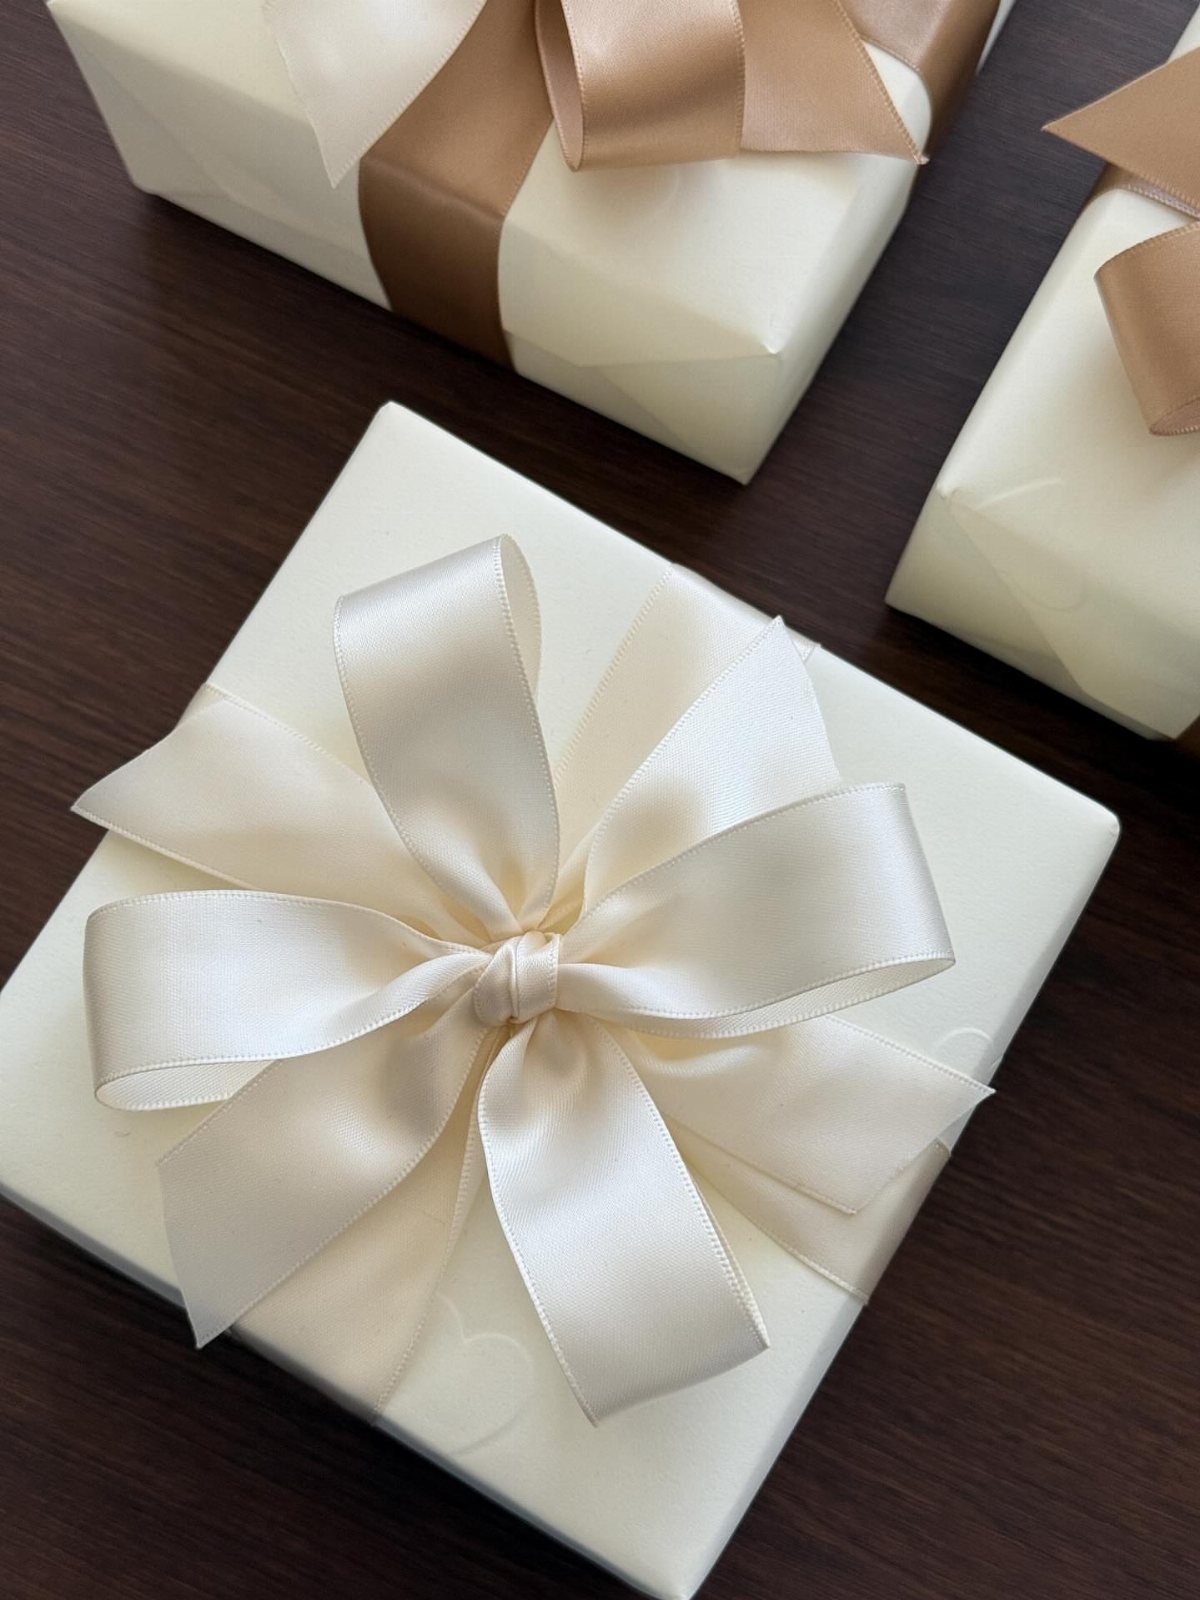
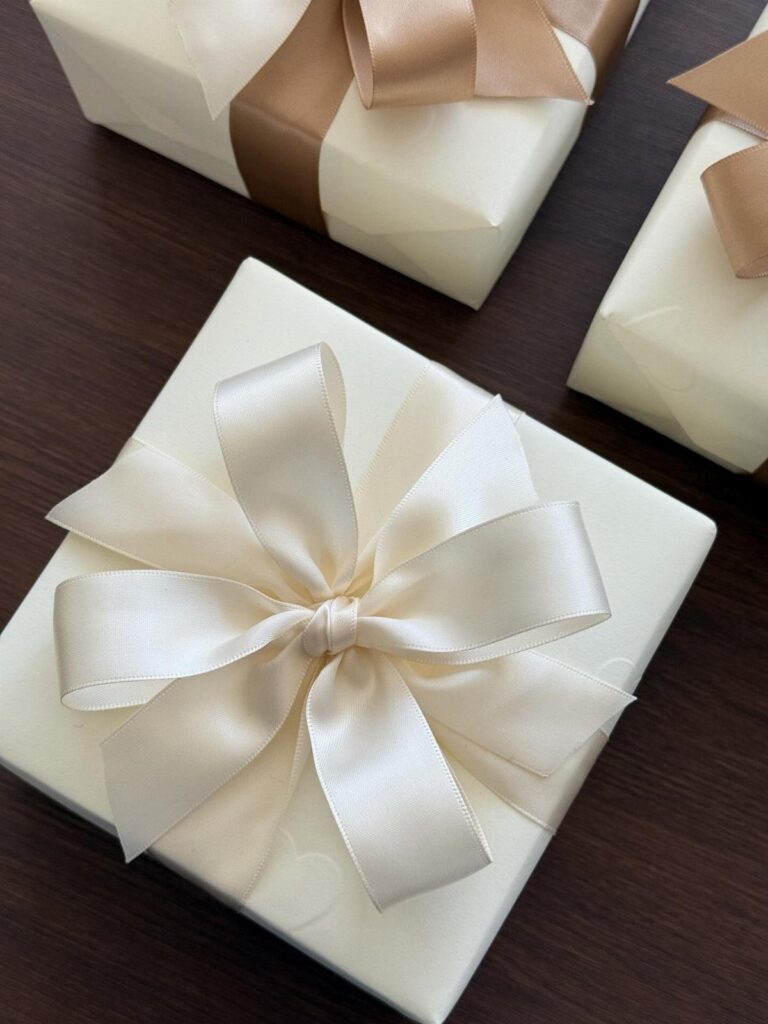
Neat box wrapping comes down to clean edges and tight folds. Cream paper shows every crease and bit of tape, so I like it for practice: if it looks good in plain cream, the technique is sound.
Cut the paper so it just wraps the box with a little overlap, fold the side edges crisply, and hide the tape inside the folds where you can.
A large satin bow on top covers any small flaws and makes a set of boxes read as a matching group.
Packaging goes beyond selecting pretty wrapping paper. “It is the first impression, the moment that sets the tone before the gift is even opened,” says Nikki Block, Cleveland-based content creator and founder of Wrappin Queen.
4. Wrapping Bottles with Furoshiki Fabric
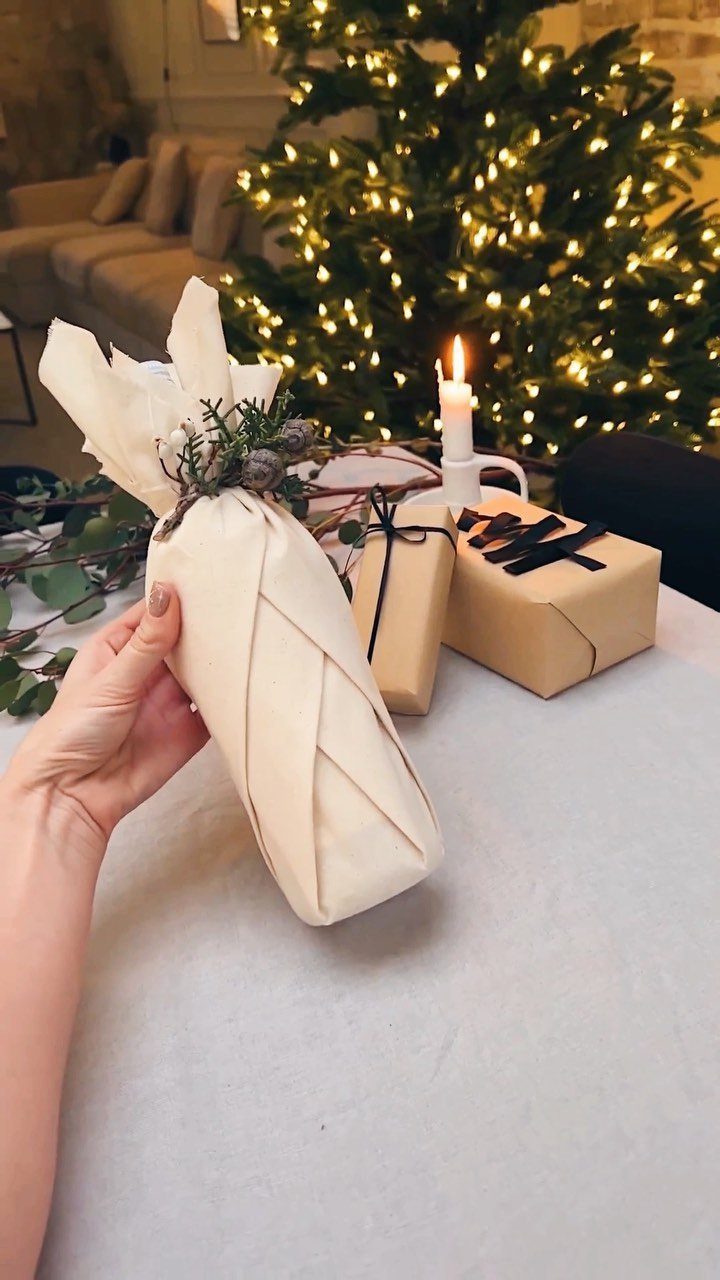
A bottle is awkward in paper, but fabric wraps it without fuss. A cream cloth gathered around the neck, as the furoshiki method does, follows the bottle’s shape instead of fighting it.
Tuck a sprig of greenery into the knot for color. I prefer fabric here to paper, since the wrap becomes a second gift the recipient can reuse as a scarf or napkin.
5. Organize Gift Wrap Supplies
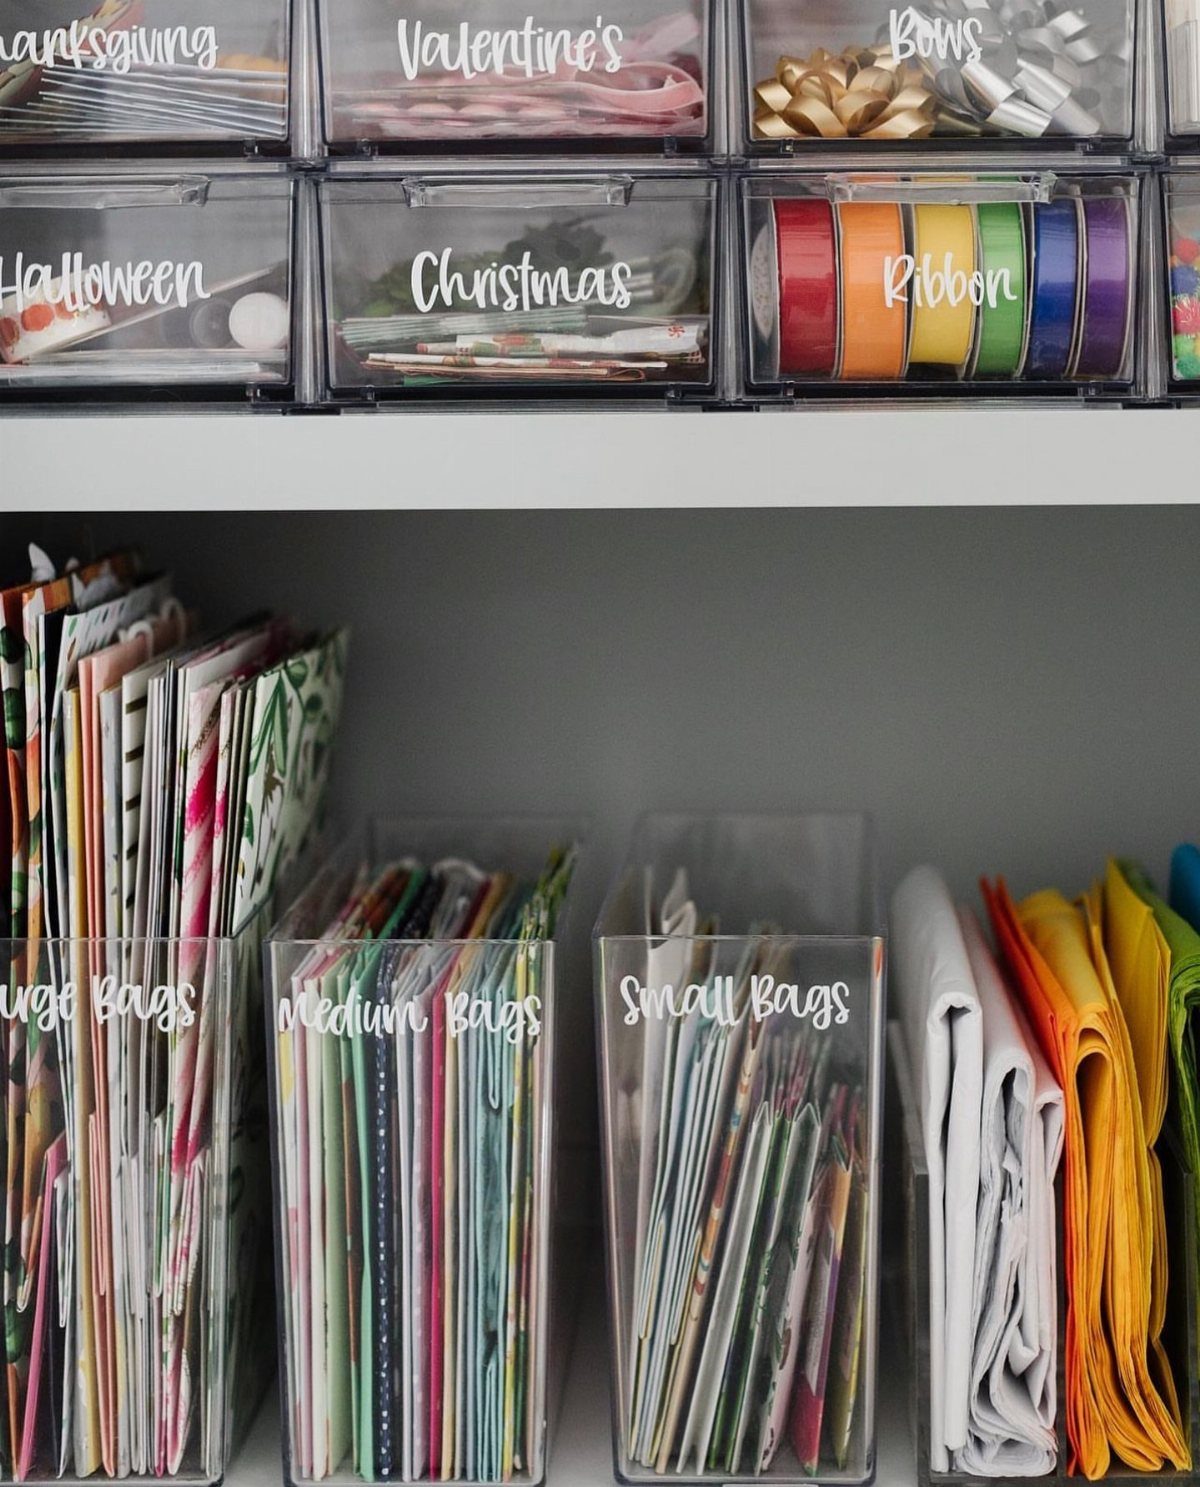
Clear plastic bins on open shelves let you see rolls, tags and ribbon at a glance, so you grab what you need without lifting a lid.
Label each one by holiday or item, such as Christmas, Halloween, Bows, Ribbon, and Small, Medium and Large Bags.
Splitting bags by size is the move I like most, because you can grab the right fit in seconds.
Sorting this way before the season starts saves you from digging through a pile when a gift needs wrapping in a hurry.
6. Cellophane Gift Basket Wrapping
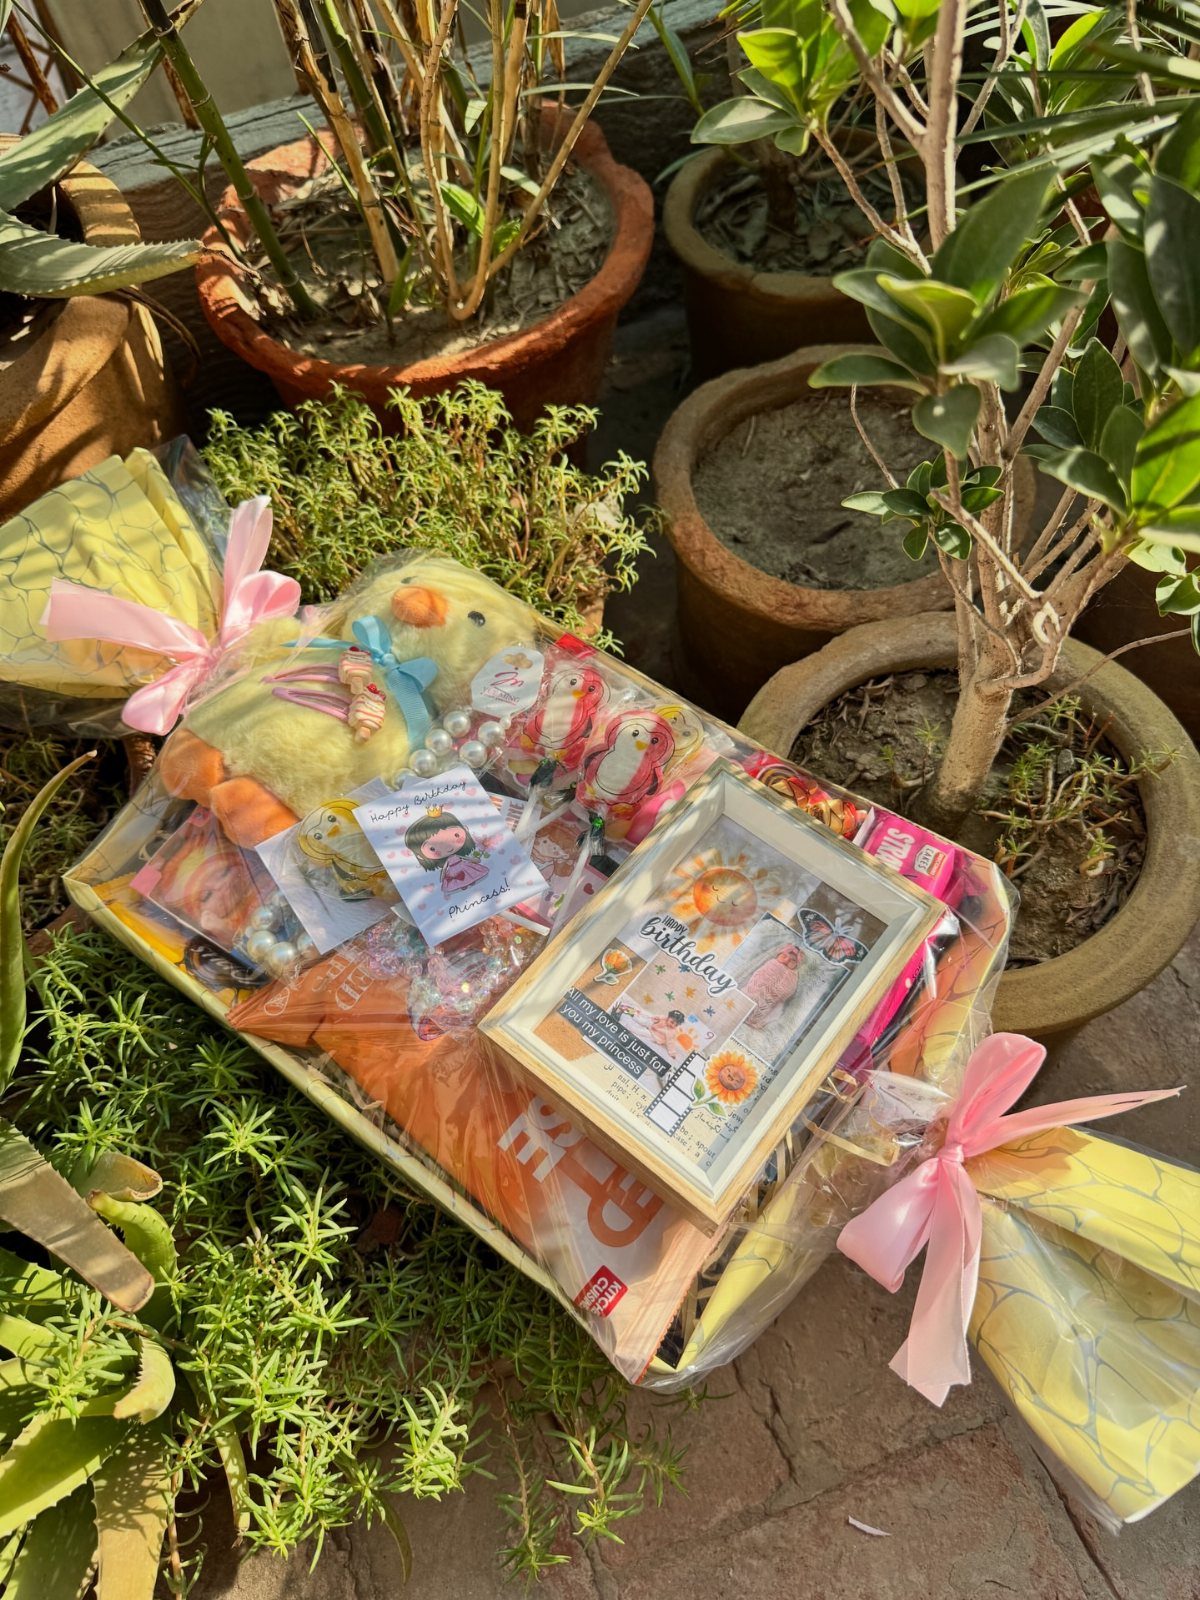
Set a basket’s contents on a base, such as a plush toy beside a framed photo, then gather clear cellophane around everything and tie it at the top. Pink ribbons turn the gathered ends into a finished-looking bow.
Cellophane suits mixed gifts of different heights, since it holds them together and still lets the recipient see what’s inside. Stuff crumpled paper under the items first so they sit upright and don’t slump.
7. Botanical and Twine Accents
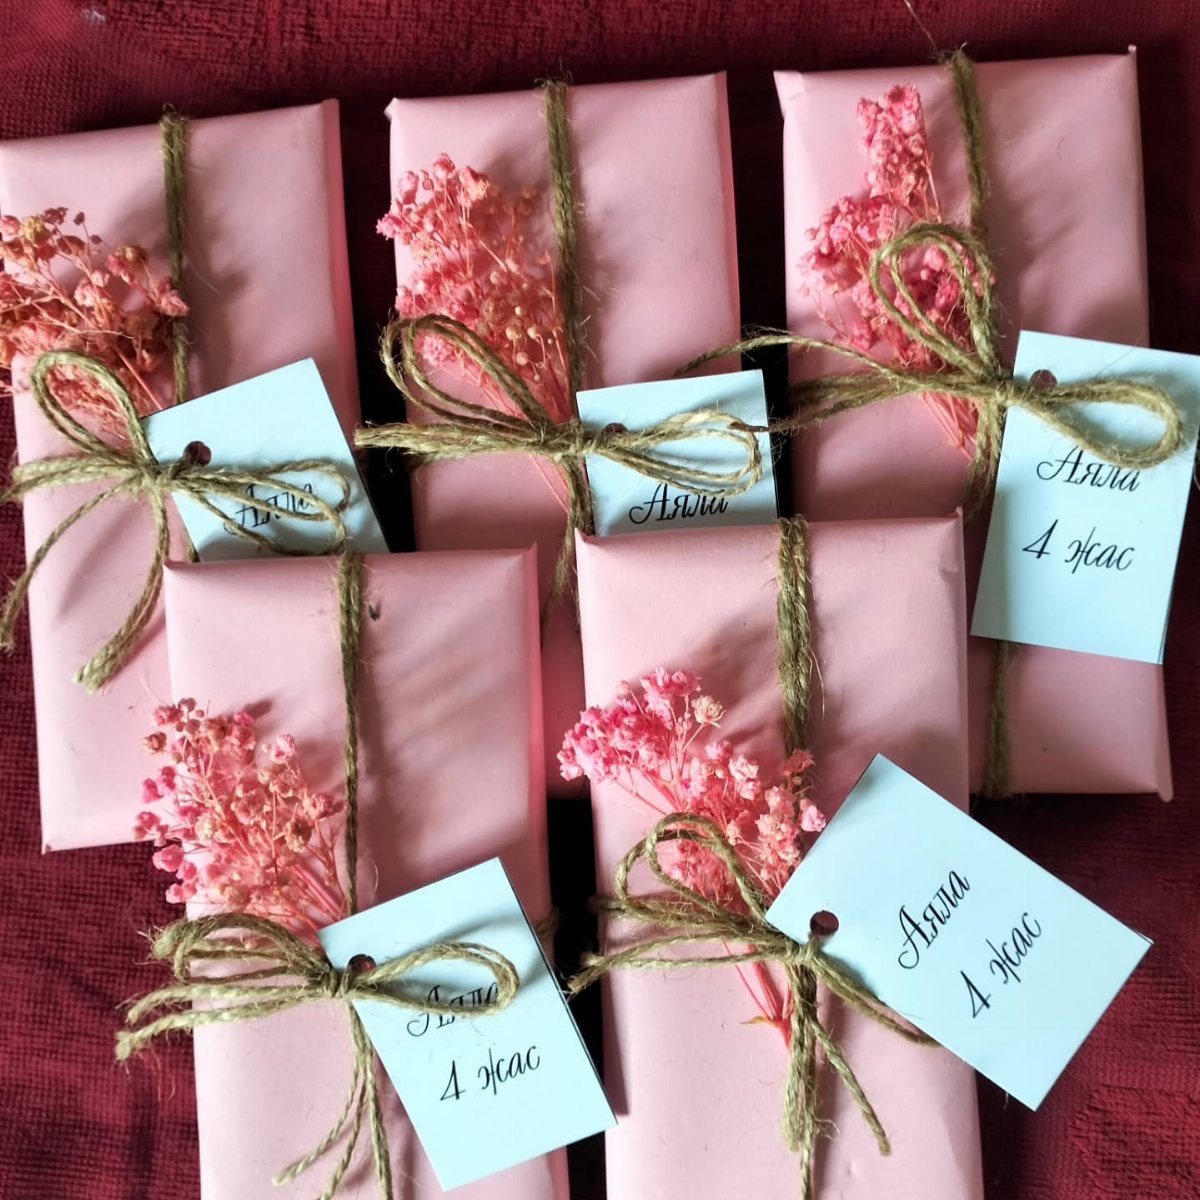
Twine and a single dried sprig turn plain paper into something that looks chosen. Soft pink paper works well on small gifts because the brown twine reads as a contrast color instead of fighting the wrap.
Tie a simple bow, then slide the stem under the knot so it sits flat. A handwritten tag in a pale color, tucked under the same loop, gives you the label and the decoration in one move.
Make all the bows the same size and the set looks matched, even when the gifts inside are different.
8. Pleated Fan Bottle Wrap
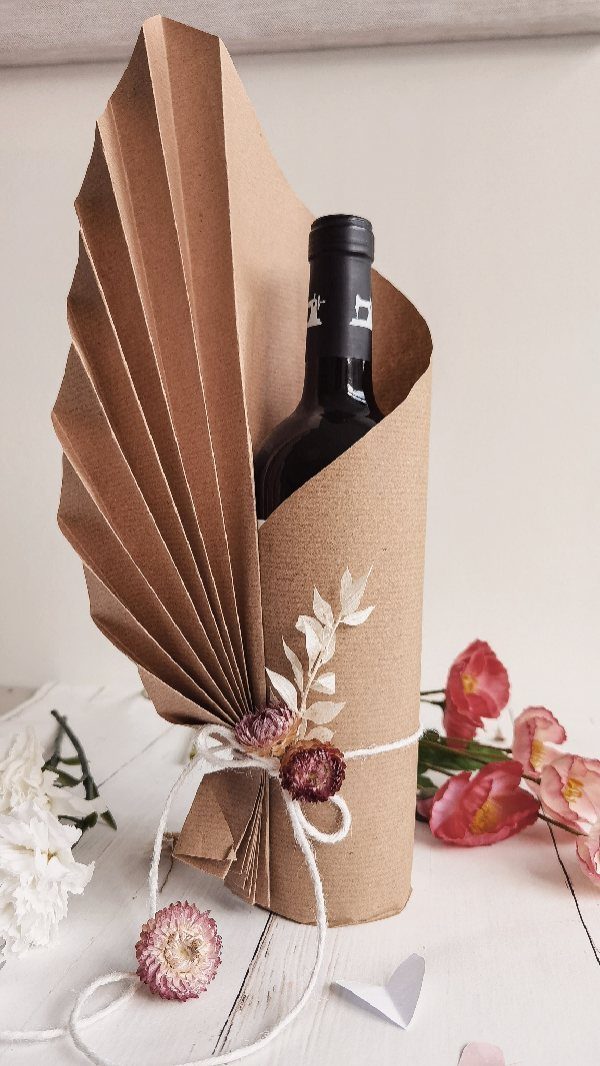
Kraft paper on a wine bottle gets its interest from one fold: a pleated fan down the side, rather than any printed pattern. Plain brown paper is cheap and forgiving, so the pleats do all the work.
Crease each pleat to the same width before you wrap, then hold the fan in place with white string tied around the neck.
Skip tape on the visible side. Let the string hold the folds.
9. Origami Folded Wrap
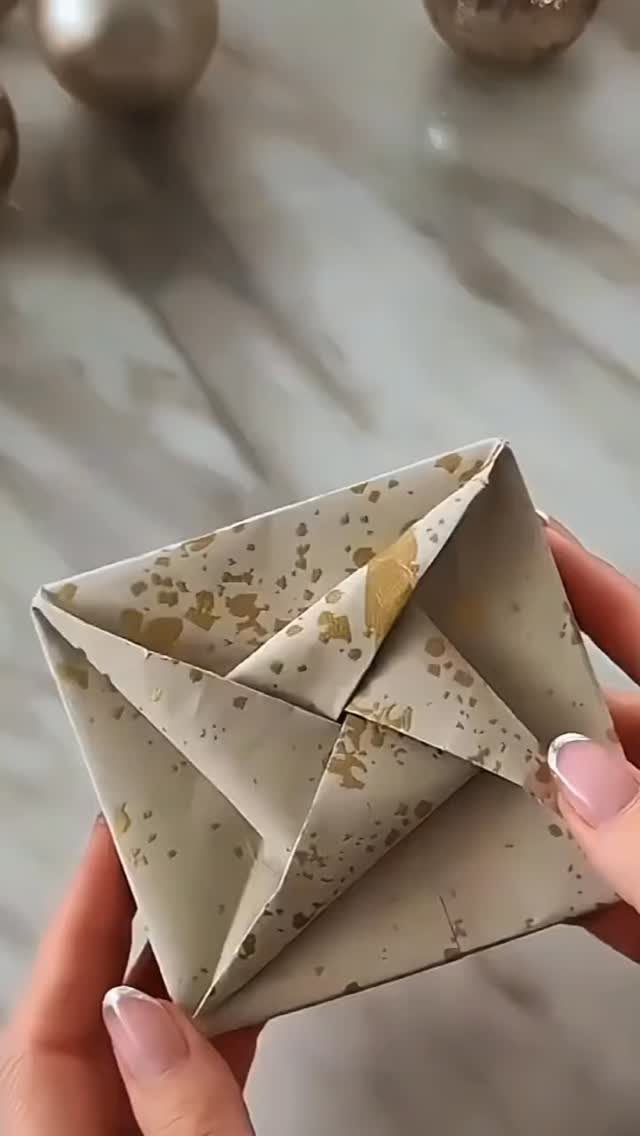
Origami folding lets the paper itself be the decoration, so no bow or tag is required. Gold-flecked beige paper suits it because the speckle catches light along each crease and makes the geometry stand out.
Pick a small, firm gift, since sharp folds need something solid underneath. Press every crease flat with a fingernail before moving on.
Thin paper folds more cleanly than thick, and a little practice on scrap saves the good sheet. This is slower than a standard wrap, so I save it for one gift that deserves the effort.
10. Double Satin Ribbon Bows
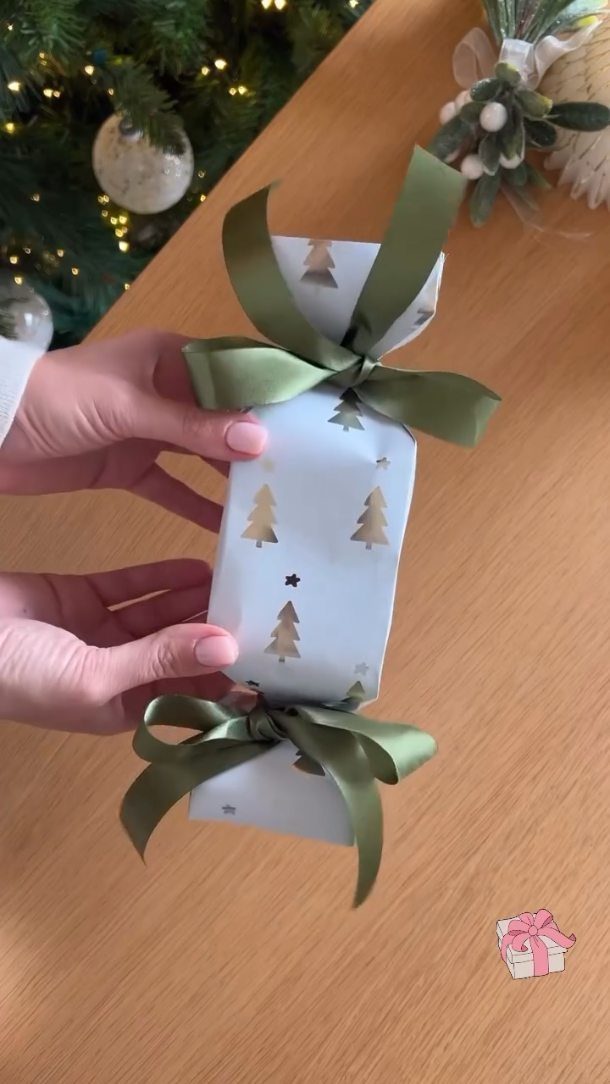
Two ribbons tied side by side look more generous than one, and olive green satin against a white box with gold trees feels calm and holiday-ready.
Run both ribbons across the box in parallel, close together, and tie each into its own bow.
Match the widths and the bow sizes. Uneven loops are the first thing the eye catches on satin.
Satin slips, so pull each knot snug before shaping the loops. It costs a bit more ribbon than a single bow, but the result looks far less like a quick wrap.
11. Ribbon with Floral Centerpiece
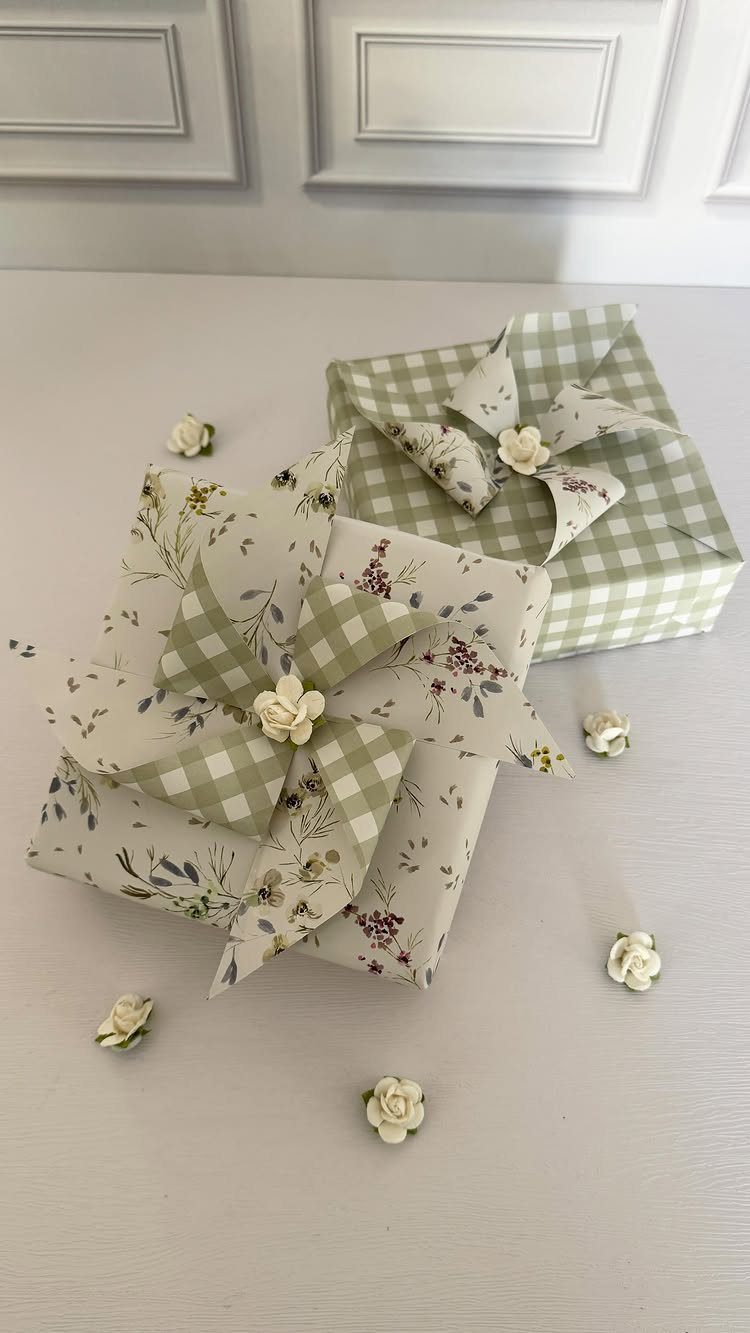
A wide fabric ribbon with a small rose at the center gives a plain box a finished focal point. Gingham ribbon works over both floral and gingham paper, which is why I’d pick it when you’re wrapping a mixed set.
Tie the bow first, then glue the rose over the knot so the join disappears. White roses stay quiet against busy patterns.
When the paper is loud, choose a plain satin or grosgrain ribbon in a single solid color so the pattern gets to be the star. A pattern on a pattern only works when one of them is a soft check.
12. Ornament Gift Toppers
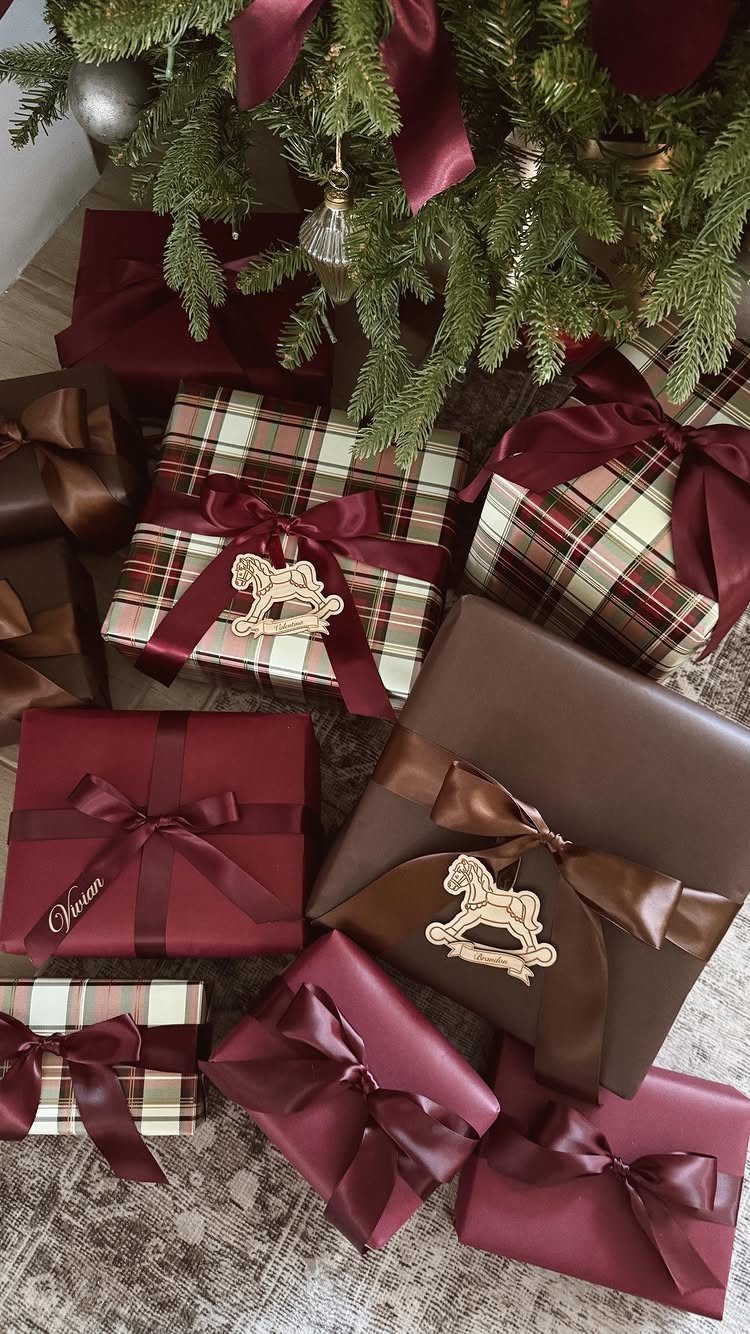
Wooden ornaments make a topper that outlasts the wrapping, because the recipient can hang it on the tree afterward. Tie one under the bow of a satin ribbon so it dangles slightly off the box.
Burgundy and brown papers carry a wooden horse well, since the natural wood tone sits comfortably beside them. Pick one ornament per gift rather than a cluster.
Thread it on the ribbon before you tie the final knot. That keeps it secure, and it saves buying a separate tag.
Tips for Neat Wrapping
Lay a rectangular box on the paper with its long side running left to right, so the paper wraps around the short span. Vertical placement leaves too much paper at the ends, and that excess is what makes corners bulky.
Pull enough paper over each side to reach about 3 quarters of the way across the box’s face, then trim with a single straight cut.
Double-sided tape is what hides the seams, since no tape shows on the outside. Press it under the edge where the paper meets so no tape shows on the surface.
At each end, fold the paper’s lower edge in toward the box and crease the flap at about 45 degrees.
Fold the top edge the same way, bring it down over the first flap, and press the crease as sharp as your thumbnail can make it. Tape where the 2 flaps meet.
Do the other end the same way, and check that both ends match. A matched pair of corners reads as deliberate even on an ordinary box.
Involving Kids in Wrapping
Kids do best with a job that has no wrong answer. Handing them a plain solid-colored paper and a way to decorate it gives them one.
Let them customize the paper themselves, then use it on a real gift. Children care a great deal about seeing their work leave the house.
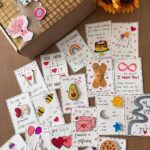
Printable wrap with animal or gingerbread designs is a good shortcut when you want the look without the mess. Many come with matching tags, so a child can match tag to package.
Button tags make a simple pairing for a crafting afternoon. Buttons are easy for small hands to glue or tie on.
Save the sharp creases, tape and corner folds for yourself, or fold alongside them. Let the child own the decorating, and the packages still come out tidy.
Sustainable Wrapping Options
Fabric is the easiest swap for paper, and it can be anything square: a vintage scarf, a fabric sample or a cloth napkin.
If the budget stretches, mulberry silk wraps catch holiday lights with a soft sheen that paper can’t match. Choose the square’s size by the box shape, larger for a tall or wide box.
A canvas tote works as both wrap and gift. Add an iron-on in a design the person would actually like, and the bag later handles groceries or weekend trips.
Totes also solve the awkwardly shaped present better than paper does, since nothing needs squaring off.
I’d choose the tote when the recipient will really use it, and fabric squares when you want the wrap itself to become a second gift they can reuse.
Frequently Asked Questions
How to make gift wrapping easier?
Lay a rectangular box on the paper with its long side running left to right, so the paper wraps the short span and the ends don’t bunch up with extra paper.
Use double-sided tape so the seams hide, and crease each fold sharply with your thumbnail.
For most wraps I reach for medium-weight paper, since heavy stock fights you at the corners, though thin paper is the better pick for origami folds, where it creases more cleanly.
How do you wrap an oddly shaped gift?
Skip the paper and use fabric or a bag. A cloth square gathered and knotted follows the shape of a bottle or soft item, and a canvas tote needs no squaring off at all.
Paper made into a gift bag also works, and cellophane gathered at the top holds a mix of items at different heights.