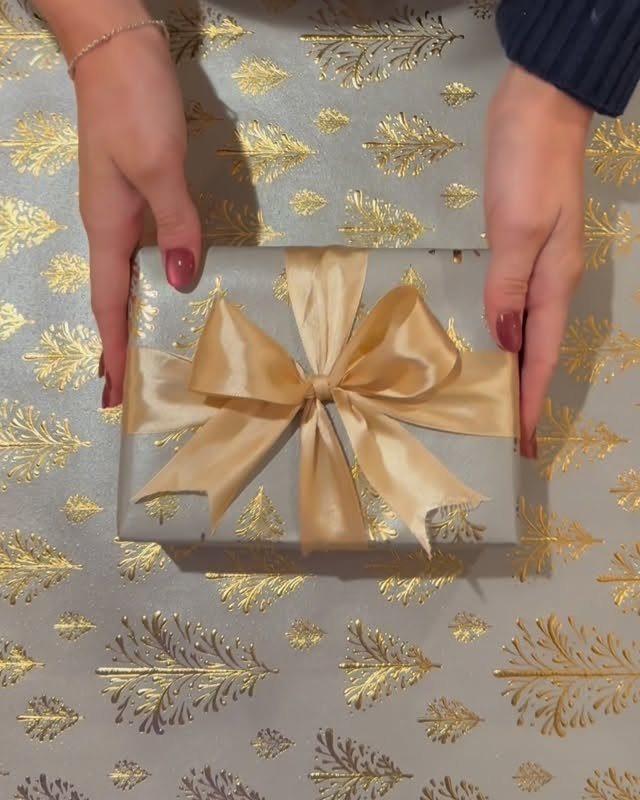
The bows here run from a basic ribbon bow with 2 loops and 2 tails to a layered bow, a burlap multi-loop bow and a full organza bow, and the paper under each one decides which belongs on your gift.
Wired burlap ribbon, for instance, holds the shape of a multi-loop bow better than the plain kind, so match the effort to how much the box already has going on.
1. Basic Ribbon & Bow
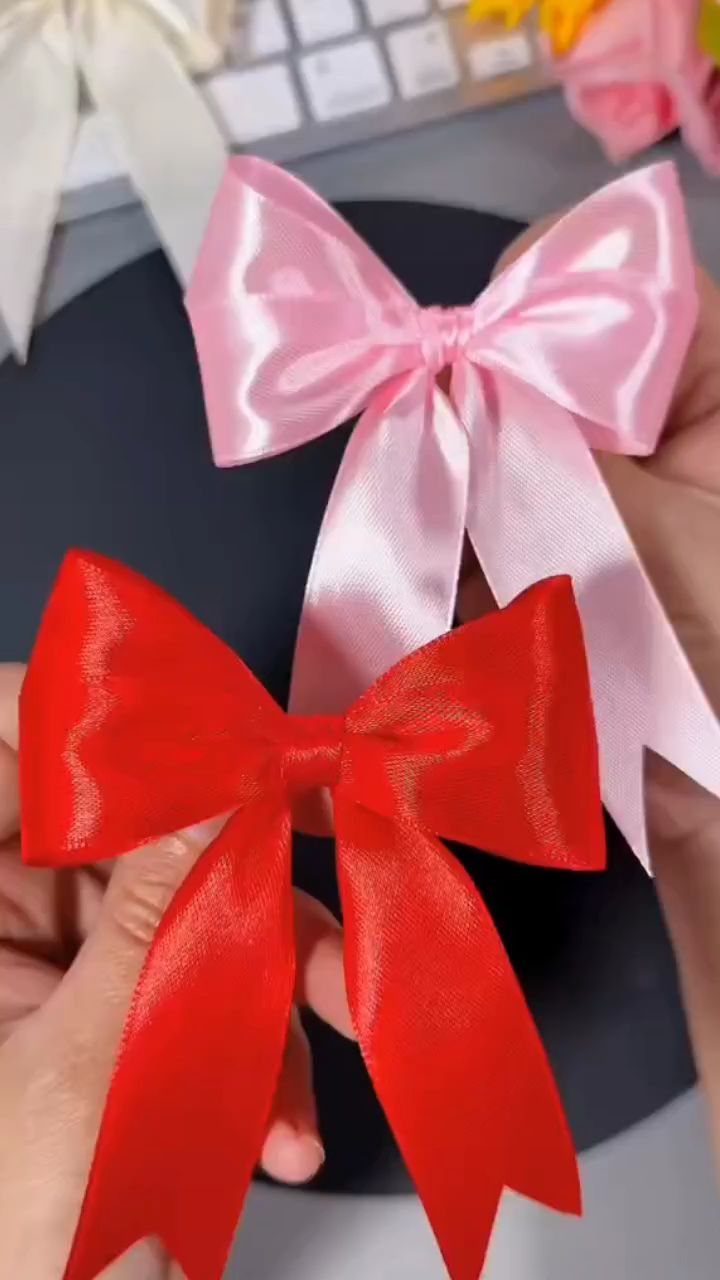
A plain bow in red or pink is the one I tie most. Nothing else is needed: one ribbon, one knot, two loops and two tails.
Cut the tails a little longer than you think you need, then trim them at an angle once the bow is tied. A diagonal cut looks finished, and it’s easy to shorten a tail but impossible to add length back.
Pick one color and make the bow itself carry the present. A simple bow can stand out against busy paper, and a plain red satin one is the clearest example.
2. Diagonal Ribbon & Bow
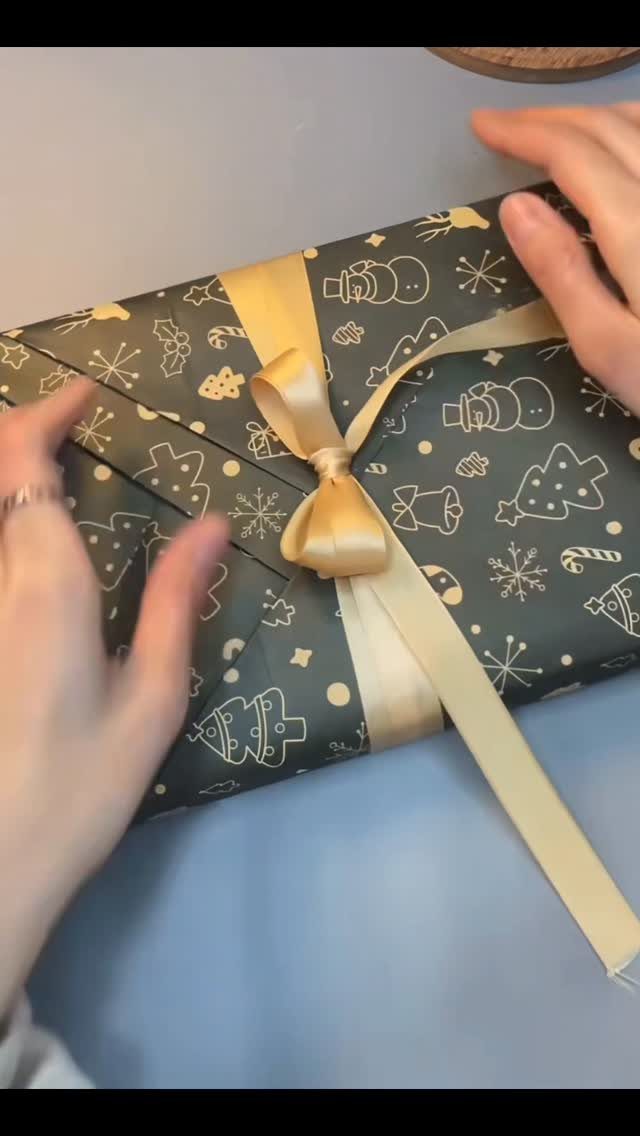
Running the ribbon corner to corner gives a box a different look than the usual cross-and-center wrap. Dark patterned paper with gold satin suits it, because the ribbon reads as a single clean line against the print.
Set the ribbon on the diagonal before you wrap, tape it on the underside, and then tie the bow off-center where the ribbon crosses.
Smooth the satin flat as you go, since a twist shows more on a long diagonal run.
I prefer this to a centered bow on any gift I want to look deliberate.
3. Layered Gift Bow
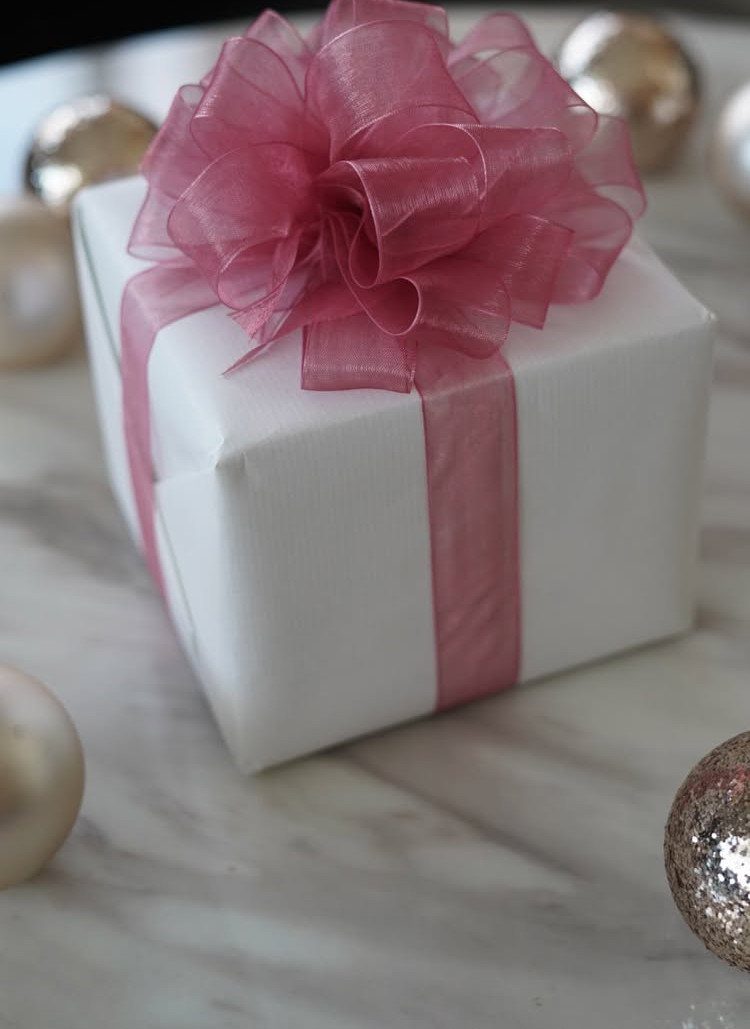
Depth comes from stacking: several loops, each one smaller than the last, fixed together at the center. Organza gives you soft layers without much weight, and the sheerness lets the box color show through.
Make loops in graduated sizes, stack the largest at the bottom, and pinch them together at the middle. Secure the stack with a twist of wire or a few stitches, then fluff each loop outward by hand.
Glue the finished bow on top of a ribbon-wrapped box rather than tying it in place. Gluing lets you shape the bow separately and set it exactly where you want it.
4. Large Cream Satin Bow
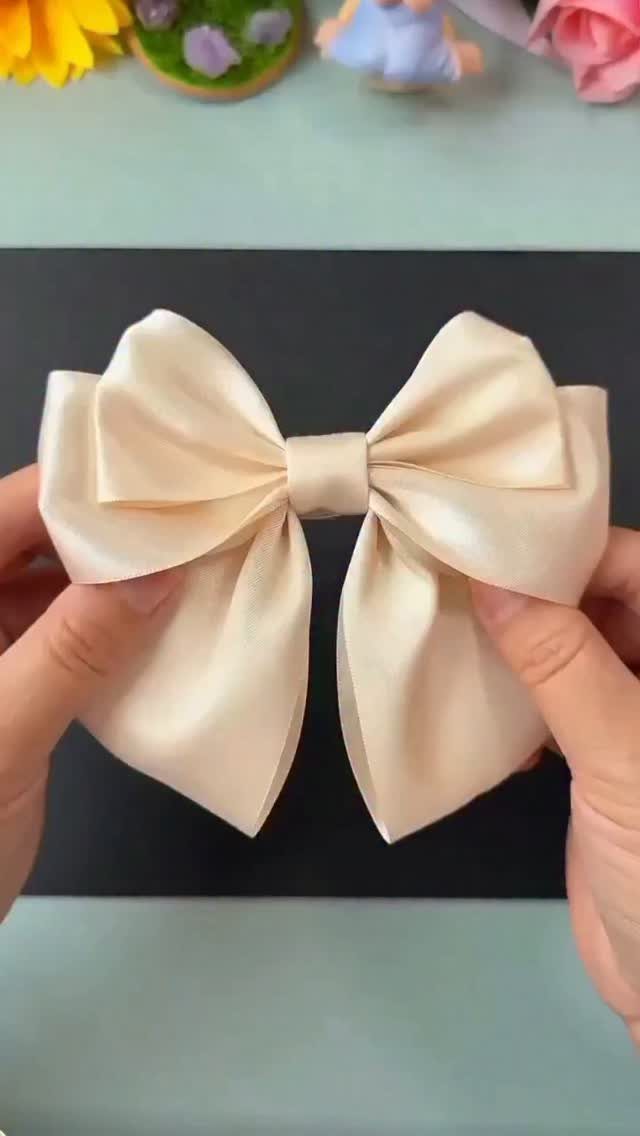
Cream satin is the safest bow I know: it matches nearly any paper and any occasion. Because it’s one color, the shape has to be right, so make the loops full and even.
Use a wide ribbon if you want the bow to look generous, and keep both loops the same length. Pull the knot snug, then adjust each loop until the 2 sides mirror each other.
Cream shows fingerprints and creases easily, so save it for gifts you’ll hand over right away. Handle the ribbon as little as you can, and tie the bow once.
5. Burlap Multi-Loop Bow
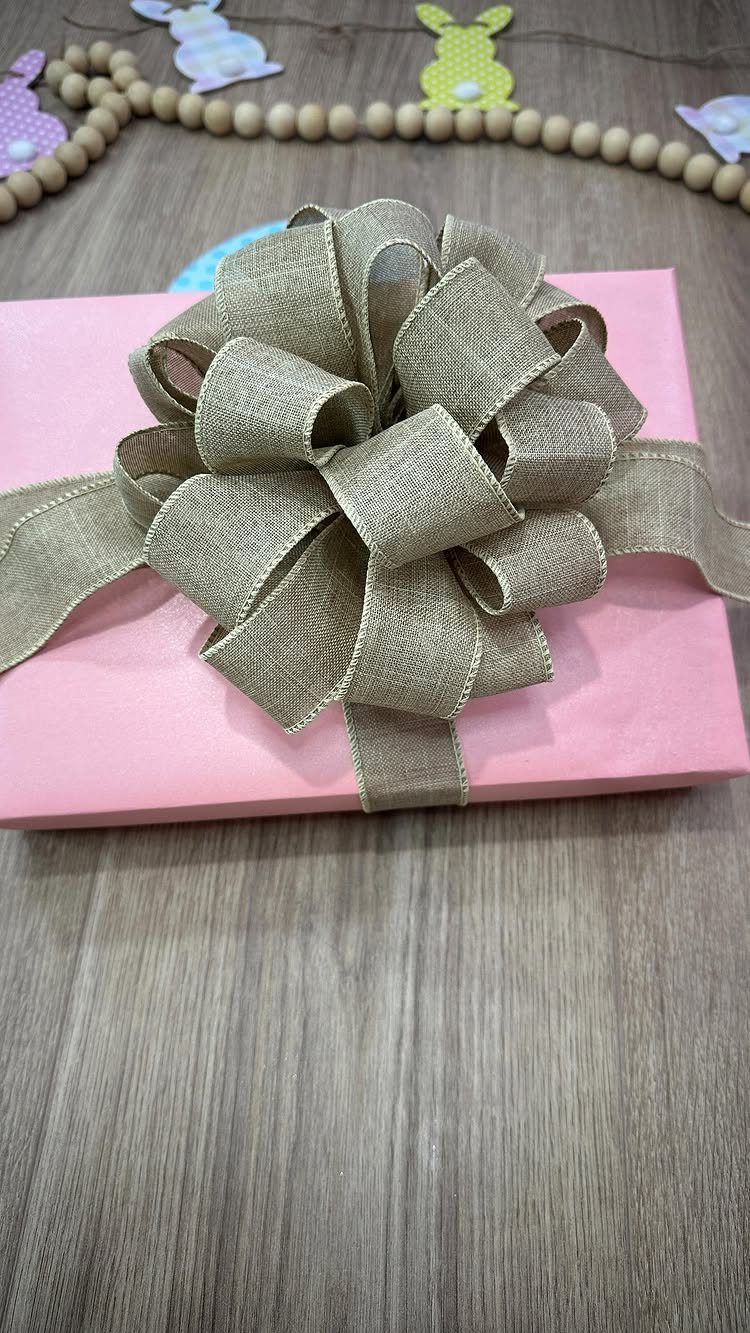
Burlap frays at every cut edge, so a bow made from it needs a plan before you start. Fold the loops, stack them, and cinch the center with a strip of the same burlap or a bit of twine.
Multiple loops give the bow the full, rustic look, and a pink box lets the beige stand out.
Wired burlap ribbon holds its shape better than the plain kind, and I would choose it for a bow with this many loops.
Trim loose threads at the ends, and expect some shedding on the wrapped gift.
6. Voluminous Organza Bow
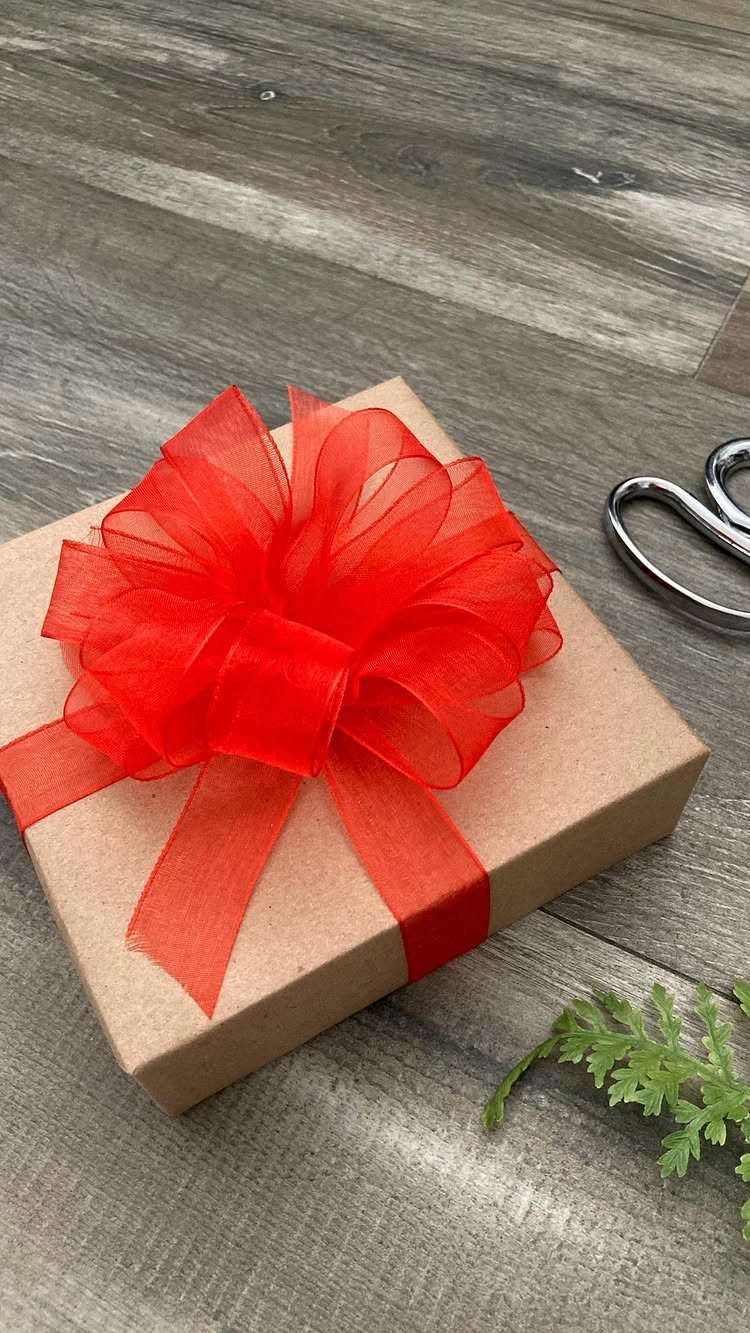
Organza is sheer, light and a little stubborn, which is exactly why it makes such a big bow. A kraft box in brown gives red organza a plain backdrop so the ribbon’s volume is the star.
Use plenty of ribbon: the fluffy look comes from many loops, not from one wide one. Gather them at the center and secure them tightly, then fan each loop out to fill the space.
Organza slides, so tie the knot twice. A dab of glue under the center keeps the bow from shifting on the box.
7. Plaid Fabric Bow
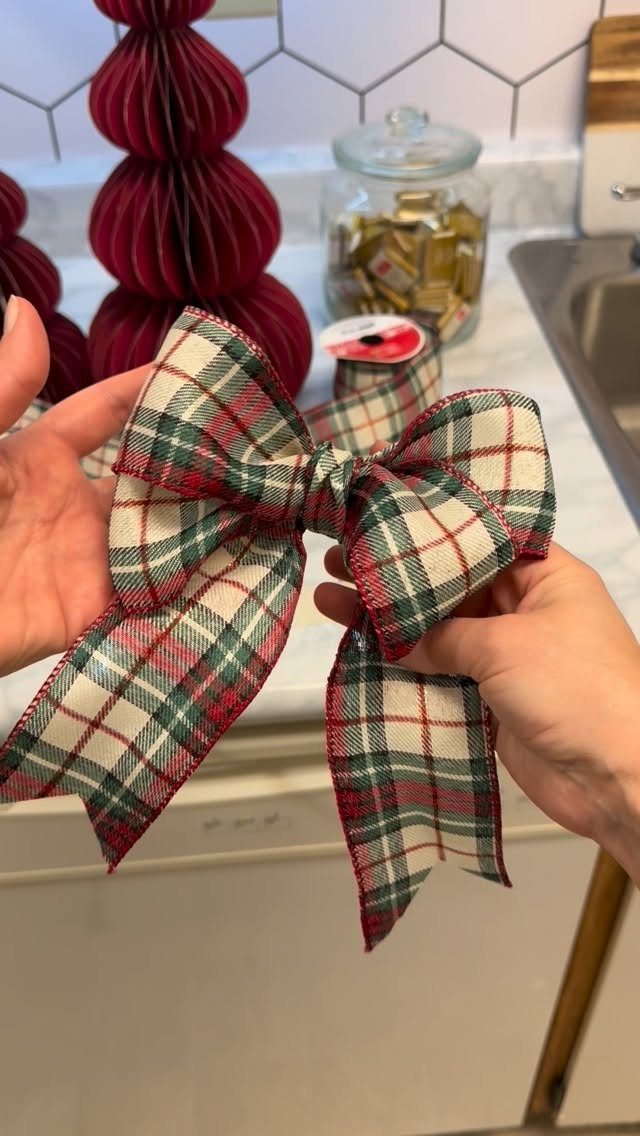
Plaid fabric makes a bow that reads as Christmas before anyone looks at the gift tag.
Red, green and white is the classic mix, and a wide cut gives the loops enough width to show the pattern instead of squeezing it into stripes.
Fabric is softer than satin, so it will not hold a loop on its own.
Make 2 loops from the strip, gather them in the middle with a pinch, and cinch that spot with a narrow band of the same plaid or a few turns of thread.
Then pull each loop out by hand until the shape stands up.
Cut the strip along the straight grain so the plaid lines run true down the tails. A crooked cut makes the checks look slanted, and it shows on a bow this plain.
I would pair it with solid kraft or white paper. The plaid already carries the pattern, so a busy wrap beside it would compete, much as entry 1 warns for a basic bow.
Bow-making Supplies
Wired ribbon is the one supply worth stocking in bulk, because the wire lets you shape a loop and keep it. Buy a few colors and a few widths so you can mix without a store run.
Beyond ribbon, keep scissors, a hot glue gun with sticks, and double-sided tape within reach. For cinching the center of a bow, wire, pipe cleaners or zip-ties all work.
Pick ribbon and paper from the same color family before you shop, so the bow and the box already look like they belong together.
Everything then pairs with everything else, and leftover scraps can be tied into a small scrappy bow.
Satin and grosgrain are both good choices for gifts.
If a ribbon frays, seal the ends with a flame held a few seconds away; keep it brief, keep the ribbon over a sink or hard surface, and never leave it unattended.
Gift Wrapping Tips
The lines give you straight cuts without a ruler, and straight edges are what make a package look neat.
Keep tape and double-sided tape on hand. Double-sided tape hides the seam, so the paper looks smooth from the front.
Coordinate your colors across paper, ribbon and tag so the whole present reads as one idea. If you want contrast, pair patterns of different kinds: polka dots on the paper call for a striped ribbon.
Frequently Asked Questions
What is a gift bow called?
It’s simply called a bow or a gift bow. The loops are the rounded sections, the tails are the loose ends that hang down, and the knot or cinched band in the middle holds it together.
How do you tie a bow on a gift with wired ribbon?
For a full wired-ribbon bow, fold the ribbon into 4–6 loops, pinch the stack in the middle, and bind that pinch with floral wire, a pipe cleaner or a small zip-tie, then fluff the loops outward.
The wire is what lets you shape each loop and have it stay put.
Fan the loops out by hand, trim the tails at an angle, and glue the bow onto the box if you don’t want to tie it in place.
How do you tie a knot out of ribbon?
Cross one end over the other and pull it through, the way you start a shoelace, then tug the knot snug.
For a bow, form two loops before the final pull so you end up with two loops and two tails.
Organza and satin slip loose on a single knot, so I tie it twice and put a small dot of glue beneath the center to hold it in place.