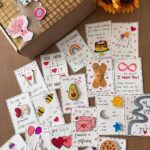
Bag count decides the style: one bag can carry lace trim, a bow tie closure or ribbon handles, while a batch needs a fold you can repeat quickly, like the cone bags or the multiple-bag method.
1. Wrapping Paper Gift Bag with Ribbon Handles
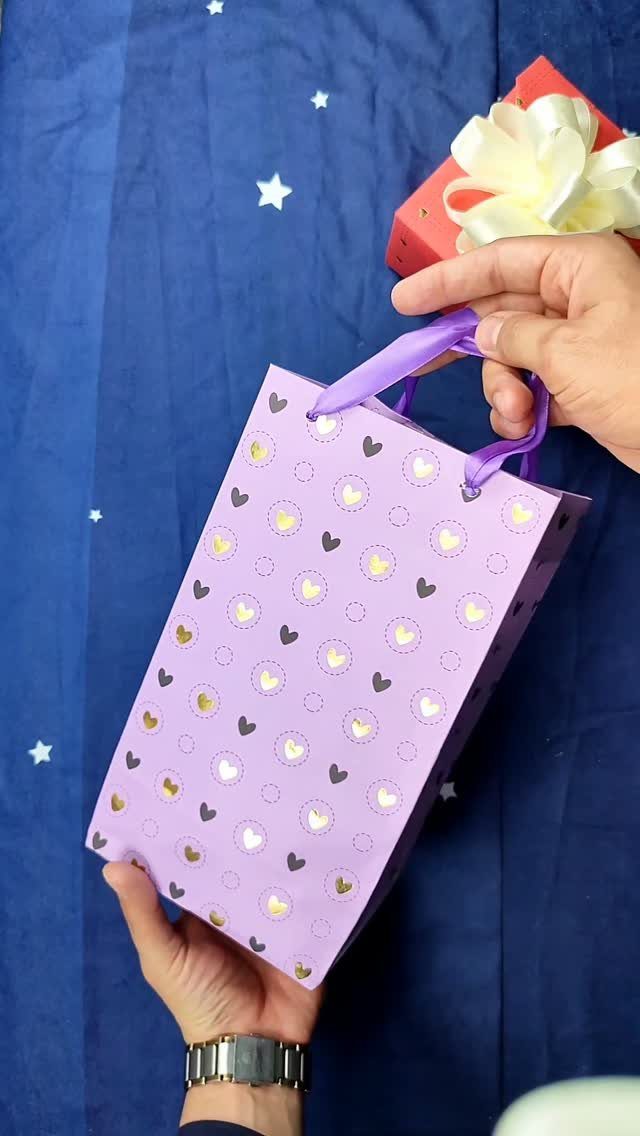
Ribbon handles turn a wrapped-paper bag into something a guest can carry by hand, and they cost only a couple of feet of ribbon.
Matching the ribbon to the paper’s main shade is the safest pick: a purple heart pattern with purple ribbon handles reads as one color story, and the hearts stay the focus instead of competing with the handles.
Reinforce the spot where each handle attaches, since that’s where a loaded bag tears first. A strip of tape inside the rim, under the ribbon ends, does the job.
2. Bag with Folded Flap Top
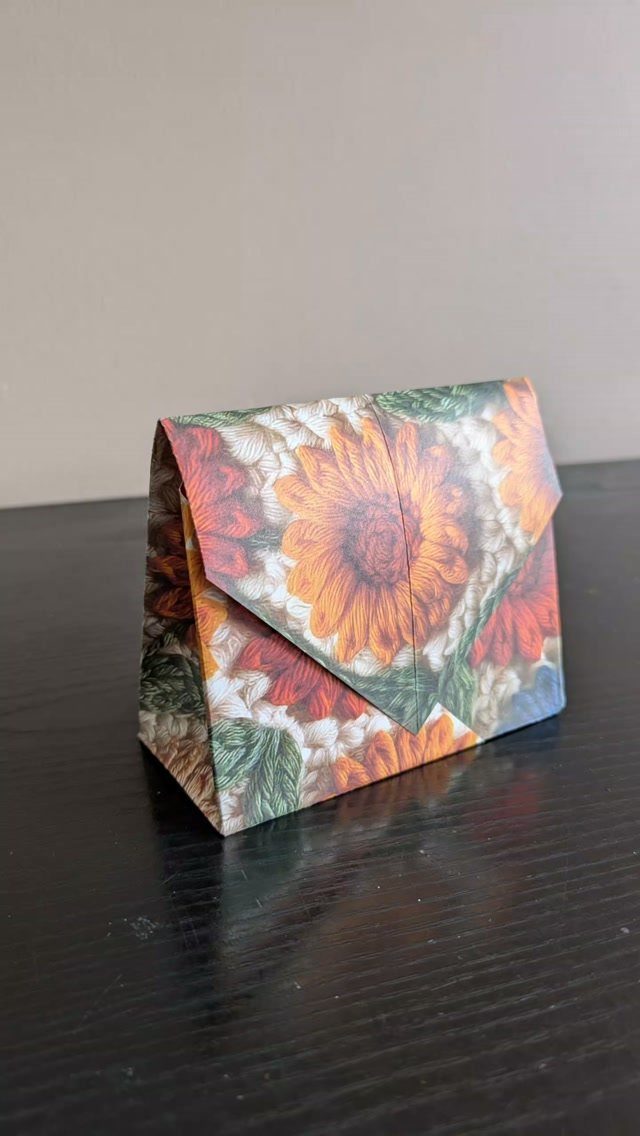
A triangular flap folded over the top gives a handmade bag a finished edge without any ribbon, handles or extra supplies. Sunflower paper suits it because the pattern stays the focus, and the fold simply frames it.
Crease the flap firmly with a fingernail or a ruler edge so the point stays crisp. A small piece of double-sided tape under the tip keeps it down, and it hides better than a sticker on top.
3. Lace Trim and Bow Bag
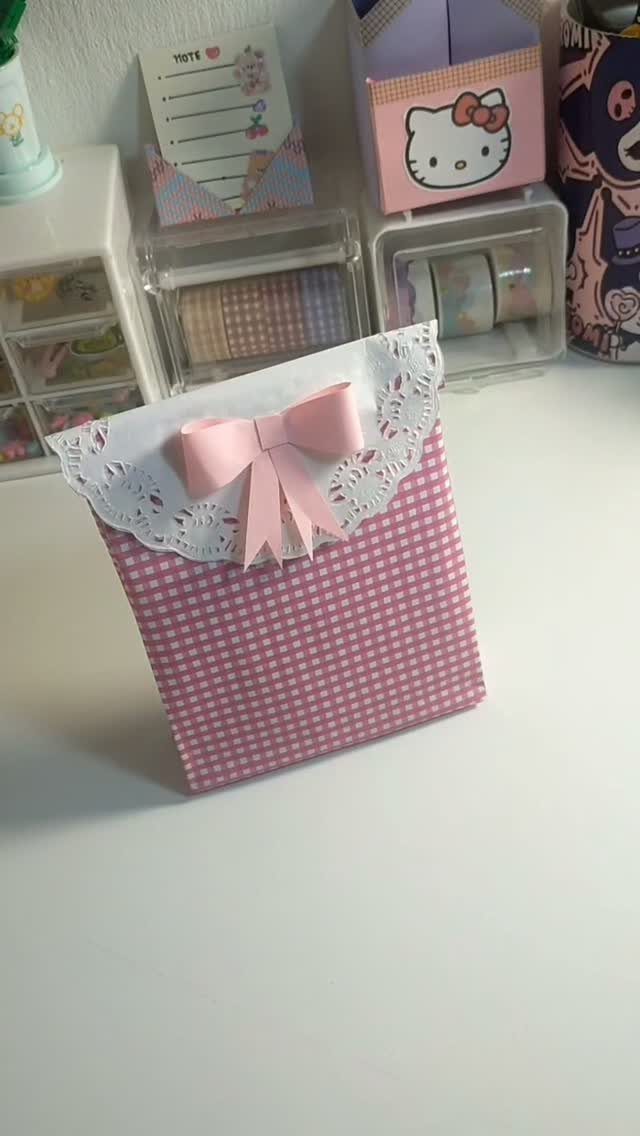
White lace along the rim and a mini bow are what make a plain checkered paper bag look bought from a boutique. Lace hides the raw top edge too, so you can be a little less fussy about trimming.
Glue it on the inside lip so the pattern stays clean. I’d tie the bow separately and attach it last, which lets you center it exactly.
4. Shirt Collar Gift Bag
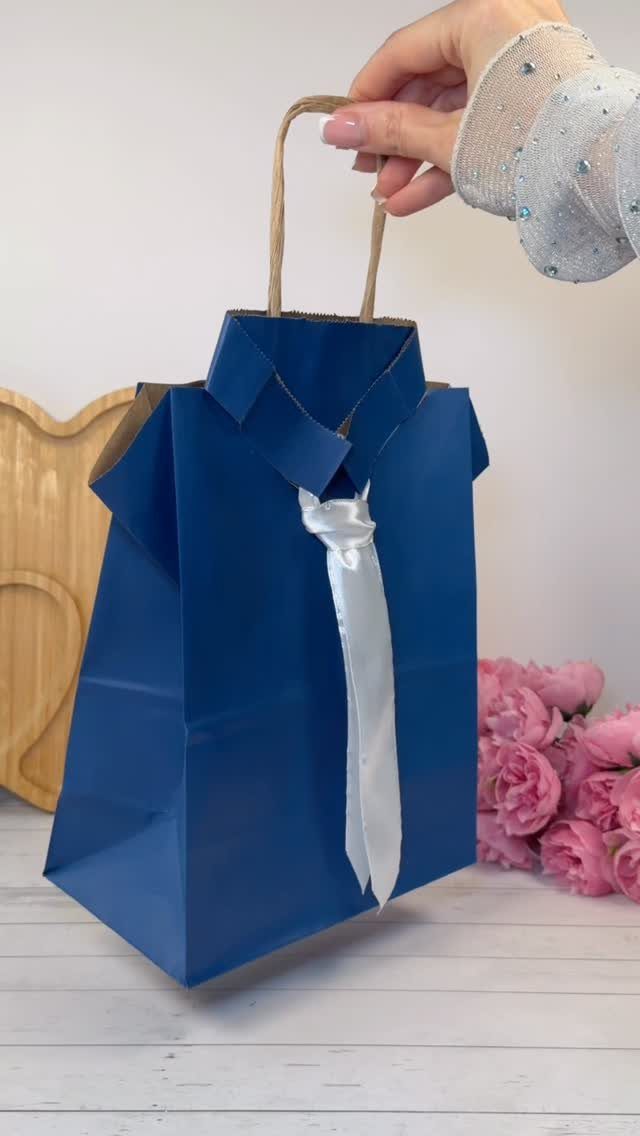
Folding the top of a bag into a collar and adding a tie gives you a dress shirt, which is a natural pick for a dad, a groom or a teacher.
Blue paper with a white satin tie reads as a classic button-down, and the white against the blue is what sells the shirt, so pick a ribbon that is clearly lighter than the paper.
Satin ribbon knots more cleanly than stiff craft ribbon. Cut a little extra length so you can retie it until it sits flat under the collar.
5. Cone Shaped Wrapping Paper Bags
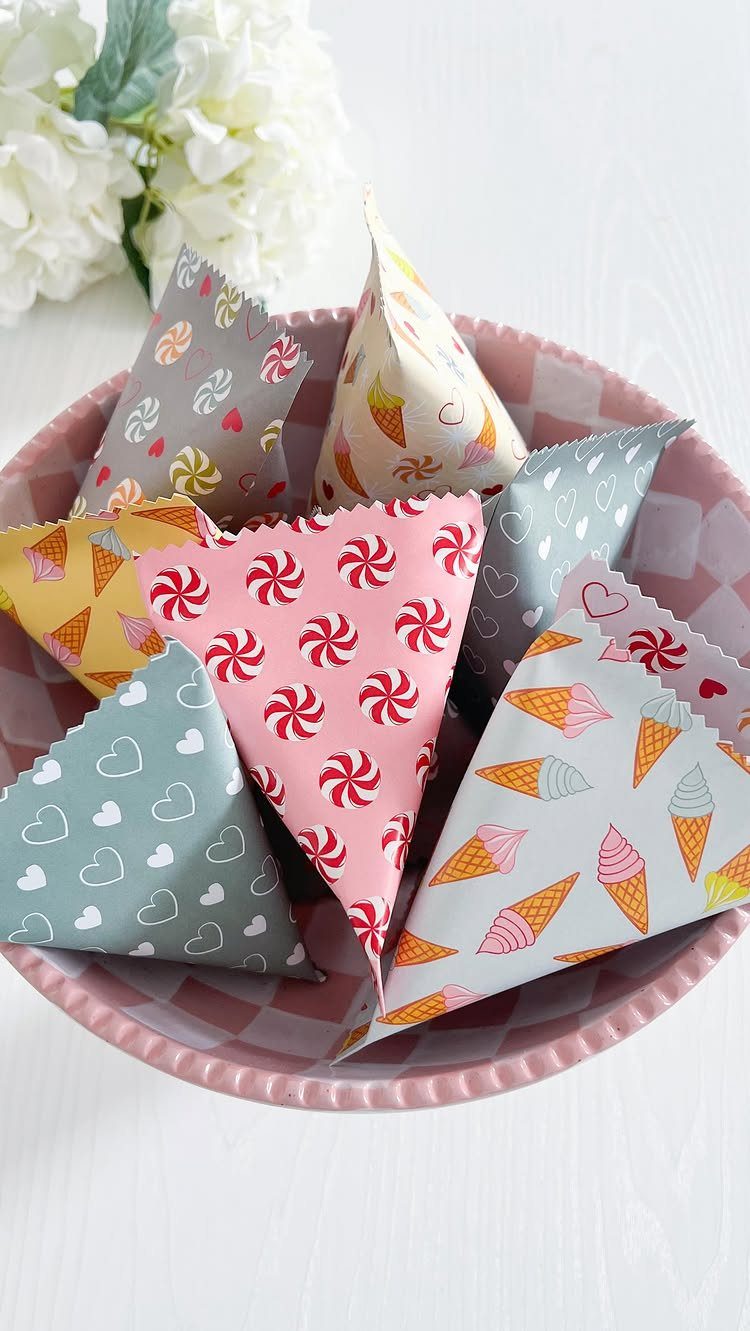
Cone bags suit small treats, and a bowlful of them on a table holds up as decor before anyone opens one.
Patterned wrapping paper rolls into a cone easily, which makes this the quickest bag here when you need a batch.
Cut every sheet to the same size, or the cones won’t match. Tape the seam inside and out so it stays closed once the treats go in.
6. Ribbon Bow Tie Closure Bag
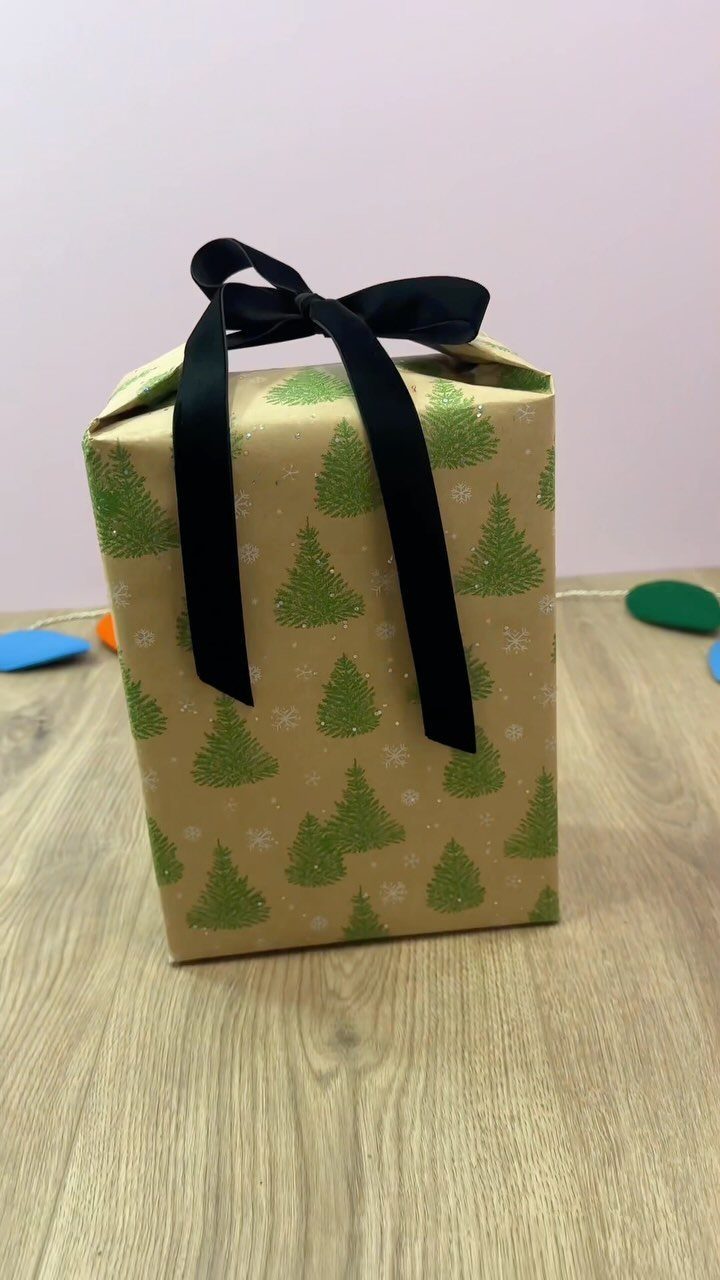
Gathering the top of a paper bag and tying it with a ribbon bow gives you a soft, closed shape with no flap to fold.
Black satin against brown tree-print paper has a crisp contrast I like better than a ribbon that matches.
Gather the paper evenly all the way around before you tie, then pull the knot snug. Fluff the bow loops last, and trim the tails at an angle.
7. Multiple Wrapping Paper Gift Bags
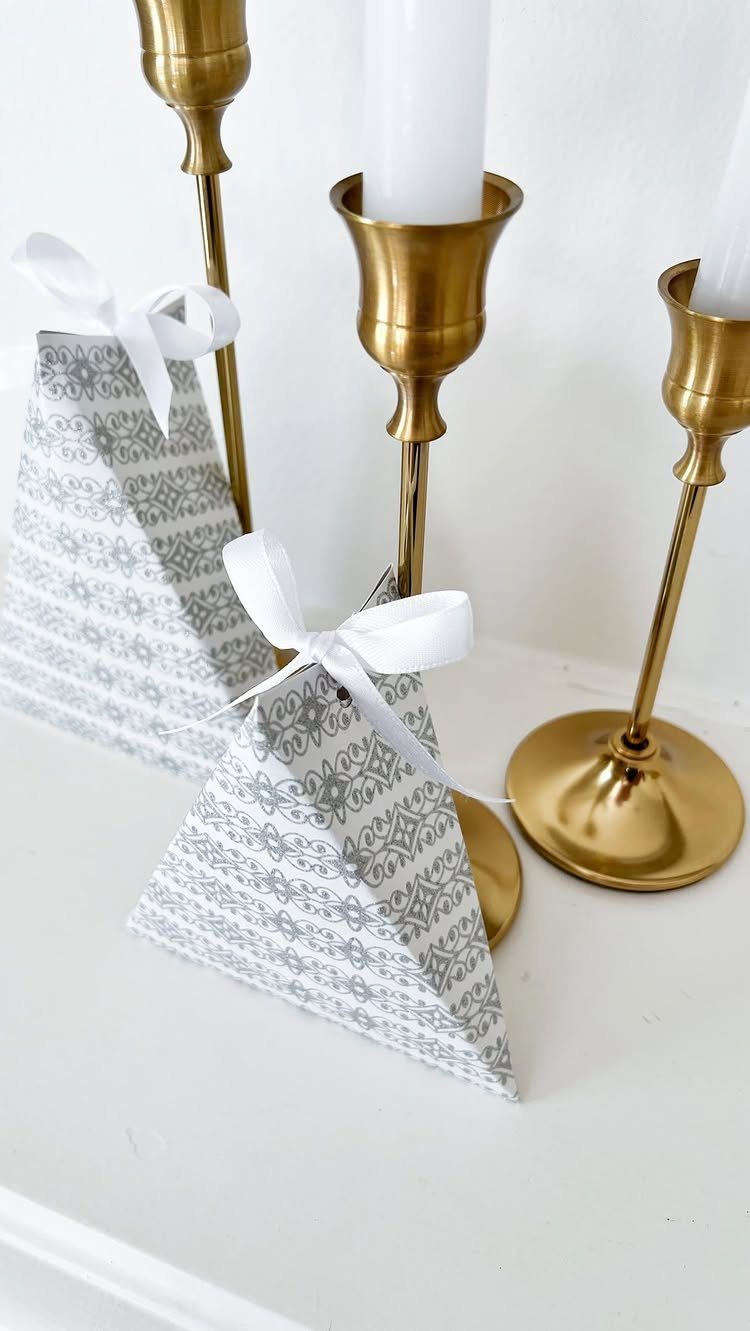
Cutting one sheet at a time is slow, so make a batch in a single sitting: trim every sheet first, then fold, tape and tie in rounds rather than finishing one bag at a time.
Grey and white patterned paper works well for a set because the quiet pattern keeps the bags looking related even if the sizes vary a little.
Trim every sheet to one size before any folding starts, so you can crease the whole stack in a single pass and the bags come out matching.
White ribbon cut to one length per bag gives each bow the same proportions, and a matching pair set beside candle holders reads as decor before it reads as a gift.
Wrapping presents in gift bags and tissue paper is quick, versatile, and economical. The bags are reusable or recyclable and are perfect for wrapping oddly shaped gifts of all sizes.
— Dummies
Frequently Asked Questions
What materials do I need to make a gift bag from wrapping paper?
Wrapping paper, scissors and tape cover the basic bag.
Ribbon handles, a bow, a collar tie or lace trim need ribbon or lace plus a little glue, and double-sided tape hides better than a sticker. A hole punch is optional if you want to thread handles through.
What types of gifts are best for bags?
Oddly shaped items, fragile things and gifts that don’t come in a box suit a bag best.
Stuffed animals, awkward containers, clothing and scarves all fit without fighting the paper. Fewer steps between your hands and the recipient’s also means fewer chances for a dent, a scuff or a cracked corner.
How do I make the handles on a paper gift bag strong?
Reinforce the rim from the inside with a strip of tape that covers where each ribbon handle ends.
A loaded bag gives way at that spot before anywhere else, and a second layer of paper or tape there absorbs the weight. Ribbon in the paper’s main shade looks the most polished.
What is the quickest wrapping paper bag to make in bulk?
A cone bag is the fastest, since patterned paper rolls into the shape easily.
Cut every sheet to the same size so the cones match, and tape the seam inside and out so it holds once treats go in. A bowlful also works as table decor.
How do I close a wrapping paper gift bag without a flap?
To close a bag with no flap, bunch the opening evenly around the whole edge, wrap ribbon around the bunch, tie it in a bow and tighten the knot.
Shape the loops after the knot is set, then snip each tail at a slant. Satin ribbon in a contrasting color, like black on brown tree-print paper, looks crisp.