Paper flowers run from a single oversized crepe paper peony to a wall covered edge to edge in blooms, and the materials stay cheap all the way along: cardstock, tissue, construction paper, even paper plates.
How many you need decides which idea is yours.
Count the tables, gifts or wall space first, then pick the style that scales to that number: one big bloom for a doorway, a small bunch of roses for a bouquet, dozens of folded-strip flowers for a crowd.
Kids should get the plates, and anyone who wants a crisp, structured look should reach for cardstock.
1. DIY Giant Peony
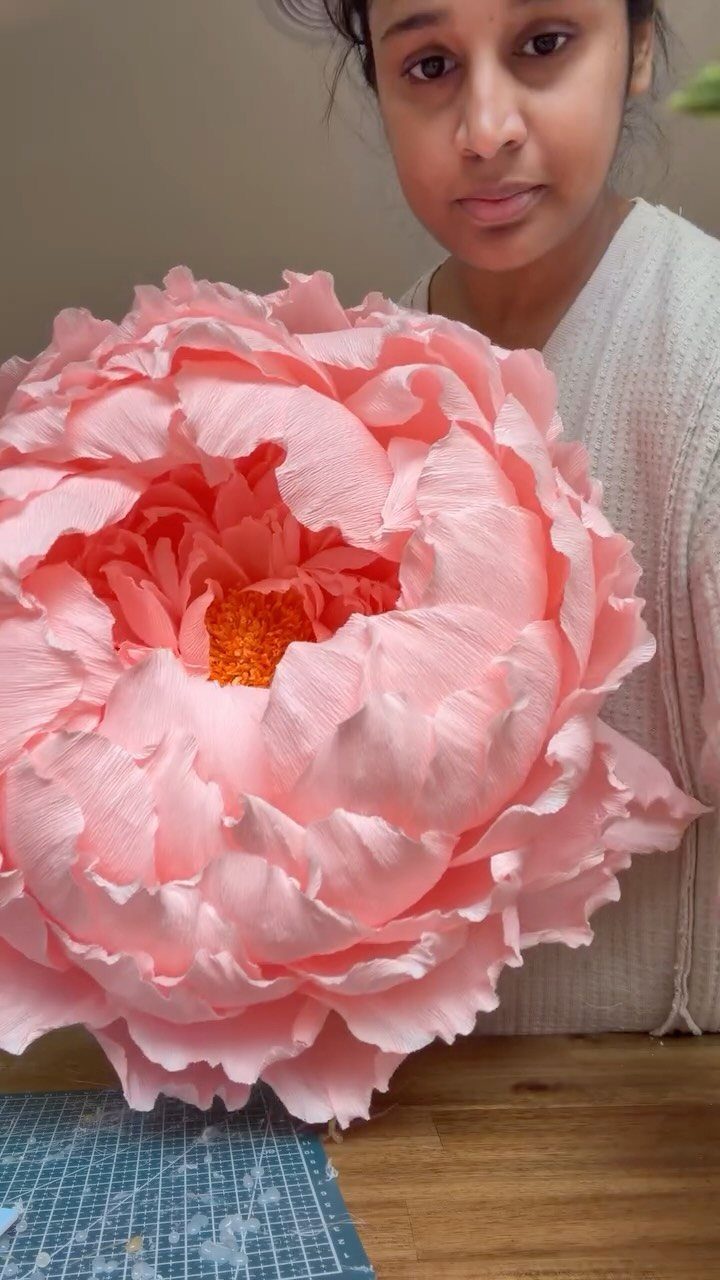
Crepe paper is the material I’d pick for a giant peony, because it stretches and cups into petal shapes in a way cardstock won’t.
A single oversized pink peony can carry a whole table or a doorway on its own, so make one big bloom instead of several small ones.
Work on a cutting mat, as the maker does, so your blades stay sharp and your cuts stay clean. Cut petals in graduated sizes, shape each one by gently pulling the center outward, and build from the smallest petals out.
One big flower costs far less than a store-bought bloom of that size.
2. Cardstock and Tissue Paper Flowers
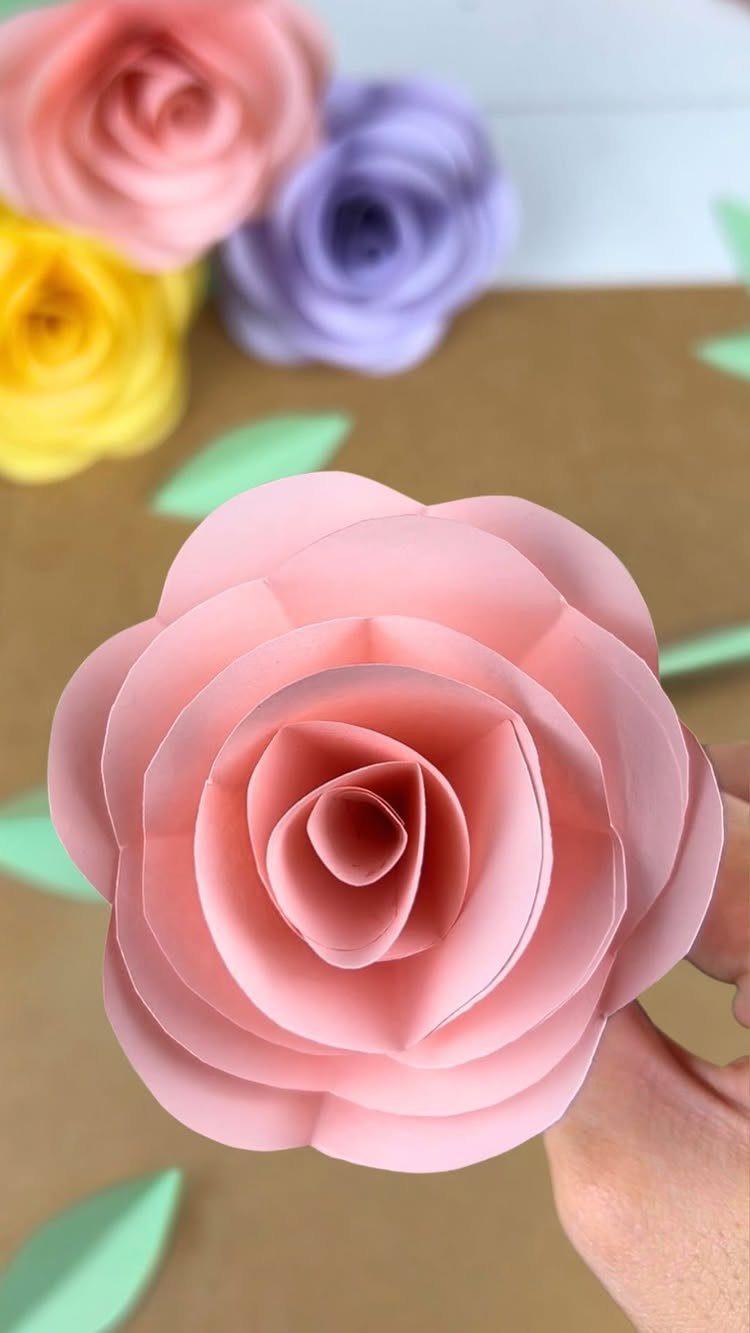
Paper roses need only a few pieces of cardstock, so a small stack covers a whole handful of blooms. That’s the appeal: one sheet per color and a pair of scissors gets you a small bunch.
Cardstock holds a crisp, structured shape, so I’d use it for the roses and save tissue paper for softer fillers or extra petals. Mixing the 2 gives you variety in texture.
Cut leaves from green scraps and tuck them behind the blooms so the stems don’t look bare.
3. Paper Flower Bouquet
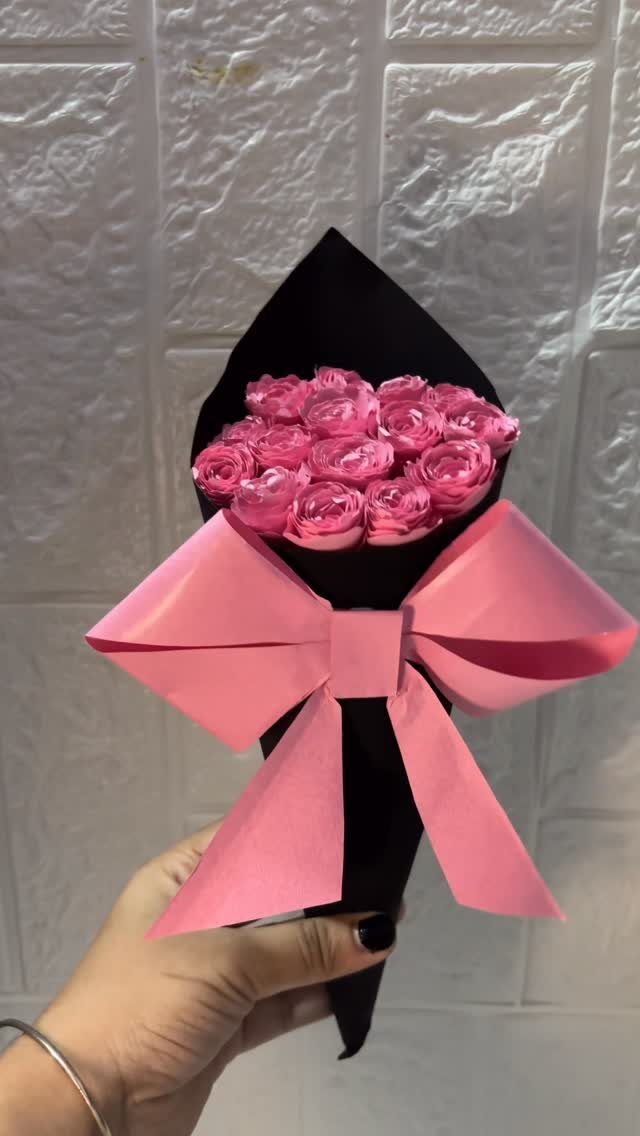
Black wrapping paper and a large pink bow make a bouquet of paper roses read as a florist’s piece rather than a craft project. The contrast is the detail I’d copy.
Make your roses first, then gather them in a tight cluster with the heads at one height. Wrap the stems in paper, tie it off, and finish with a generous bow.
Unlike fresh flowers, this bouquet won’t wilt, so you can make it days ahead of a party or gift. Pick a wrap color that makes your flower color stand out.
4. Origami Flower
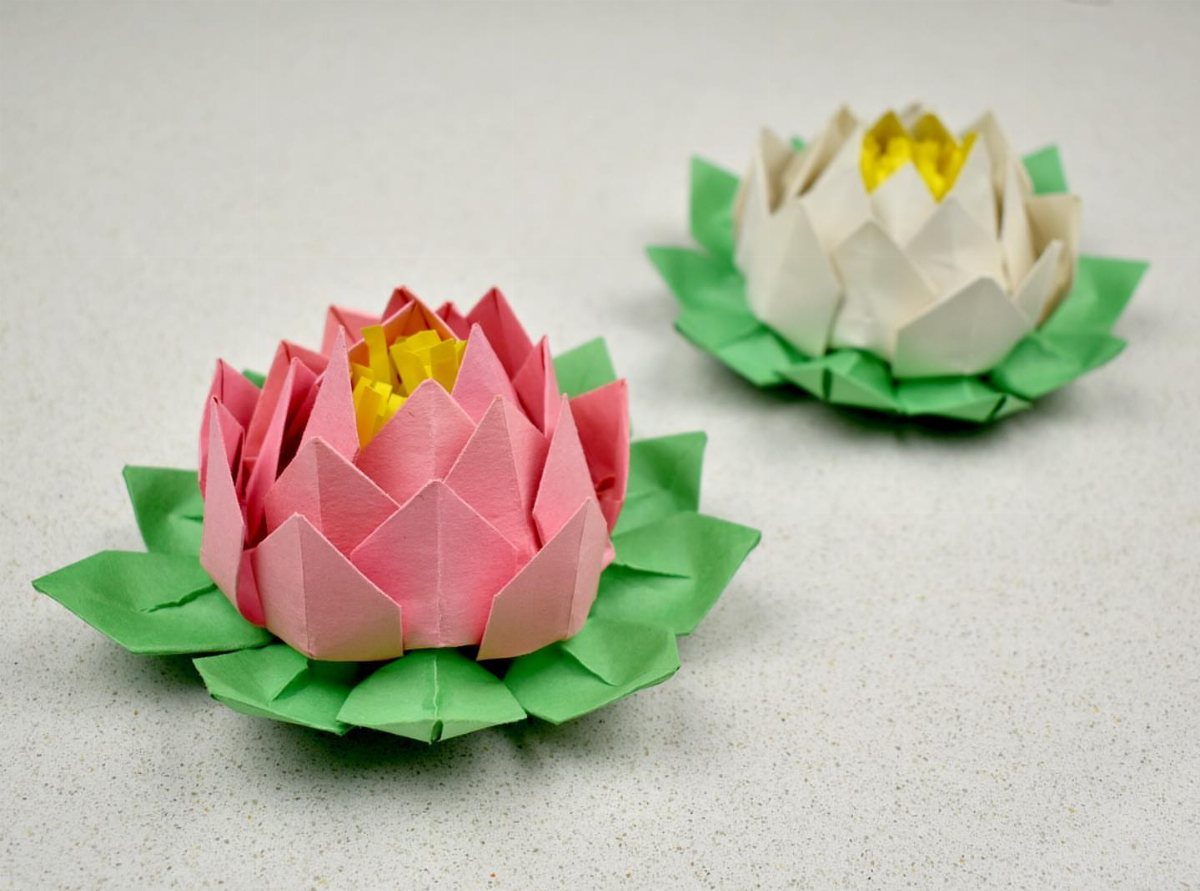
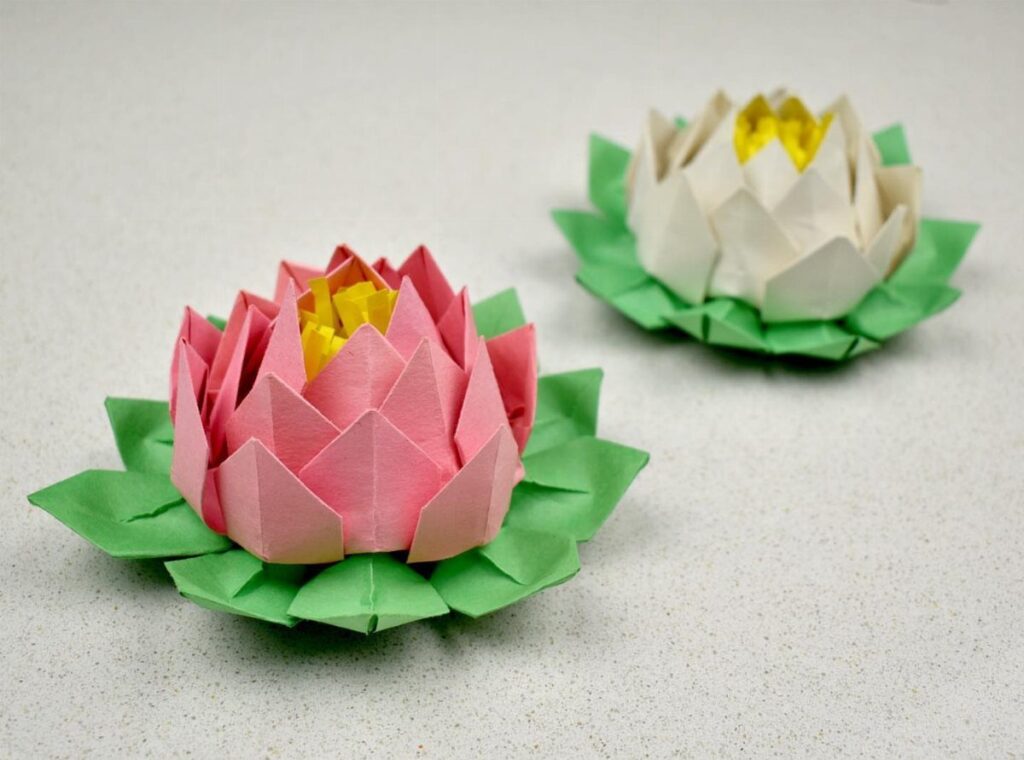
A folded lotus needs nothing but paper and patience. Folding needs no glue or scissors, which makes origami the tidiest option here.
The pink and white lotuses pictured have yellow centers and sit on green leaves, and you can copy that pairing by adding a small yellow dot or pinched paper center.
Square sheets work best, and thinner paper folds more cleanly than thick.
Expect your first lotus to look rough. By the third, the petals start lining up, and a row of them makes a charming table decoration.
5. Construction Paper Flowers
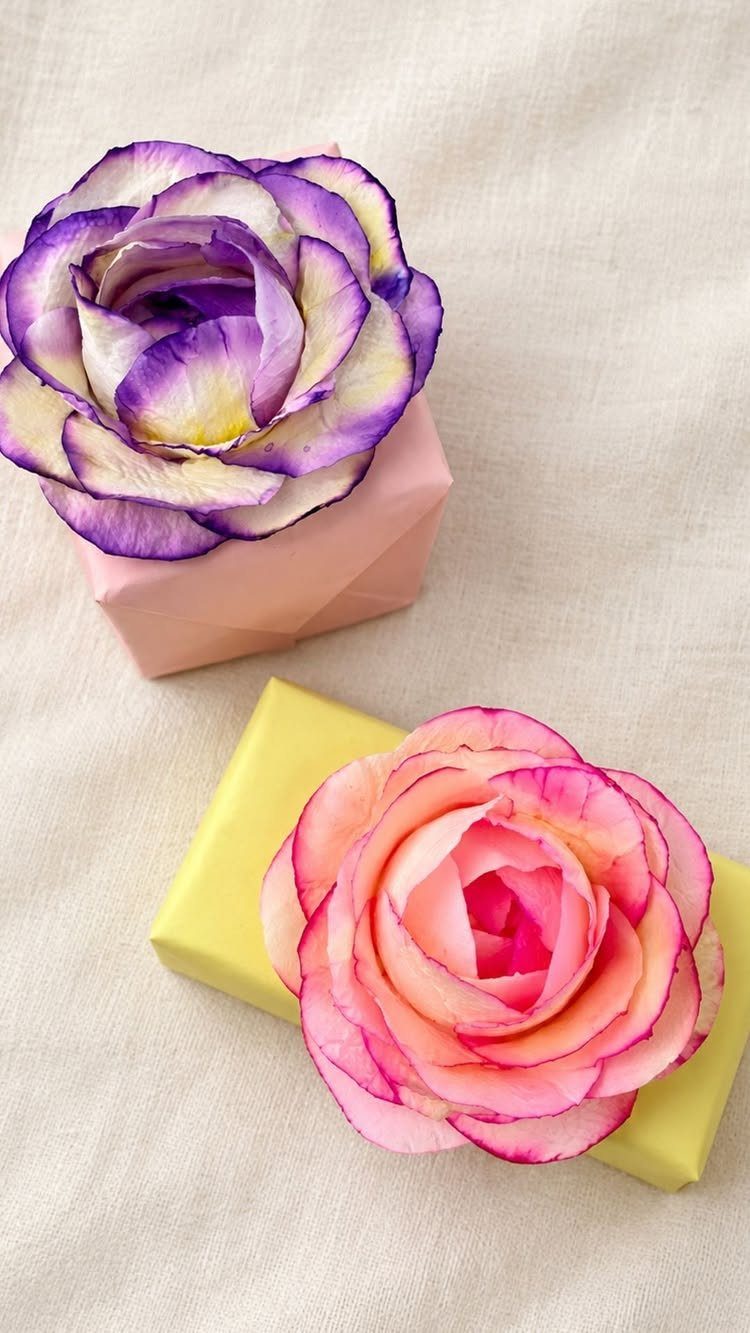
Construction paper costs almost nothing, so these flowers are cheap to make and cheap to redo. That makes them ideal for kids and for anyone who doesn’t want to worry about wasting supplies.
I like them perched on small wrapped gift boxes, where they take the place of a store-bought bow. Make one for each package and let the colors play off the wrapping.
Construction paper is softer and more matte than cardstock, so it looks homey. Pick it over glossy paper for a handmade feel.
6. Paper Plate Flowers
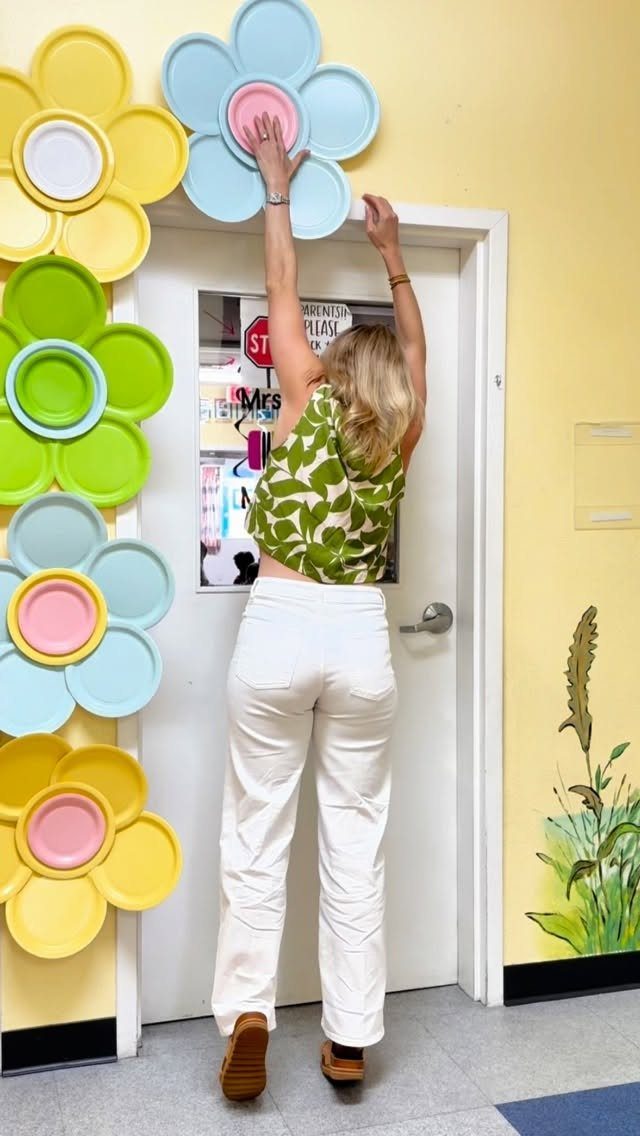
Paper plates give you a ready-made circle, so petals and bases need less measuring. Painted in bright colors, they become flowers big enough to fill a wall.
Cut scalloped or pointed edges into each plate, paint them, then layer smaller plates in the center for depth.
Mount a cluster on a plain wall and an empty space becomes a backdrop; yellow flowers stand out well against white or pale paint.
This is the one I’d hand to kids, since the plates are sturdy and forgiving. Use removable adhesive on painted walls so cleanup stays easy.
7. Paper Flower Wall Art
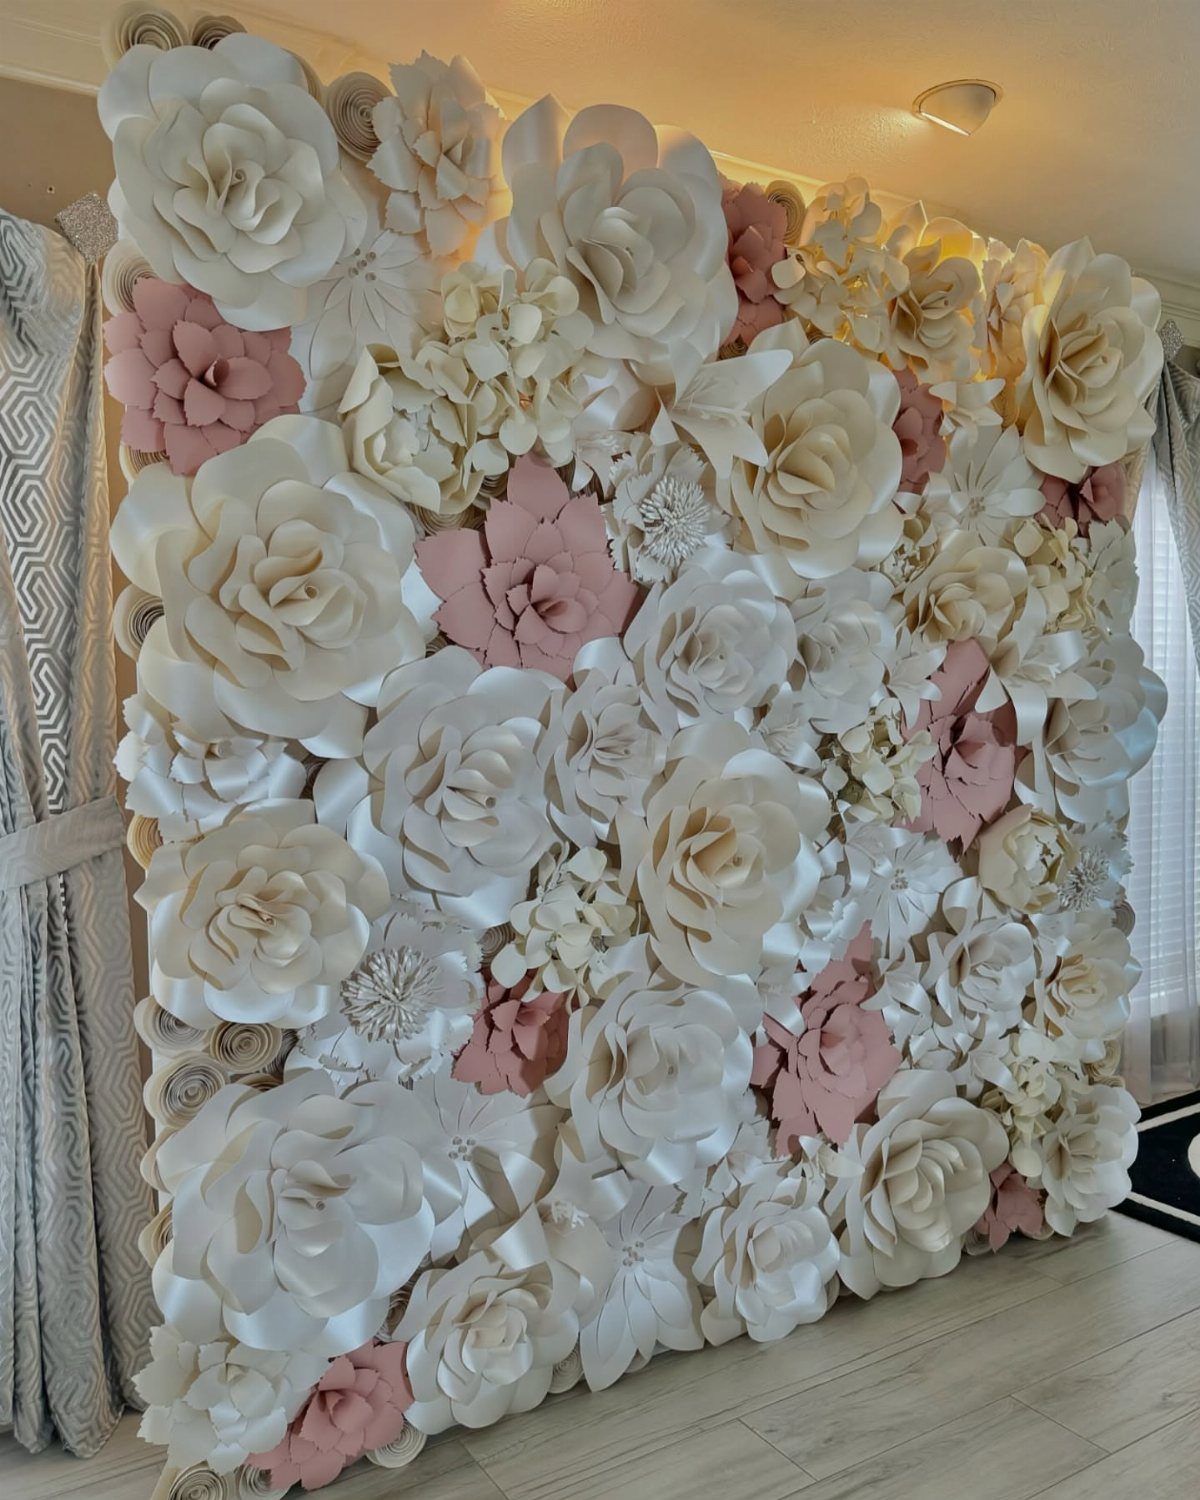
A wall covered edge to edge in oversized 3D flowers works as a backdrop, so I’d commit to one wall and fill it rather than scatter a few blooms around a room.
White, cream and dusty rose keep the whole thing soft and cohesive.
Make flowers in a few different sizes and cluster them tightly so no bare wall shows between them. Fill the gaps last, with the smallest blooms.
Next to a plain curtain, a flower wall looks deliberate. Use removable adhesive if the wall is painted.
8. DIY Marigold
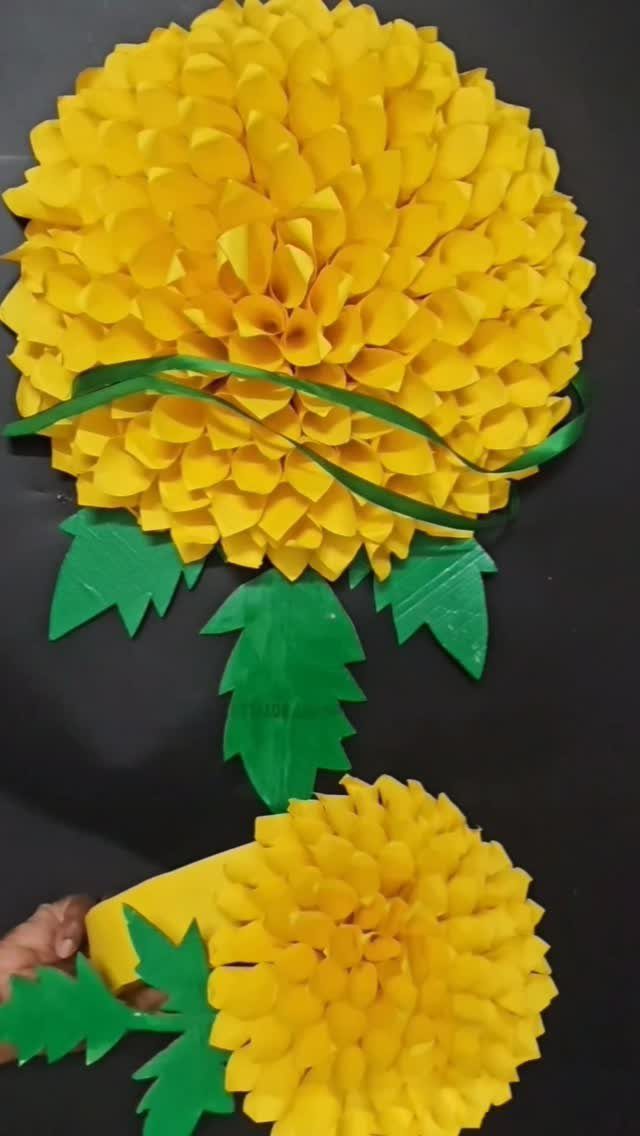
Yellow paper and green paper are all a marigold needs: a ruffled yellow head, a green stem and a couple of leaves cut from scraps.
Keep the stem and leaves flat green so the yellow does the work. Against a dark background like black poster board, the yellow reads strongly, so a single sheet makes a good display backdrop for a few stems.
Make a pair or a small bunch rather than a single flower. Marigolds look fuller in a group, and each one is cheap to make.
Materials for Paper Flowers
Crepe paper and cardstock cover most of what you’ll want to make, and they do different jobs.
Floral wire makes the stems for crepe flowers, and wooden skewers do the same job for cardstock ones. A skewer costs less and snaps easily, so I’d use wire on anything heavy or full.
Scissors and glue finish the kit. Buy a few colors of each paper in one shade family, so your petals and centers match without extra trips to the store.
Crafting Techniques
4 moves build nearly every paper flower: cutting, folding, layering and gluing. Fold a square of paper first, then cut a curved petal shape through all the layers at once, and every petal comes out the same.
Draw the petal outline in pencil before you cut. A contrasting center circle, glued on last, hides the messy middle where the petals meet.
For crepe flowers, layer the petals around a wire stem and glue each layer as you go. Let one layer set before adding the next, or the petals will slide out of place.
Uses for Paper Flowers
Paper blooms give a room real color with no wilting, no pollen and no florist bill, which suits a party planned a week or more ahead.
Folded paper strips glued into circles with a yellow center make a flower that costs little, which suits a party where you need dozens.
Use them on cards and gifts, or as wall art and party backdrops. Mixing cardstock and crepe in pink, yellow, orange, green and purple gives you a whole garden from 2 kinds of paper.
I’d plan the quantity first: count the tables, gifts or wall space, then make flowers to match.